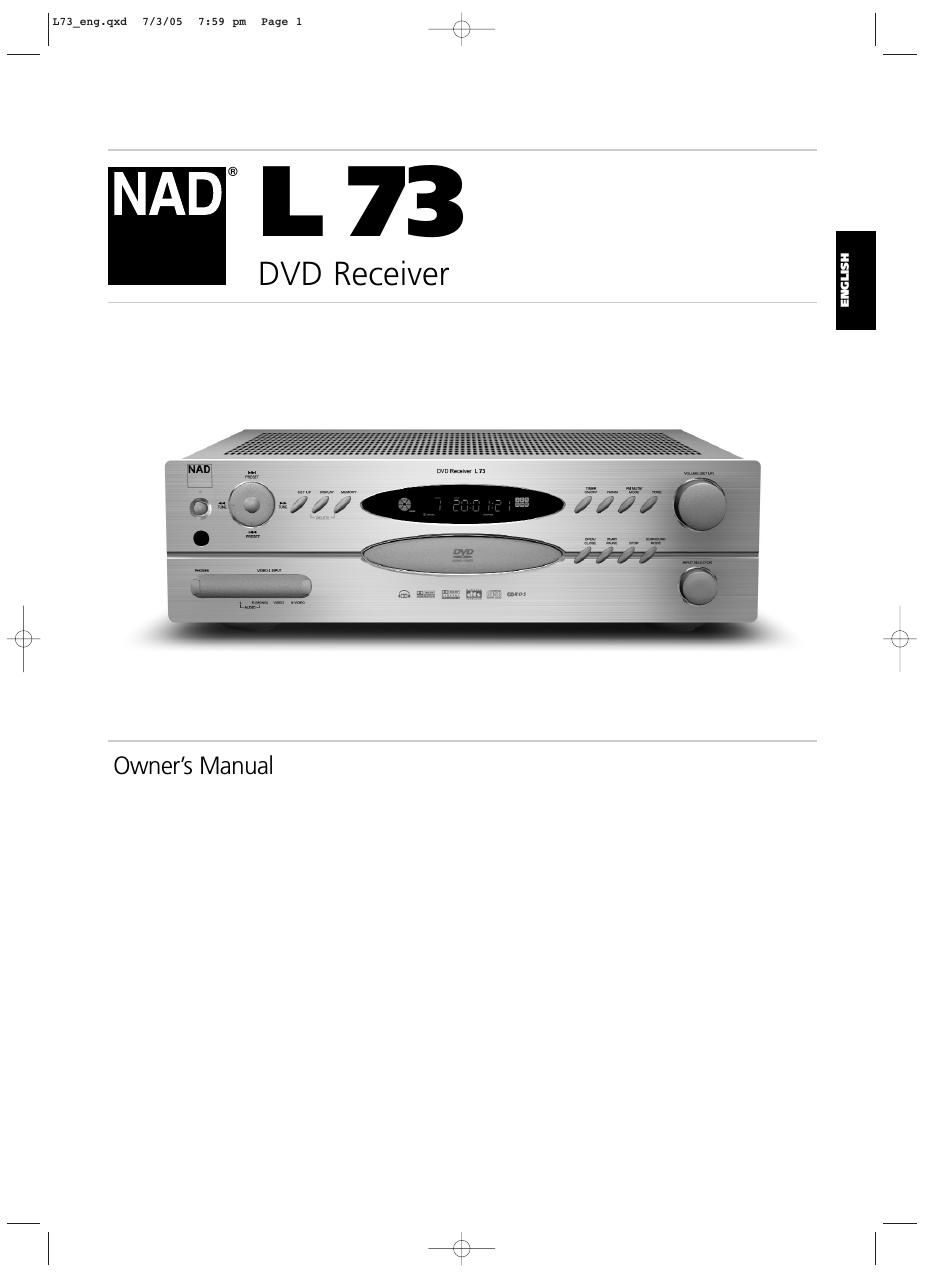
Nad L 73 Owners Manual

This is the 38 pages manual for Nad L 73 Owners Manual.
Read or download the pdf for free. If you want to contribute, please mail your pdfs to info@audioservicemanuals.com.

Page: 1 / 38
left right
Nad L 73 Owners Manual

Extracted text from Nad L 73 Owners Manual (Ocr-read)


Page 1

2 SAFETY PRECAUTIONS Introduction ENGLISH FRANÇAISDEUTSCHNEDERLANDS ESPAÑOLITALIANO PORTUGUÊS SVENSKA W ARNING TO REDUCE THE RISK OF FIRE OR ELECTRIC SHOCK, DO NOT EXPOSE THIS PRODUCT\ TO RAIN OR MOISTURE. CAUTION TO PREVENT ELECTRIC SHOCK, MATCH WIDE BLADE OF PLUG TO WIDE SLOT, FULLY INSERT. CAUTION This Digital Video Disc Player employs a Laser System. To ensure proper use of this product, please read this owners manual carefully and retain for future reference. Should the unit require maintenance, contact an authorized service location. (See service procedure). Use of controls, adjustments or the performance of procedures other than those specified may result in exposure to laser radiation. To prevent direct exposure to laser beam, do not try to open the enclosure. Visible laser radiation when the enclosure is opened. DO NOT STARE INTO BEAM. FCC NOTICE This equipment has been tested and found to comply with the limits for a\ Class B digital device, pursuant to part 15 of the FCC Rules. These limits are designed to provide reasonable protection against harmful interference in a residential installation. This equipment generates, uses and can radiate radio frequency energy and if not installed and used in accordance with the instructions, may cause harmful interference to radio communications. However, there is no guarantee that interference will not occur in a particular installation. If this equipment does cause harmful interference to radio or television reception, which can be determined by turning the equipment off and on, the user is encouraged to try to correct the interference by one or more of the following measures: - Reorient or relocate the receiving antenna. - Increase the separation between the equipment and receiver. - Connect the equipment into an outlet on a circuit different from that to which the receiver is connected. - Consult the dealer or an experienced radio/TV technician for help. EXAMPLE OF ANTENNA GROUNDING AS PER NATIONAL ELECTRICAL CODE INSTRUCTIONS CONTAINED IN ARTICLE 810 - RADIO AND TELEVISION EQUIPMENT. NOTE TO CATV SYSTEM INSTALLER: This reminder is provided to call the CATV system installers attention to Article 820-40 of the National Electrical Code that provides guidelines for proper grounding and, in particular, specifies that the ground cable ground shall be connected to the grounding system of the building, as close to the point of cable entry as \ practical. FCC WARNING Changes or modifications not expressly approved by the party responsible for compliance could void the users authority to operate the equipment. INDUSTRY CANADA REQUIREMENT This Class B digital apparatus meets all requirements of the Canadian Interference-Causing Equipment Regulations. L73_eng.qxd 7/3/05 7:59 pm Page 2

Page 2

3 SAFETY INFORMATIONIntroduction ENGLISH FRANÇAIS DEUTSCH NEDERLANDS ESPAÑOL ITALIANO PORTUGUÊS SVENSKA W ARNING TO PREVENT FIRE OR SHOCK HAZARD, DO NOT EXPOSE THIS APPLIANCE TO RAIN OR MOISTURE. THE LIGHTNING FLASH WITH ARROWHEAD SYMBOL, WITHIN AN EQUILATERAL TRIANGLE, IS INTENDED TO ALERT THE USER TO THE PRESENCE OF UNINSULATED "DANGEROUS VOLTAGE" WITHIN THE PRODUCT'S ENCLOSURE THAT MAY BE OF SUFFICIENT MAGNITUDE TO CONSTITUTE A RISK OF ELECTRIC SHOCK TO PERSONS. THE EXCLAMATION POINT WITHIN AN EQUILATERAL TRIANGLE IS INTENDED TO ALERT THE USER TO THE PRESENCE OF IMPORTANT OPERATING AND MAINTENANCE (SERVICING) INSTRUCTIONS IN THE LITERATURE ACCOMPANYING THE APPLIANCE The equipment draws its nominal non-operational power from the AC outlet with its POWER switch in the STANDBY position. CAUTION Changes or modifications to this equipment not expressly approved by NAD\ Electronics for compliance could void the user's authority to operate this equipment. CAUTION REGARDING PLACEMENT To maintain proper ventilation, be sure to leave a space around the unit (\ from the largest outer dimensions including projections) equal to, or greater than, shown below. Left and Right Panels: 10 cm Rear Panel: 10 cm T op Panel: 50 cm IMPORTANT INFORMATION FOR UK CUSTOMERS DO NOT cut off the mains plug from this equipment. If the plug fitted is not suitable\ for the power points in your home or the cable is too short to reach a power point, then obta\ in an appropriate safety approved extension lead or consult your dealer. If, nonetheless, the mains plug is cut off, REMOVE THE FUSEand dispose of the PLUGimmediately, to avoid possible shock hazard by inadvertent connection to the mains supply. If this product is not provided with a mains plug, or one has to be fi\ tted, then follow the instructions given below: IMPORTANT DO NOT make any connection to the larger terminal which is marked with the lett\ er E or by the safety earth symbol or coloured GREEN or GREEN AND YELLOW. The wires in the mains lead on this product are coloured in accordance w\ ith the following code: BLUE - NEUTRAL BROWN - LIVE As these colours may not correspond with the coloured markings identifyi\ ng the terminals in your plug, proceed as follows: The BLUE wire must be connected to the terminal marked with the letter \ N or coloured BLACK. The BROWN wire must be connected to the terminal marked with the letter \ L or coloured RED When replacing the fuse, only a correctly rated and approved type should\ be used, and be sure to re-fit the fuse cover. IF IN DOUBT CONSULT A COMPETENT ELECTRICIAN L73_eng.qxd 7/3/05 7:59 pm Page 3

Page 31

32 EXECUTING MACROS To execute a macro, press and release MACRO; its key illumination lights for 5 seconds. While i\ t remains lit, press an HTR L73 key to which a macro has previously been stored. The corresponding macro will run; as each step executes, its parent Device Selectors key flashes lights briefly; when execution is finished, the MACRO key illumination goes out. Pressing any other HTR L73 key while a macro is executing will abort the macro. Remember that you must hold the HTR L73 so that its infrared emitter can activate the target components. NOTE When a macro executes, a 1 second delay is automatically inserted betwee\ n its commands. If you need more than a 1 second delay between particular commands-for example,\ to permit a component to power up completely-you can record empty steps into the macro\ by changing Device Selector pages without entering actual command functions. KEY-ILLUMINATION TIMEOUT The HTR L73s key-illumination can be set to remain lit for 0-9 seconds. The default value is 5 seconds. To set the illumination timeout, simultaneously press-and-hold for 3 seconds both the HTR L73s DISP and the 0-9 key, with the digit corresponding to the desired timeout duration; the Learn LED will flash twice to confirm the new setting. When set to zero, the illumination will not turn on at all. NOTE Key illumination is the biggest drain on the HTR L73s batteries. A short key-illumination timeout will extend battery life appreciably; turning it off altogether (set it to 0 seconds) wi\ ll lengthen it still further. F ACTORY RESET The HTR L73 can be reset to its factory state, deleting all learned commands, copied and punched- through keys, macros, and other setup information, reverting all keys to their pre-programmed library commands. To perform a factory reset simultaneously press-and-hold for 10 seconds the HTR L73s ON and RTN keys; the Learn LED will start to flash green. Release ON and RTN before the second flash is complete; the Learn LED will turn red, indicate the remote has been reset. NOTE Y ou must release ON and RTN before the second flash goes out, otherwise the unit will not res\ et; should this occur, repeat the full procedure. DELETE MODE The HTR L73 can store learned, copied, and default library commands on any single key. (The default library commands are the pre-programmed NAD codes, such as the native L73 commands on the AMP page.) You can delete commands by layers back down to the default librar\ y command on any key, r emoving learned commands, punched-through functions, and copied keys. NOTE The default library commands cannot be deleted, so you need not worry that using Delete Mode might cause irreparable changes. To enter Delete Mode, simultaneously press-and-hold for 3 seconds both the desired keys Device Selector key and the RTN key, until the Learn LED turns green. Press the function key whose command you wish to delete; the Learn LED flashes; the number of times indicates which type of function has \ become active- see the table below. Press the active Device Selector key again to exit Delete Mode. NOTE Y ou may delete multiple function-key commands on the same Device Selector\ page, but to delete from more than one Device Selector page you must exit Delete Mode and th\ en re-enter it on the required page. Flashes Command Type1 Default Library Command 2 Copied Library Command 3 Learned Command USING THE HTR L73 REMOTE CONTROL Operation ENGLISH FRANÇAIS DEUTSCHNEDERLANDS ESPAÑOLITALIANO PORTUGUÊS SVENSKA L73_eng.qxd 7/3/05 7:59 pm Page 32