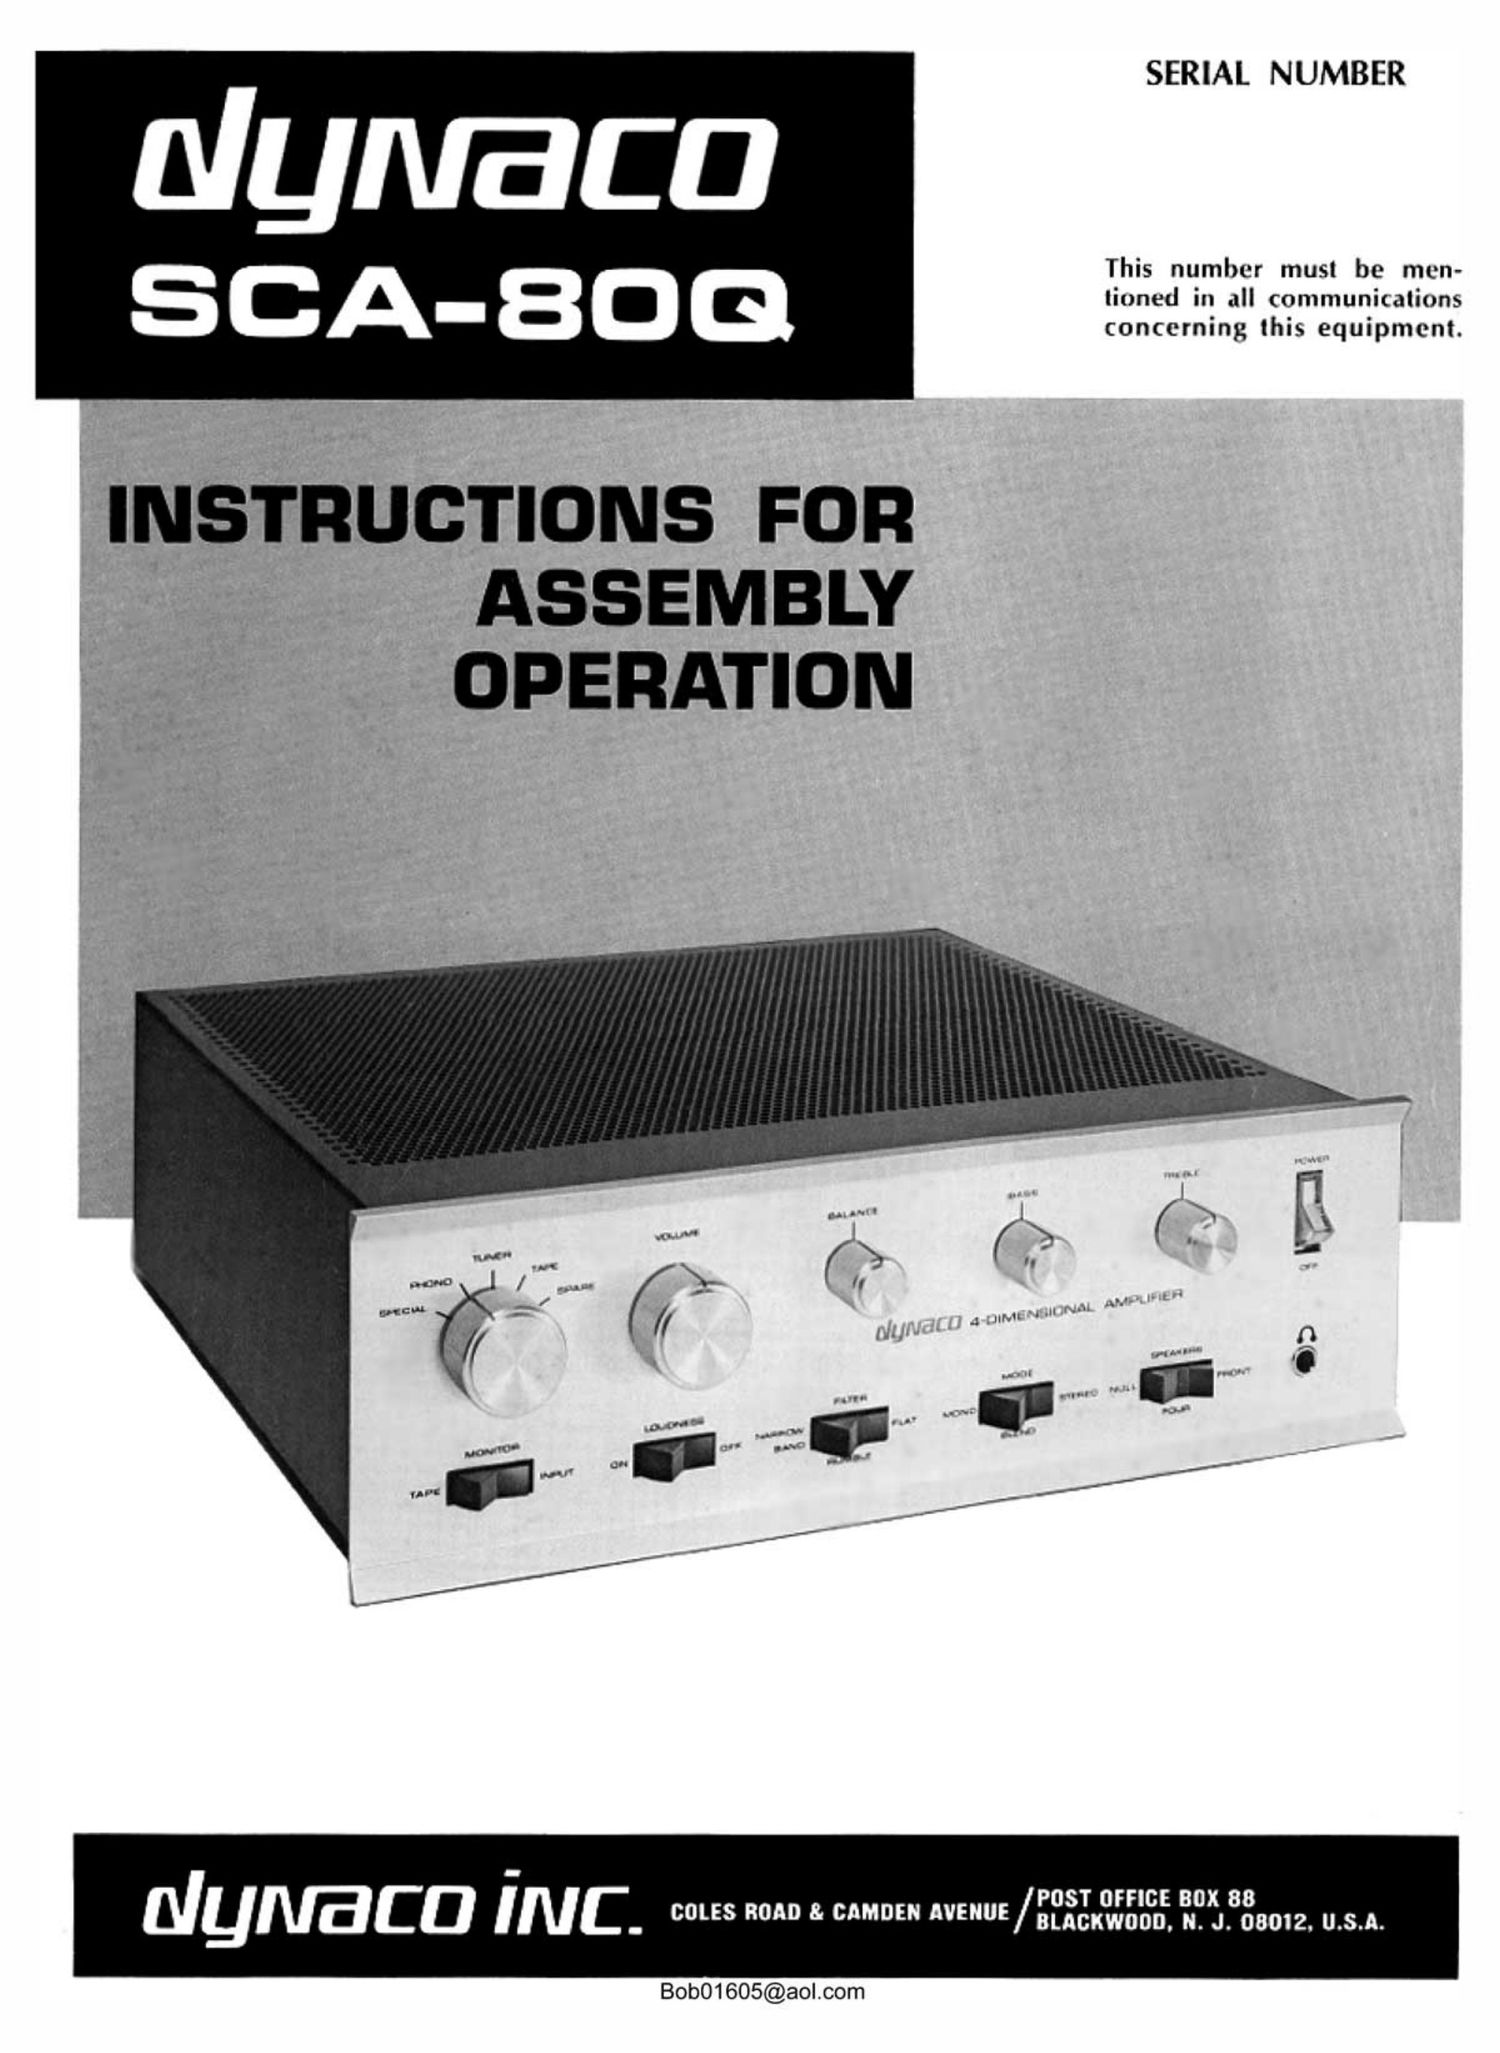
Dynaco SCA 80 Q Service Manual

This is the 32 pages manual for Dynaco SCA 80 Q Service Manual.
Read or download the pdf for free. If you want to contribute, please mail your pdfs to info@audioservicemanuals.com.

Page: 1 / 32
left right
Dynaco SCA 80 Q Service Manual

Extracted text from Dynaco SCA 80 Q Service Manual (Ocr-read)


Page 1

SERIAL NUMBER

This number must be men-
liuned in all Communications
concerning this equipment.

INSTRUCTIONS FOR
ASSEMBLY
OPERATION

POST omc: Box 88
NUIVBCD I N C . sous 9 8' WE" VENuE/BLAcxwoon. n. J. 08012. U.S.A.

BobO1605@aol.oom

Page 2

CONTENTS

Operating Instructions ............................ 3 Schematic Diagram ....... . . . . . ................... 16
Installing your SCA-BOQ ........................... 6 In Case 0! Difficulty ............................... 28
Optional Comedians ............... . ............ 6 Service and Warranty Information ................... 30
Listening to Dynaquad Sound ...................... 7 Parts List .................................... . .31
Technical Information ........................... . 8 Alternate AC line Connections ..................... 32
Assembly Instructions ............................. 9 Pictorial Diagram .............................. Insert
SPECIFICATIONS
POWER OUTPUT RATING: Less than 0.5% total harmonic diS- OUTPUTS: Frontor Main Speakers: 4 lo 16 ohms.

tortion at any power level up to 30 watts continuous average Rear Speakers: 8 ohms, or as Remote: Ber 16 ohms.

power per channel into 8 ohms at any frequency between Front panel headphones: 4 ohms or higher.

20 It: and 2t) Int-t2 with both channels rlrwen, with FTC pit» Tape outputszOhms from phono input

conditioning. Distortion decreases at lower power low-Is. (same as source on high level inputs).

TONE CONTROL RANGE: 1'12 db at 50 Hz and TO kHz.

CONTROlS: Selector Switch, Volume, Balance, Bass, Treble, Tape
Monitor Switch, loudness Compensation Switch, Filter Switch,
Stereo-MonoBlend Switch, Speaker Switch, Power Switch.

INTERMODUIATION DISTORTION: less than 0.1% at any level
up l0 rated power into 8 ohms with any combination of test
frequencies. Distortion decreases. at lower power levels.

EREQUENCY RESPONSE: (at I watt output into 8 ohms} SEMICONDUCTOR COMPLEMENT: 20 transistors; 10 diodes.
High level inputs: 10.5 dB from 15 Hz to 50 kHz. DAMPING FACTOR Greater than 40 from 20 Hz to 10 kHz
Phono input: 1-0.5 (ll) of RIAA equalization. 6 ' d '

NOISE: High level inputs: 80 db below rated output. PAMT'ON' 53 g: grmtesfiggiagosltz to 10 kHz

Phono input: More than 60 db below rated output.

INPUTS: RlAA magnetic phono: 47,000 ohms; 3 rnv. SIZE AND '6'": '3 x "l " 10 deep.
Special low level: (2nd phone); 47.000 ohms; 3 mv. 6 POW -2 k8-)-
High level: (radio tuner, tape amp, spare); POWER CONSUMPTION: 250 watts maximum; 35 watts quies~
100,000 ohms; 0.13 volt. cent; 50/60 Hz @ 100, 120, 220, or 240 volts AC.

100 Hz 1 kHz 10 kHz

SQUARE WAVE PERFORMANCE: This is a good indication of linearity from 10 Hz to 100 kHz, since
good square wave reproduction requires bandwidth in excess of IhOth to 10 times displayed freQuchy.

20 .r .

+10 it 1
0 db

-IO . .ch HR

~20 U 4 l.
20 so 100 Hz 1000 5000 20000
lOW POWER FREEDOM FROM DISTORTION: at I/lOlh TONE CONTROL RANGE
watt, a 20 kHz sine wave (the most difficult audio frequency) Narrow band filter characteristic shown as broken line.

shows absolutely no signs of crossover or notch distortion.

2
Bob01605@aol.com

Page 6

Headphone Output

A standard 3-circuit phone plug fits this output, wired
so that the tip connection is the left channel. Series resis-
tors attenuate the power amplifier output, and headphones
of 4 ohms or higher impedance may be used. When head-
phones are connected, all speaker outputs are automatically
silenced. You should not have headphones connected when
the Speakers switch is in the Null position.

Power Switch

This switch has the obvious function of turning the
SCA-SOQ on and off, and contains an integral pilot light.
It also switches whatever is connected to the lower
(switched) AC outlet on the back panel, such as a radio
tuner. The top AC back panel outlet, which is always on,
is used for a record player or tape recorder. Their drive
mechanisms cannot then be damaged if the amplifier power
is turned off without disengaging the machine.

INSTALLING YOUR SCA-80Q

The SCA-80Q generates some heat in normal use-mostly
from the power supply resistors-so adequate ventilation
must be provided to ensure long trouble-free life. As with
any transistorized amplifiers, higher power outputs increase
the heat output proportionately, so you must never limit
the air flow through and around the SCA-SOQ. Do not set
anything on top of the perforated cover. Vertical (face up)
mounting is not encouraged, since the heat dissipation is
not as effective as in the normal horizontal placement. If
the unit must be mounted face up, a fan is recommended,
and some provision for supporting the weight of the power
transformer should be made to avoid distorting the front
panel.

If the SCA-SOQ is inadvertently left on for a lengthy
period of time, no problems will be encountered, for the
transistors remain cool except under high signal conditions.
With sustained high power output, it is normal for the
bottom to get much warmer than the cover, for the heat sinks
dissipate heat through the chassis. As with all solid state
amplifiers, maximum heat is generated at about half the
maximum power output. At full power output from both
channels a transistorized amplifier must dissipate as much
heat as an equivalently powered tube amplifier. At full
power, the SCA-SOQ puts out as much heat as a 250 watt
light bulb.

Panel mounting requires a single rectangular cutout
13349 by 31:54.5. The rubber feet are removed for such use.
You can simply provide a shelf flush with the bottom of the
opening. Be sure to cut out the shelf in the area of the ven~
tilation slots on the chassis. Or, an accessory PBK bracket
kit is available from Dynaco for $2 postpaid. No CODs
please. The brackets take the place of the shelf, and can
accommodate panel thicknesses up to one inch. Instructions
accompany the kit. but note that the hole for one of the
mounting bolts is located underneath C7L, and this bolt will
be secured only by the wing nut provided with the kit. Be
sure that C7L is properly clamped flush to the chassis after
the bolt is installed.

Cautions to be observed

The SCA-SOQ contains circuits which will provide nearly
complete protection against abuse (including the mutions
noted below), but you should not challenge fate. We all

6

know that parachutes are quite safe-but why jump to test
one? The need for protective circuitry in solid state equip-
ment is a direct mult of its inherent susceptibility to failure
compared with the ruggedness of vacuum tube equipment.
You will avoid possible damage to costly transistors and
other components if you follow these few simple rules:

1. Do not connect or disconnect inputs or outputs when
the amplifier power is on.

2. If you hear arty abnormal noises, turn off the equipment
and locate and eliminate the source of the noises before
using the SCA~80Q. These noises may result from
partially connected audio cables or similar faults not
connected with the SCA-80Q, but they can be signals
or symptoms of signals of excessive amplitude.

3. Do not operate a tape recorder in the fast wind or rewind
mode when the volume control is advanced, as this could
produce large signals at inaudible frequencies.

4. Avoid any output connection system which risks directly
connecting the live side of one channel to the live
side (gold terminal) of the other channel when stereo
(different) signals are involved. This is not likely in any
properly wired system or accessory, but an accidental
change of polarity in the connections to a system requir-
ing common ground connections could be costly. Of
particular note: headphone junction boxes.

5. Avoid shorting together the two wires to a loudspeaker,
and do not use any switches in the output of the short-
ing type. Be sure that no strands of connecting wires
are free to touch anything except the intended terminal.

6. Do not operate the amplifier if excessive temperature
rise is noted.

OPTIONAL CONNECTIONS

The design of the SCA~80Q makes it easy to customize
in several ways to suit individual needs. A supplementary
data sheet is available on request from Dynaco which
outlines the necessary changes to provide the following
variations.

The normal wiring of the selector switch provides RIAA
equalization for a second magnetic phono cartridge on the
Special input. Other equalization can be provided, so that
the Special input can accommodate either direct playback
from a tape head, or a microphone, provided that the input
load impedance remains at 47,000 ohms.

To enable the Special position on the selector switch to
be used as a second equalization position for the one phono
input, the switch has been designed so that the phono
input is not shorted when in the Special position. By
installing appropriate components on the preamplifier cir-
cuit board and connecting a jumper on the back panel
from the phono input to the special input socket, a second
equalization position is available.

If you wish to tape record monophonically from stereo
records, the Special input can be wired so tint it parallels
the two phono inputs and provides a monophonic signal
at the tape output jack.

If you wish to reduce the sensitivity of the Phone input
by 6 db, alternative wiring of the equalization components
is included in the above data sheet.

If headphones are chosen which require either more or
13 output level, appropriate value resistors can replace
the 120 ohms resistors on the headphone jack.

Bob01605@aol.com

Page 8

TECHNICAL INFORMATION

CIRCUIT DESCRIPTION

The SCA-SOQ has a number of unique circuit features
on which there are patent applications. They contribute
to the amplifier's exceptionally low distortion, long term
reliability, resistance to abuse, and to its remarkable degree
of reproducibility which marks a truly successful design.
Those not interested in the technology may omit this sec-
tion. A more detailed technical description for servicing
will be found in a later section of this manual.

Each preamplifier channel of the SCA-SOQ uses two pairs
of npn transistors in similar configurations. On each circuit
board the first pair is the low level preamplifier for the
Phono and Special inputs. The input transistors are selected
low noise types. The phono input can handle signals up to
100 millivolts without overload.

The other pair of preamplifier transistors comprises the
tone control stage. They operate at the higher signal levels
of tuners, tape recorders, etc, as well as from the output
of the ph0no preamplifier stage. The two sections of the
preamplifier are interconnected by the selector switch, and
all other controls and switches are located after the low
level circuitry.

Each pair of transistors has a DC feedback loop to
stabilize operating conditions, as well as an AC feedback
loop to provide optimum audio performance. The operating
parameters of each stage have been critically adjusted to
achieve the lowest possible distortion levels.

The special feedback tone control system of the SCA-BOQ
is an exclusive Dynaco development which provides con-
tinuous adjustment of the frequency extremes while pro-
viding a specific center-flat setting. When the controls
are set to the normal mid-point of rotation, they are effec-
tively out of the circuit and have no effect whatsoever on
performance. This is accomplished by special Dynaco-
designed potentiometers. When the tone controls are
operated away from the flat" center point, the frequency
response is varied by changes in the amount of feedback
at the frequency extremes.

The amplifier portion of the SCA.80Q includes unique
circuitry to provide an unusual amount of protection while
delivering exceptional performance. Transistors Q1 and Q2
are a direct-coupled feedback pair providing a high degree
of stability and great linearity. This pair drives the power
section, Q3 through Q6, which are direct-coupled and in-
clude DC feedback stabilization. These four transistors act
as a push-pull power transformer in that they do not have
voltage gain, but they transform the signal from high im-
pedance to low impedance. All transistors in the driver and
power sections are included in one overall feedback loop.

The amplifiers are designed to reduce-not just limit--
the current through the output stage when there is any
tendency to exceed a reference limit as a result of excessive
drive signals or heavy loads. This protects both the load
c the loudspeaker) and the source (the output transistors).

In the SCA-80Q the output transistors are operated
without quiescent current and without the consequent heat
rise caused by the bias current. eliminating the need for
temperature compensating devices. However, the SCA»80Q
does not exhibit any signs of the Class B notch commonly
attributed to a lack of bias current.

The output signal is taken from the junction of Q5 and
Q6 through coupling capacitor C7, which prevents DC from

8

reaching the speaker. An output capacitor large enough to
same unrestricted low frequency moms was chosen in-
stead of the conventional and less costly plus-minus output
circuit. It eliminates any need for balance adjustments or
matching of components, and assures speaker protection in
the event of output transistor failure.

All of the large capacitors used in the SCA-SOQ are
special high-purity computer grade" electrolytics chosen
for maximum reliability. The output capacitors also serve
as convenient forms for small value air-core chokes in the
output which, in conjunction with an R-C circuit, roll off
the response in the RF region {above 500.000 Hz), reduc-
ing interference and affording absolute stability under all
circuit conditions.

PERFORMANCE TESTS

Special care must be taken when subjecting transistor
izcd amplifiers to laboratory tests. Solid state circuits draw
much more current at the frequency extremes than in the
mid-band, and tests with other than the 8 ohm load for
which the amplifier is designed may also draw higher cur-
rent. High current raises transistor temperatures, causing
increased current demand, so tests must be perfonncd
quickly under these conditions to avoid the action of the
protective cutback circuits which limit the current in the
SCA~80Q for safety reasons. The action of the protective
circuitry may yield erroneous results, such as a notably
lower apparent power output for rated distortion.

High power measurements should first be set up" with
a low input signal, and then raised to a previously deter-
mined level for a quick reading. The extended power and
frequency response of the SCA~80Q requires that even low
power tests above and below the audible range be made
quickly to avoid protective cut-back. This limits the dura-
tion of high frequency square wave tests, for example.

Prolonged tests at high power levels, at the frequency
extremes, or with abnormal load impedances require ade~
quote thermal recovery time. Without it. the transistors are
rendered more susceptible to stmsequent overload. and the
safety margin afforded by the protective circuits is sharply
reduced. Callous disregard of these effects may result in
eventual failure, for there is no such thing as absolute pro
tection against deliberate abuse.

Some of the heat generated is dissipated through the
heat sinks to the chassis, so the bottom of the amplifier
will get quite hot during tests. The maximum dissipation
in transistorized circuits occurs at about half power.

The line fuse in the SCA-SOQ has been chosen to pro-
vide maximum protection while allowing short duration
currents in excess of its rating. The current demand for
both channels operating at full power steady-state at 20
kHz (the severest test), for example, will slightly exceed
the fuse rating, but the slo-blo fuse will handle this for
severalseconds.

When making full power tests at the frequency extremes,
it is important that the line voltage be corrected for power
line drop because of the high current demand. The capa-
bility of the supply will be limited by excessive line losses.
and the indicated distortion may rise at maximum power
when both sides are driven simultaneously.

Bob01605@aol.com

Page 9

ASSEMBLY INSTRUCTIONS

GENERAI. INFORMATION

Assembly of the SCA-SOQ is exceptionally simple when
compared to other kits. The preassembled etched circuit
boards have saved you much of the work, and the amembly
that remains is arranged in an open, uncluttered layout
that makes wiring quick and easy. The construction time
will be only a few hours, but it is best to work slowly and
carefully rather than worry about the time.

Construction will be greatly simplified if you have some-
one help you by reading the steps aloud, selecting the
required parts, and preparing the necessary wire lengths
as you pr

When you unpack your kit, check off the components
against the parts list at the back of the manual. You can
identify unfamiliar parts by matching them to the pictorial
diagram or photograph.

Have the proper tools at hand before starting assembly.
You will need a pencil-type soldering iron of 30- to 60-watt
rating with a small tip, long nosed pliers, diagonal cutting
pliers, a medium-sized screwdriver, and 60/40 rosin core
solder not larger than Mo diameter. You will also find a
damp sponge or cloth helpful to wipe the tip of the iron
clean periodically. An inexpensive wire stripping tool is
helpful, but some people prefer a single-edged razor blade
for removing the insulation.

SOLDERING INSTRUCTIONS

A good solder connection does not require a large amount
of solder around the joint. A well-made connection looks
smooth and shiny because the solder flows into the joint
when both parts are hot enough

There are four steps to making a good solder connection:
1. Make a good mechanical connection.
2. Heat both parts with the tip of the iron at the junction.
3. Apply solder to the junction until it melts and flows.
4. Allow the connection to cool undisturbed.

ALL SOLDERING MUST BE DONE WITH A
GOOD GRADE 0F ROSIN CORE SOLDER.

Under no circumstances should acid core solder be used.
Unmarked solder, cheap solder or any of doubtful origin
should be discarded, and separate solder fluxes should
never be used. The warranty is voided on any equipment in
which acid core solder or acid type fluxes have been used.
Silver solder is not suitable. The recommended solder is
60/40 (60% tin, 40% lead) ROBIN CORE. Do not con-
fuse this with 40/60, which is harder to use.

If you have a soldering gun, it should be used with care,
especially when working on the circuit boards. A soldering
gun (an provide more heat than is necessary, with some
risk that an unskilled user might damqre the board, and
because it requires some time to heat each time the trigger
is squeezed, many users tend to make poor solder connec-
tions simply because they do not wait long enough for it to
reach its operating temperature each time.

You should realize that delicate components such as
transistors are less likely to be damaged in the soldering
process if you use a hot iron for a short time, rather than a
cooler iron for a longer period. You will also make a better
connection with the hot iron. If you keep the iron clean by
wiping the tip frequently, and occasionally add a small
amount of solder to the tip, it will aid the transfer of heat

to the connection. Do not allow too much solder to build
up on the tip, though, or it may fall onto adjacent circuitry.

One of the best ways to make a good mechanical connec-
tion is to bend a small hook in the end of the wire, and
then to crimp the hook onto the terminal lug. The amount
of bare wire exposed need not be exactly 14-inch, but if it
is too long, the excess might touch another terminal lug or
the chassis. Do not wrap the wire around the lug more
than one time, as this makes the connection difficult to
remove if an error is made.

When soldering a load to an eyelet on the cir-
cuit board, the SCA-SO makes it easy to apply
the iron to one side of the board while the tinned
wire end is pressed into the solder-filled eyelet
from the opposite side. When the eyelet is heated,
the wire enters easily, but be careful that you
do not push the wire all the way into the eyelet
up to the insulation. If you do, you will not be
able to see if you have made a secure connection, or if more
solder is needed to provide a smooth flow from the wire, to
the eyelet, and onto the circuitry on the board.

WIRING THE KIT

The position of all wire leads should follow the diagram
and photograph closely, bearing in mind that the pictorial
diagram has necessarily been distorted somewhat to show
all connections clearly. See that uninsulated wires do not
touch each other unless, of course, they are connected to
the same point. It is especially important that uninsulated
wires or component leads or terminals do not touch the
chassis accidentally.

Whenever one wire is to be soldered to a connection such
as a lug or a transistor lead, the instructions will indicate
this by the symbol (S). If more than one wire is to be
soldered to the same point, the instructions will cite the
number of wires that should be connected to that point
when it is to be soldered. If no soldering instruction is
specifically given, do not solder; other connections will be
made to that point before soldering is called for.

Bob01605@aol.com