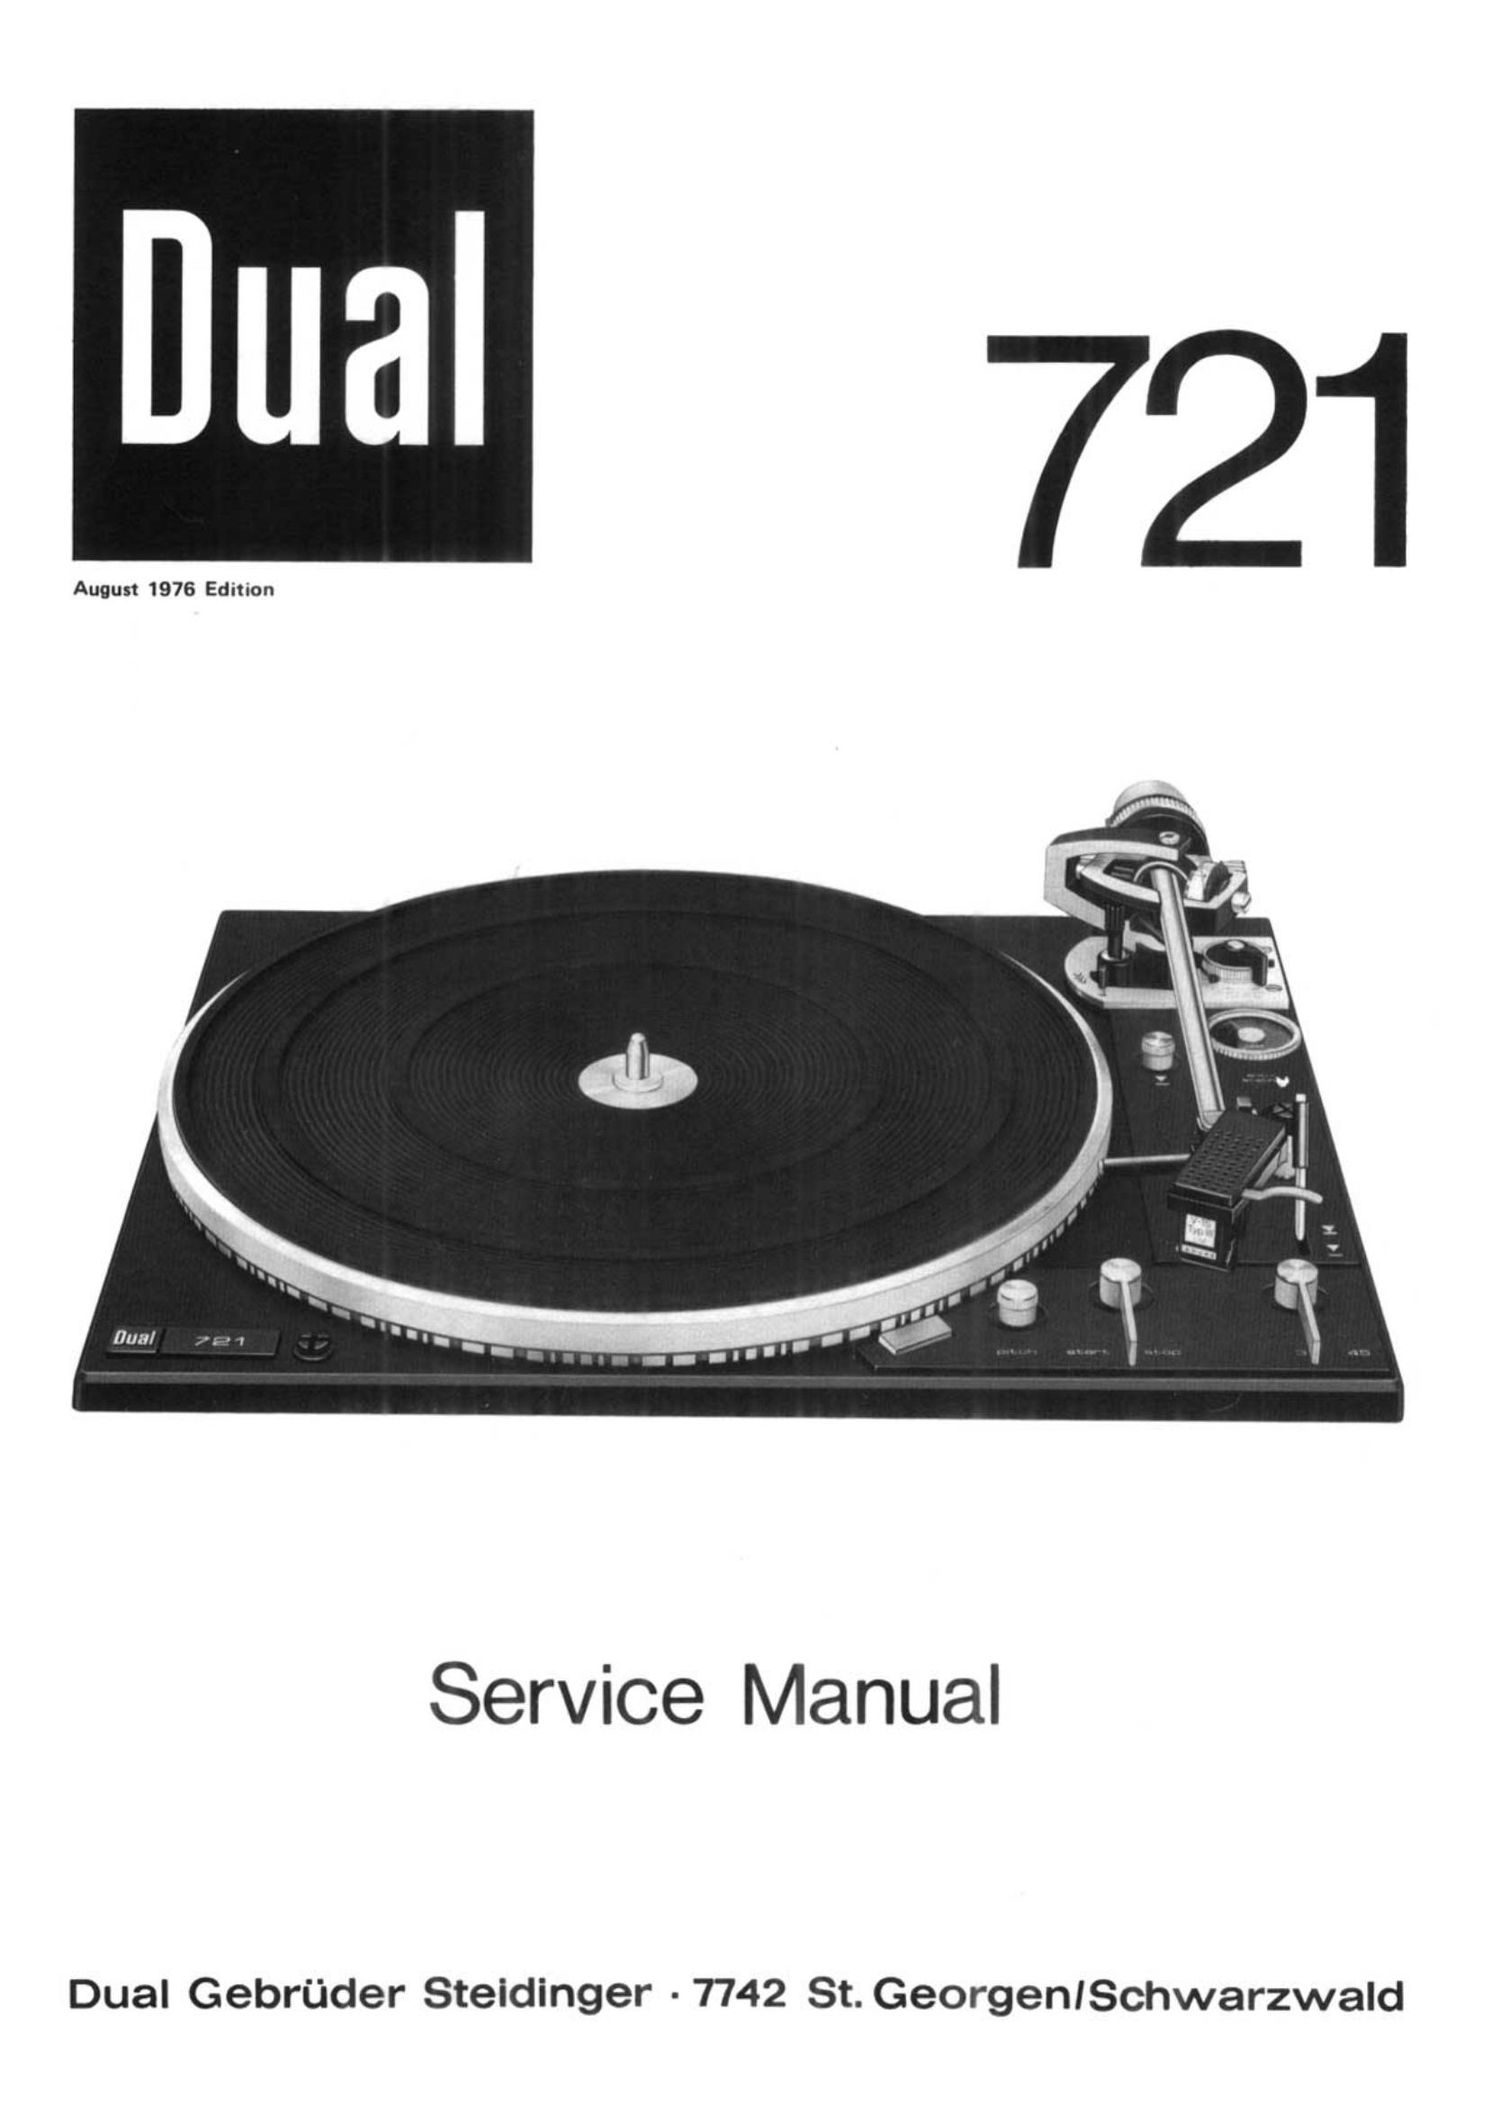
Dual 721 Service Manual 2

This is the 25 pages manual for Dual 721 Service Manual 2.
Read or download the pdf for free. If you want to contribute, please mail your pdfs to info@audioservicemanuals.com.

Page: 1 / 25
left right
Dual 721 Service Manual 2

Extracted text from Dual 721 Service Manual 2 (Ocr-read)


Page 1

"3 721

August 1976 Edition

Service Manual

Dual Gebrflder Steidinger -7742 St. GeorgenISchwarzwald

Page 2

Specification

Current Type

AC 50 - 60 Hz, without motor changeover
Line voltages

110 -- 130 Volt, 220 - 240 Volt

Drive

Electronicallycontrolled direct drive system Dual
EDS 1000-2

Power Consumption
approx. 2.5 Watt
Motor during play < 50 mW

Current Consumption
with 220 V 50 Hz:
on start-up 60 mA
with 110 V 60 Hz:
on start-up 110 mA during play app. 38 mA

Run-up Time (until nominal speed is reached)
2 - 2.5 sec. on 331/3 rpm

Platter

Non-magnetic, dynamically-balanced, detachable, 1.5 kg
305 mm (15

Total rotating mass of drive system (rotor with platter)
3.0 kg, moment of inertia 250 kp cm2

Platter Speeds
33 1/3 and 45 rpm, electronically switchable, automatic
tonearm lowering coupled to speed change.

Pitch Control
Separate for both speeds, adjustable in each case with

variable resistor, with setting scales, range of adjustment
10 %.

Speed Check
with light stroboscope for platter speed 33 1/3 rpm.

Sensitivity of Light Stroboscope for 0.1 % Speed Deviation
3 graduations per minute at 50 Hz
3.6 graduations per minute at 60 Hz

Overall Speed Variation
(assessed in accordance with DIN 45 507) < t 0.03 %

during play 20 mA

Signal-to-Noise Ratio (in accordance with DIN 45 500)
Rumble unweighted signal-to-noise ratio > 50 dB
Rumble weighted signal-to-noise ratio > 70 dB

Tonearm

Torsion resistant, extra long tubular aluminum tonearm
in super flat universal four-point gimbal suspension, tone-
arm balance weight with double acting vibration damping
(2 anti-resonators).

Effective Tonearm Lenght
222 mm

Offset Angle
25° 20

Tangential Track Error Anfle
0.160 / cm

Tonearm Bearing Friction
(related to stylus point)

Vertical < 0.07 mN (0.007 9)
Horizontal < 0.15 mN (0.015 9)

Tracking Force

0 ' 30 mN (0 - 3 grams) infinitely variable with 1 mN

(0.1 g) calibrations from 0 to 15 mN (0 to 1.5 g), operable
from 2.5 mN (0.25 g) stylus pressure up.

0 - 3 g continuously variable, with 1/10 calibration in the
range from 0 - 1.5 g, reliable as from 0.25 g tracking force
Pick-up Head

Detachable, suitable for all pick-up cartridges with 1/2
mounting and a deedweight of 2 - 10 9 (including moun-
ting material)

Adiustable Overhang
5 mm

Pick-up Cartridge

See separate data sheet
Weight

7.8 kg

Dimensions and Cutout Required
refer to Installation Instructions.

Page 5

Fig. 2 Dual EDS 1000-2 Electronic Direct Drive System

turntable center plate centering pin ~+ -

ring magnet steel'plate

5.


conductor ! coil support
I phua i

l i
field coil: bedded Hall generator

joining centring
for turntable

rotor

Dual EDS 1000-2 Electronic Direct Drive System

The EDS 1000-2 motor especially designed

for the Dual 721 is a slow-running no-commu-
tator DC electronic motor which draws its
power supply from a stabilized power pack.

The electro-mechanical commutation normally
carried out on DC motors by the commutator

is electronically controlled in the case of
the Dual EDS 1000-2 motor by two Hall genera-
tors. These two Hall generators - dependent
on the rotor position - control four switch-
ing transistors which in turn have the

effect of a rotating magnetic field occurring
in the field coils of the motor by means of
which the four pairs of magnets of the rotor
are continuously attracted or repelled. By
means of the torque thus exerted, uniform
rotation is induced in the rotor - and with
it the platter.

A speed-dependent voltage (tacho voltage)
induced in the motor windings not switched
on is coupled out and controls the electro-
nic regulator circuit. This ensures that
even the slightest deviations from the nomi-
nal speed are corrected in Fractions of a
second by a change in the motor current.
Speed fluctuations are, therefore, practi-
cally eliminated.

angular bearing

Absolute maintenance of the nominal speed
no longer presents any problem with this
control system.

The above-mentioned Hall generator is a mag-
netically controllable semi-conductor ele-
ment named after the physicist E. Hall. Uith
the Hall effect as a result of the action

of a magnetic field on the Hall generator a
voltage approximately proportionate to the
strength of the magnetic field is generated,
its polarity being dependent on the direc-
tion of the magnetic flux.

A control current flows through the Hall ge-
nerator. If new a magnetic field becomes
effective at right angles to the area of the
Hall generator, the so-called Hall voltage
occurs. Uith constant control current this
Hall voltage is dependent on the direction
and strength of the magnetic field. If the
polarity of the magnetic field is reversed,
the polarity of the Hall voltage changes as
well. In the absence of a magnetic field the
Hall voltage is zero. This effect is utili-
zed to control the Dual EDS 1000-2 motor.

As the motor is operated on DC from a stabi-
lized power pack it Operated independently
of line voltage and frequency fluctuations.

The motor is of B-pole disk rotor design.
The rotor has a barium ferrite annular mag-
net inside which has 8-pole magnetization
on its lower face.

Page 13

Recheck as follows:

Balance tonearm (50) correctly. Set knurled
ring to 0. The tonearm should remain at any
desired point within its turning range. The
hole of the skating lever (237) should be in
alignment with the center line of the tone-
arm. Ad ustment is made by the eccentric
pulley (E) which is accessible through the
hole in the installation plate (21) between
the knurled ring (66) and the tonearm mount-
ing plate (71). See Fig. 14.

The set knurled ring to "0.5". The tonearm
should now smoothly rotate from the platter
center to its rest.

TomnnnConUOI

Automatic movement of the tonearm is ini-
tiated by the control cams on the inside of
the cam wheel (144) on rotating through
3600. The control elements for raising and
lowering are the control lever (154), the
main lever (156) and the lift pin (47), for
horizontal movement of the tonearm control
lever (154), the main lever (156), the
coupling plate (233) and the spring pin of
the segment (236).

The automatic set-down point is designed for
30 cm and 17 cm records and coupled to the
platter speed changeover.

Fig. 15

Cuc control

I s
133 unlffl153156 ii? 230

Limitation of the horizontal movement (set-
down point) of the tonearm is produced by
the pin of segment (230) contacting the stop
(189) attached to the slide bar (246).

Only during set-down does main lever (156)
lift the slide bar (246) and the stop (189)
attached to it which, as a result, moves in-
to the swivel range of the stop pin fitted
on segment (230). On completion of set-down
(lowering of the tonearm onto the record)
slide bar (246) is released again and re-
turns to its neutral position. As a result,
step (139) moves out of the swivel range of
the stop pin (F) so that unimpeded movement
of the tonearm is possible for playing.

14

CueCOnud
By movin the lever (201) forward ( l ) lift
cam (203 rotates. The slide bar (246) con-

nected to it transmits this movement to the
lift pin (213) (via the compensating cam)
which then raises the tonearm.

As a result, the cue control permits set-
down of the tonearm at any desired point.

The slide bar (246) is released by moving
the cue control lever rearwards ( 1 ). As a
result of the action of compression spring
(212) lift pin (213) is returned to neutral
position and thus lowers the tonearm. Lower-
ing of the tonearm is damped by silicone oil
in the lift tube. The height of the stylus
above the record can be varied by turning
adjusting screw (44). Turning bush (207) to
">" reduces the lowering speed, turning the
bush to ">ED" increases the lowering speed.

The distance between the record and the sty-
lus can be varied by set screw (40). It
should be approx. 3 to 5 mm.

Fig. 16

Replacement of Cue Control Plate

Replacement of Cue Control Plate

Replace cue control plate (210) as follows:

1. Fix unit on repair jig and lock tonearm.
Remove weight (50). Turn unit upside down.

2. Loosen tension lever (62), bring tonearm
in its lowest position using knob (64).

3. Set knurled ring (66) of the anti-skat-
ing device to position "3".

4. Remove machine screw (217), hex-nut (218)
and fillister head screw (70). RemOVe
transition plate (268) and guard plate

219 .

5. Remove safety washer (152) and axle (161).
Also remove main lever (156) and com-
pression spring (155).

6. Remove countersunk screws (234) and coup-
ling plate (233).

7. Loosen safety washer (222), then turn
set screw (40) until slide bar is re-
leased. Place slide bar (246) complete
with bearing (211) beside the bearing
pin.