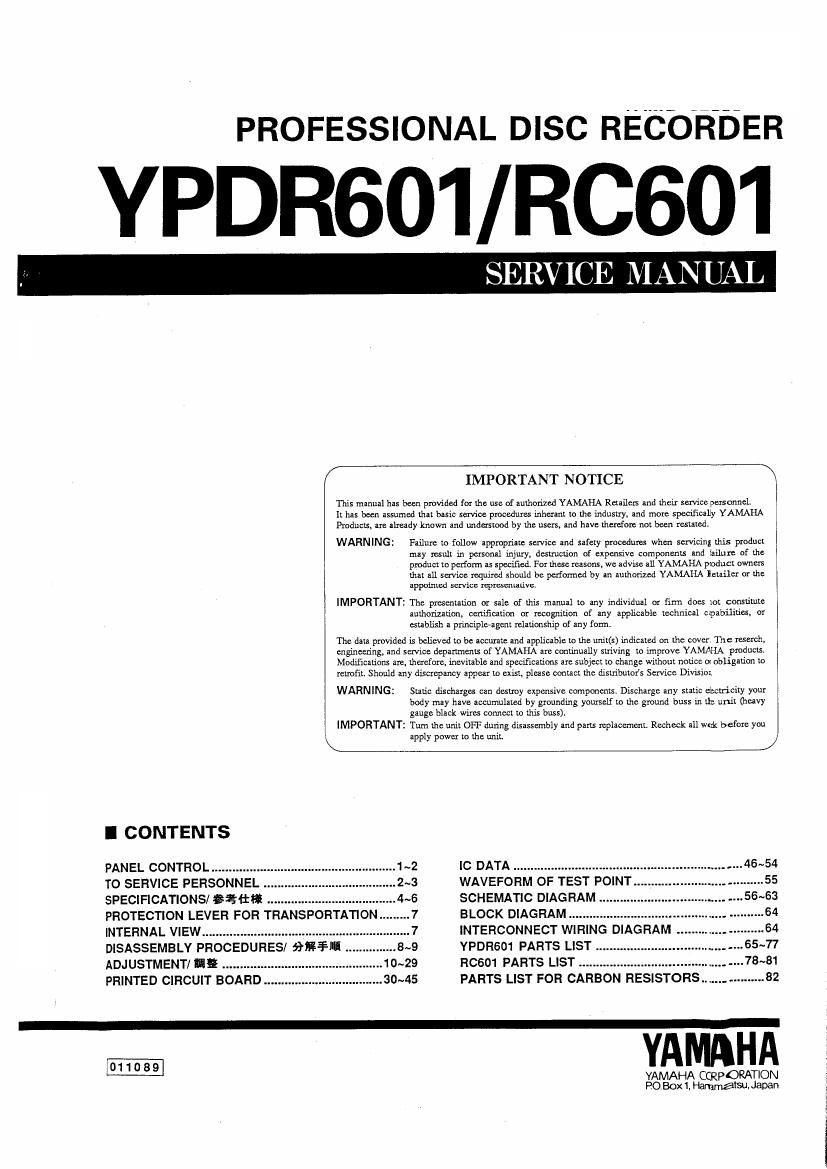
Yamaha ypdr601 rc601 disc recorder service manual

This is the 99 pages manual for yamaha ypdr601 rc601 disc recorder service manual.
Read or download the pdf for free. If you want to contribute, please mail your pdfs to info@audioservicemanuals.com.

Page: 1 / 99
left right
yamaha ypdr601 rc601 disc recorder service manual

Extracted text from yamaha ypdr601 rc601 disc recorder service manual (Ocr-read)


Page 1

PROFESSIONAL DISC RECORDER

YPDR601/RC601

SERVICE M NU

/

WARNING:

WARNING:

IMPORTANT:

The dlla pmvided is believed m be locum: and zppfizabic 10 the unit(s) indicated on the cover The Merck
cngineen'ng, and semce dvpanmems of YAMAHA are cominually striving to improve YAMAHA producm
Modificadons are. Ihechoxc, inevitable and specificauons are subjcc: to change Without noucc o obligation to
mmfix. Shauld any discxcpancy appear Lo exist please Contact the disu-ibutors Service Divisim

IMPORTANT:

IMPORTANT NOTICE

m; manual has been provided for! are use of uumauzed YAMAHA Rex-Hers and rheir service personncL
Ir has been assumed mar basic service pmcedurcx mhcnm m are industry. me more specificaDy YAMAHA
Pmducu, are already known and undesrood by are users. and have thumfoxe rim been resured.

Failurc to follow nppropfiue service and safeiy pmuduxex when servicing this produez
may resun in parsoml injuxy, desuucxiori of expeurrve componens and ianure of Lhe
pmducl m perform is specified. For mese reasons, we rdvise all YAMAHA pioduci ownefi
am all service required should be pufomxed by In rurhorizeri YAMAHA mailer or me
uppuuued Amie: rqireceriuuve

The pmscnlalion or sale of this manual :0 any individual or firm does icr consume
authorization. cmificalim er mgmllion of any rppncabie technical czpabfliucs. or
ambush a principieagerrr relationship of any fuxm.

Smuc discharges can desucy expensive compmmu. Discharge my sraue elnctxicizy your
body may have aocumulaud by grounding yourself re the gmund buss in LIP, urrir (heaVy
gauge black wires cunnecr ru this buss),

Tum me uni: OFF during disassembly and pans mplaccmcnt. Recheck all wrrk before yau
apply power to the unit.

I CONTENTS

PANEL CONTROL ...................................................... 1~2
2~3

TO SERVICE PERSONNEL
SPECIFICATIONS/ 5311* ..
PROTECTION LEVER FOR TRANSPORTATION
INTERNAL VIEW ..................................................

DISASSEMBLY PROCEDURES! fifi¥li
ADJUSTMENT/ BK ............................
PRINTED CIRCUIT BOARD ................

1011089

III-29
..30~45

IC DATA ..............................................................
WAVEFORM OF TEST POINT
SCHEMATIC DIAGRAM
BLOCK DIAGRAM .
INTERCONNECT WIRING DIAGRAM
YPDR601 PARTS LIST
R6601 PARTS LIST
PARTS LIST FOR CARBON RESISTORS.

YAMAHA

YAMAHA CCRPORATION
080m, Hammatqu apan

Page 18

YPDR601IRCGO 1

STEP 5 Step
LASER POWER ADJUSTMENT ODESA 'y Panto-Ills!
WARNING: it: - reassess YPDRsomElEéONtssmzHF

The light produced by the laser has a wavelength of 790nm,
putting it in the near-infrared range. Due to the high output
power of this laser it should not be viewed with the naked
eye. Therefore, in the interests of safety, avoid looking di-
rectly into the optical head.

LASER POWER ADJUSTMENT FOR READING

® Set the laser power meter to the average (DC or CW) mode
and the wave length to 790nm.

(2 Confirm that VR101 and VR102 on the HF circuit board have
been turned counterclockwise 5 full turns to achieve the
minimum setting.

(:3 Confirm that the SW1001 TEST switch on the System Con-
trol circuit board is set to the ON position (TEST MODE).

® Switch on the YPDR601 and the R0601.

© Select Mode 1 (ref. page 14).

© Place the laser power meter sensor near the upperportion of
the optical head objective lens. The value indicated on the
meter may vary depending on the sensor tilt angle. There-
fore, make adjustments with it in the position which yields the
maximum value.

(D VR101 is very sensitive, carefully adjust VFI101 clockwise.
Adjustment valuezPL = 0.5mW +/-- 0.05mW

LASER POWER ADJUSTMENT FOR WRITING

® Select Mode 1 and then select the laser writing mode by
pressing the LINE button (ref. pages 14 and 15).

(YPDR601 RECORD" LED ON)

® Place the laser power meter sensor near the upper portion of
the optical head objective lens.

@ VR102 Is very sensitive, carefully adjuswt VR102 clockwise.
Adjustment value: PL=140mW +I- 13.1mW

Note: a The value indicated on the meter may vary depending on the

sensor tilt angle. Therefore. make adjustments with it in the posi-
tion which yields the maximum value.

b. The writing laser power adjustment value is an average Indica-
tion. The peak power is approximately 8.0mW and this does not
include the over- shoot portion of the waveform.

@ Connect the oscilloscope probe to the laser power meter
monitor output and set the laser power meter to the peak
mode (refer to Waveform photo 1).

a. if thewavelorm looks like the one shown in A of fig. 1 then
the optical head is operating correctly. However, if the
optical head is defective, the monitor waveform will looks
like the one shown B in fig. 1. in this case, the optical
head should be replaced,

b. Set Made 0 by pressing the stop button and select Mode 8
by pressing TRACK » button only (until display shows
08 01 for TFIACK and INDEX and nothing is shown in MIN
and SEC displays). Press PLAY and observe the laser
output power rising in increments of 0.5mW Irom 6mw to
10mW To observe this waveform again, press the stop
button and repeat same procedures.

@ Change to the reading mode by pressing the LINE button
(ref page 15)

(YPDRSOI "RECORD LED OFF)

© Select Mode 0 by pressing the STOP button (ref. page 14),

Waveform Photo, 1

19

7- FWQVRIOIEVR102§E$ 975ml: 5 E153
Tfi/J\0)li§l:jée
- V-V-jélfilfilifiOnmazfianjéoasD Eta
stbfimalélw-fl<$§ianeo-o§é®k»%~v
Fowmuyxéfimtmlzt.

<>READ Powenllx
®PVVHN7HX~7~éAverage (DC or CW) e-
11 fiEémOnmlzifififag
®HF«>- I~VR10L lozififzm Ufifilcsfilfibtlcé '
filiiifiidfioo
®SYsc0N=/- loswmomfilfilge- F (comma) I:
uo'nwzsztéllsaflféo
@YPDRGOItRCGOlQfifiFaJEfiZl v anNer
®MODE lllj'és
®p_+)s_,\~v7-)I ~9-ID-lz1V-Ejévy Ffidlhl/VX
isfiifilslzfiet VRlOléifis/z was war-quid L132]
¥7r50
"fl: PL=0.5mW:fl.05mW
2E : +1 yveliifiwy F0) |/ yxizmfix lo bffiwzlfibh
ram trVfiwwfigjlzgDiéffiifibifilbfémféfikfé
filamarfit 7 bizzsdgfi'éz ta

<>WRITE POWERI§
@LINEdM VAEWL'UENV Prattmsvvme Powermlfi
senses
(YPDR601 RECORD LED ON)
(Duffie/Waxeyemizyuesatwy Hillel/Vi
Larsfiifitzfiat VRwPHsse IZEX afimulfl 1.1%
Eaés
II FL=3.40mWiO.ImW
1!:
an: yv-IzfitiNV Fa) 1/ yxrzqzfi; t) bffixlzlralizzs
rat eyvemaeizaotsmtfiwalta-smefikfi
macerfirx lizTiaEe'ezab
b. L§E®§§¥EI$Average®iEfi I\"'7~lill98.0mW'C"£Z>a
®"'A°'7-x - 9 -§:Peake- Fl: Le;y -ame7r 9
nzz-Wzifififl'és
a. WRITE POWERU) testifies 1 a); 5 familial:
fJOCKEZ aéfifiitao 3L, Fig_ 1031302.;6
rawfiamfinatseinhmw anrsmofmecao
benefit STOPdsS? ysleLMODE contest: L173»
es TrackmbwfiyxewL-caifié 08"(MODE
8) i: l, PLAY-K? xélfi L\ ilililfiifi 6 mWTfiéI
i)\élOmW¥fi:l$T0.5mWX7"v jewelléiifiéc
easel-sac
@EfifilfiéTifiliLINErfiy VEfilfl first»; "READ
POWER lli'és (YPDRsom RECORD mLED
meiruazasmasa)
©5TopakyyeiWL'CMODE ones,
Ezia§i£liVR10légbmeULtl as

OK NG

Fig. 1