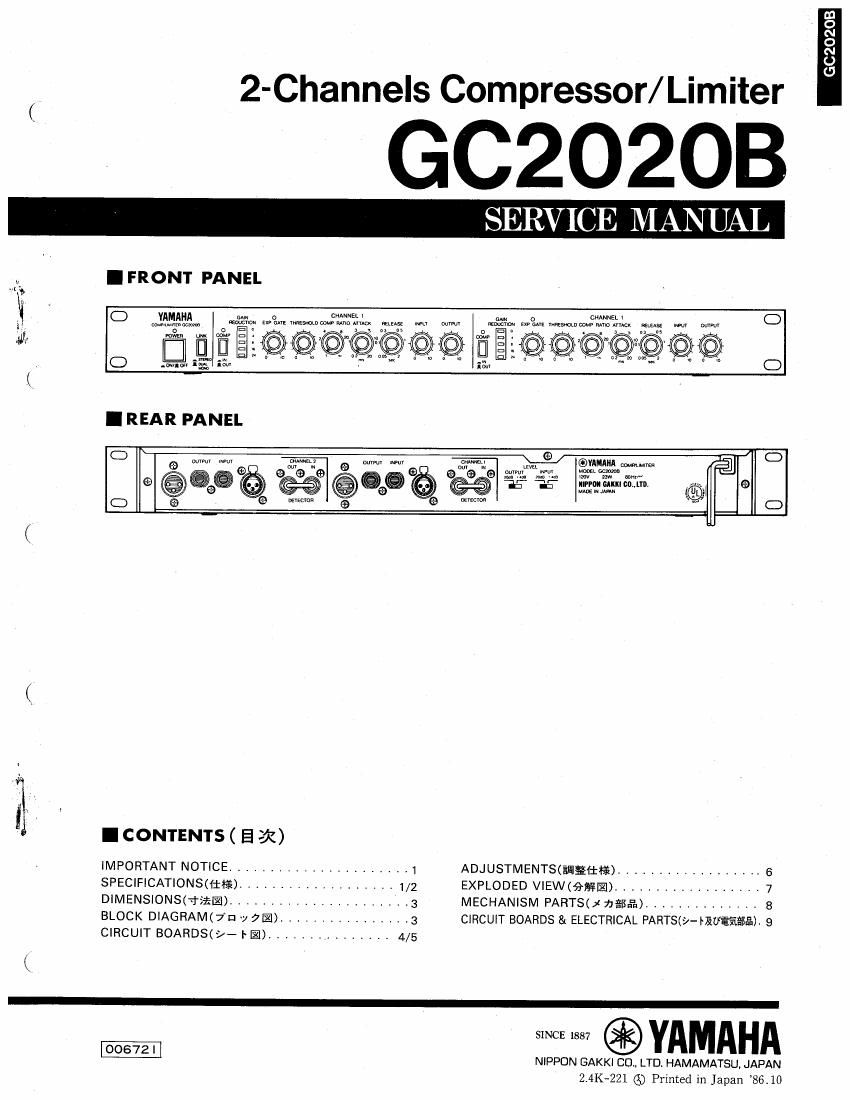
Yamaha gc2020b compressor service manual

This is the 9 pages manual for yamaha gc2020b compressor service manual.
Read or download the pdf for free. If you want to contribute, please mail your pdfs to info@audioservicemanuals.com.

Page: 1 / 9
left right
yamaha gc2020b compressor service manual

Extracted text from yamaha gc2020b compressor service manual (Ocr-read)


Page 2

GCZOZO

GC202OB

I IMPORTANT NOTICE

.(K'

IMPORTANT NOTICE

This manual has been providedfor the use of authorized Yamaha Retailers and their service personnel
It has been assumed that basic service procedures inherent to the industry, and more specifically Yamaha
Products, are already known and understood by the users, and have therefore not been restated.

WARNING: Failure to follow appropriate service and safety procedures when servicing this product
may result in personal injury, destruction of expensive components and failure of the
product to perform as specified. For these reasons, we advise all Yamaha product owners
that all service required should be performed by an authorized Yamaha Retailer or the

appointed service representative.

IMPORTANT: The presentation or sale of this manual to any individual or firm does not constitute
authorization, certification, recognition of any applicable technical capabilities, or
establish a principle-agent relationship of any form.

The data provided is believed to be accurate and applicable to the unit(s) indicated on the cover. The
research, engineering, and service departments of Yamaha are continually striving to improve Yamaha
products. Modifications are, therefore, inevitable and changes in specification are subject to change without
notice or obligation to retrofit. Should any discrepancy appear to exist, please contact the distributors
Service Division.

WARNING: Static discharges can destroy expensive components. Discharge any static electricity your
body may have accumulated by grounding yourselfto the ground buss in the unit (heavy

gauge black wires connect to this buss).

IMPORTANT: Turn the unit OFF during disassembly and parts replacement. Recheckflwork before
you apply power to the unit.

Iiifi

far/await zi-vyas/I/ 777794hfiiflm 0.2msec~20msec

E-I 1'7'l/7l/7T"_171lzf/'lfl]§ U IJ-X74Aaililfli SflmseC~Zsec

ammo 0:;dB 20Hz~20kHz @ +4dB V I) 97, 9 3 viii: 5 air 7 ILED§7T<

sfilfiiflfiéfi 0.05%];(T @+IdB 20Hz~20kHz Iii ACIOUV 543/an2

14 Xlz'xll/ ~87dELAT(IHF*A) >15in 18W

ltiiifllifi -r5§(w x H x D) 430mm x44mm x 235mm
+24dB (INPUT LEVELcJJER 1 ~7'?-20d80>5§ ) ll 3 k9

OUTPUT 55?ng 4 7 7" +4d505§ omittifsit can: '7 7- + yflxamz s U '67.
IVTafiflm 1 3 1~1 1°° lNFUT LEVELelfizr v? «was
57: I) E y 7- »r 1 7' 32dB OUTPUT LEVELfiJEZ 4 v «I» ~+ A as

:77/U i /5- -
x V ~y~> a --;L F wacfitflfifl
+ZfldB~-35dB(INPUT LEVELeJng 4 y i+4d5¢7>fl$)

- 4 dB~ -59dB(INPUT LEVELHJ§7~ 4 ryi-ZDGBWW)

uNervi- »»»»»
INPUT:>I D-Ilw
OUTPUT:> I u-u»
EXP. GATE: y I D -/c-
COMP RATlOIIx I El-l
77779114
UU-174A
o UdE=fl.775Vr.m.
ortasxwumazamtm. +§§c<£ltélza<§sufh

~OFF(DUAL MONO)
- 5

~5

~OFF

-I : 1
-0.2m:ec(§l)
-5umsec(£/l\)


INPUTJ / r DilL D 03% I +20dB~+ SdB
INPUTZI / l~ EJ-ll» 503% 3 +20dB~-20d5
INPUT: >rD-lb1003§3+ 5dB~i35dB

INPUTZIVFEl-Il» DmBfiZ-4dB'V-19d3
INPUT: / I D-llz 503$: - 4dB~i44dB
INPUTZI 7 l El-Hz 100%: 19d8~_59d8

:7XA'V F/{Xf- f
1 ll ~79 a -w r Ilwpaeziefli
o ~-sodB(INPUT LEVELméX 4 ~'/ 3 + a damfle)
INPUT:>Iu-IL owner: a ~740dB
INPUT: > I III-)v sane : 725dB~-65dB
INPUT: > I u we more : -40dB~--80dB
-24dB~-104dB(INPUT LEVELflJ§R 1 '7 Tammie)
INPUT: > I EI-)L u was: -24dB~764dB
INPUT: 7 I Hi, 5 wee: -49dB~-85dB
' INPUT: y I u-IL mane; :-64d3~~104d8

/\

u