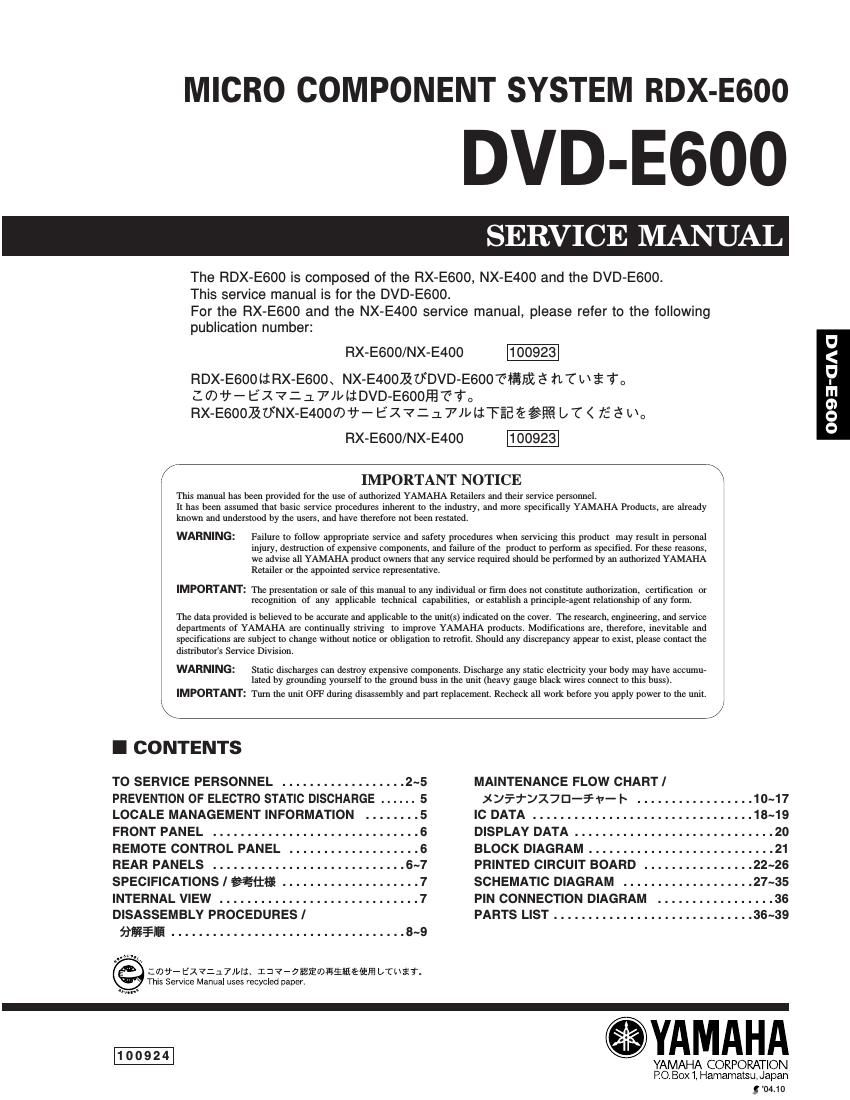
Yamaha dvde 600

This is the 40 pages manual for yamaha dvde 600.
Read or download the pdf for free. If you want to contribute, please mail your pdfs to info@audioservicemanuals.com.

Page: 1 / 40
left right
yamaha dvde 600

Extracted text from yamaha dvde 600 (Ocr-read)


Page 1

MICRO COMPONENT SYSTEM RDX-E600

DVD-E600

The RDX-E600 is composed of the RX»E600, NX-E400 and the DVD-E600.

This service manual is for the DVD»E600.

For the RX-EGOO and the NX-E4OO service manual, please refer to the following
publication number:

RX-E600/NX-E400 100923

RDX-E600li RX-E600s NX-E4007SfilfiDVD-E600'Nfififi c" it? L E To
Z 0)?- [527: 1 TllzliDVD-E6OOFIEI'ETo
RX-EGOOZZUNX-E400t7fif- EX 7: _-i_ TJLlI-FEEEz/ffifi L T < 75 6 hc

RX-E600/NX-E400 100923
/ IMPORTANT NOTICE \

This manual has been provided for the use of authorized YAMAHA Retailers and their service personnel.
It has been assumed that basic service procedures inherent to the industry, and more specifically YAMAHA Products, are already
known and understood by the users, and have therefore not been restated.

WARNING: Failure to follow appropriate service and safety procedures when servicing this product may result in personal
injury, destruction of expensive components, and failure of the product to perform as specified. For these reasons,
we advise all YAMAHA product owners that any service required should be performed by an authorized YAMAHA
Retailer or the appointed service representative.

IMPORTANT: The presentation or sale of this manual to any individual or t'imt does not constitute authorizations certification or

recognition of any applicable technical capabilities, or establish a principleeagent relationship of any form.
The data provided is believed to be accurate and applicable to the utlit(s) indicated on the cover. The research, engineering, and service
departments of YAMAHA are continually striving to improve YAMAHA products. Modifications are. therefore, inevitable and
specifications are subject to change without notice or obligation to retrofit. Should any discrepancy appear to exist, please contact the
distributor's Service Division.

WARNING: Static discharges can destroy cxpenstve components. Discharge any static electricity your body may have accumue
lated by grounding yourself to the ground buss in the unit (heavy gauge black wires connect to this buss).

IMPORTANT: Turn the unit OFF during disassembly and part replacement. Recheok all work before you apply power to the unit.

\ 7 ./

I CONTENTS


TO SERVICE PERSONNEL .................. 2~5 MAINTENANCE FLOW CHARTI

PREVENTION OF ELECTRO STATIC DISCHARGE ...... 5 XJFTDXjEl-EFV- I~ ................. 10~17
LOCALE MANAGEMENT INFORMATION ........ 5 IC DATA ................. .18~19
FRONT PANEL .............................. 6 DISPLAY DATA . . .20
REMOTE CONTROL PANEL ................... 6 BLOCK DIAGRAM ......... . . . .21
REAR PANELS .............. PRINTED CIRCUIT BOARD . . .22~26
SPECIFICATIONS l éfiiifi . . . . . . SCHEMATIC DIAGRAM ...... .27~35
INTERNAL VIEW ............................. 7 PIN CONNECTION DIAGRAM . ..... . . . .36
DISASSEMBLY PROCEDURES/ PARTS LIST ............................. 36~39

fififiillfi .................................. 8~9

:mv- EX711 7M; I :I 7-7iafiwfiiflfiélfilfi L/Cuif.
This Service Manual uses recycled paper.

YAMAHA

1 0 0 9 2 4 YAMAHA CORPORATION

PO Box 1, Hamamatsu,tiapan
g '04.10

OOQEI'GAG

Page 2

DVD-E600

DVD-E600

I TO SERVICE PERSONNEL

. . . AC LEAKAGE
1. Critical Components Information WALL EQUIPMENT TESTER OR
Components having special characteristics are marked A OUTLET UNDER TEST EQUIVALENT
and must be replaced with parts having specifications equal
to those originally installed. ® :ID-
2. Leakage Current Measurement (For 120V Models Only)
When service has been completed, it is imperative to verify :
that all exposed conductive surfaces are properly insulated INSULATING
from supply circuits. TABLE
0 Meter impedance should be equivalent to 1500 ohms shunted 0 Leakage current must "0 0990 0.5mA.
by 0.1 SuF.

0 Be sure to test for leakage with the AC plug in both
polarities.

WARNING: CHEMICAL CONTENT NOTICE!

The solder used in the production of this product contains LEAD. In addition. other electrical/electronic and/or plastic
(where applicable) components may also contain traces of chemicals found by the California Health and Welfare
Agency (and possibly other entities) to cause cancer and/or birth defects or other reproductive harm.

DO NOT PLACE SOLDER, ELECTRICAL/ELECTRONIC OR PLASTIC COMPONENTS IN YOUR MOUTH FOR ANY
REASON WHATSOEVER!

Avoid prolonged, unprotected contact between solder and your skin! When soldering, do not inhale solder fumes or
expose eyes to solder/flux vapor!

If you come in contact with solder or components located inside the enclosure of this product, wash your hands
before handling food.

About Lead Free Solder l fififi/ \ / 5? I: 9 L \ T

The P.C.B.s installed in this unit are soldered using the Nemesis hrwegfbm/x ~, @fflltldfilfi e hfme
following solder. I\ / filiFEEVDEE U '(Ts
SIDE A/AE SIDEB/BE
OPERATION P.C.B - Lead Free Solder/ fiianxfi
SMT FIEFLOW Process
Solder Dip
Ml FLOW Process

Among some types of lead free solder currently available, fifidnxfill lit» < seesaw/s U i Tat} léiifléll Ii

it is recommended to use one of the following types for the T560); 5} txéfifidn melee Elfifé b i "6%

repair work. - Sn+Ag+Cu (fififiéfi)

- Sn + Ag + Cu (tin + silver + copper) - Sn+Cu (fifilfl)
- Sn + Cu (tin + copper) - Sn+Zn+Bi (35+fifiin+lix 7 2)
- Sn + Zn + Bi (tin + zinc + bismuth)

Caution: 31% : \ . _ . . ,m, s - ..

1. As the melting point temperature of the lead free solder 1- 359" 115 QflixfigififitmfiaA U " (gh-ttfio
is about 30°C to 40°C (50°F to 70°F) higher than that of 7:0 Chris-r <_ 3 c 73$ W) ff % h% mm / a
the lead solder, be sure to use a soldering iron suitable k = 3 t" 5 ~ 7 E 4W5 < 73 é a
to each solder.

2. If lead solder must be used, be sure to remove lead 2. $91K lV/fiflib 13%: E?§tb\t%éli, a '5 if U 14)
free solder from each terminal section of the parts to be if??? 5 EBiE'nfi-T-EBP 4? wfiflfifiOfifian / 51 2* 1
replaced and from the area around it completely before THY I) I? < bk 2% 5 u liéfifijufl / $1 é: iuJK U /\ / 5? 71"
soldering, or make sure that the lead free solder and +fil1f§lttlfi$§t 7;: 5 J: 7 l:/\/$117Ilt b? < f5 3

lead solder melt together fully. Ls