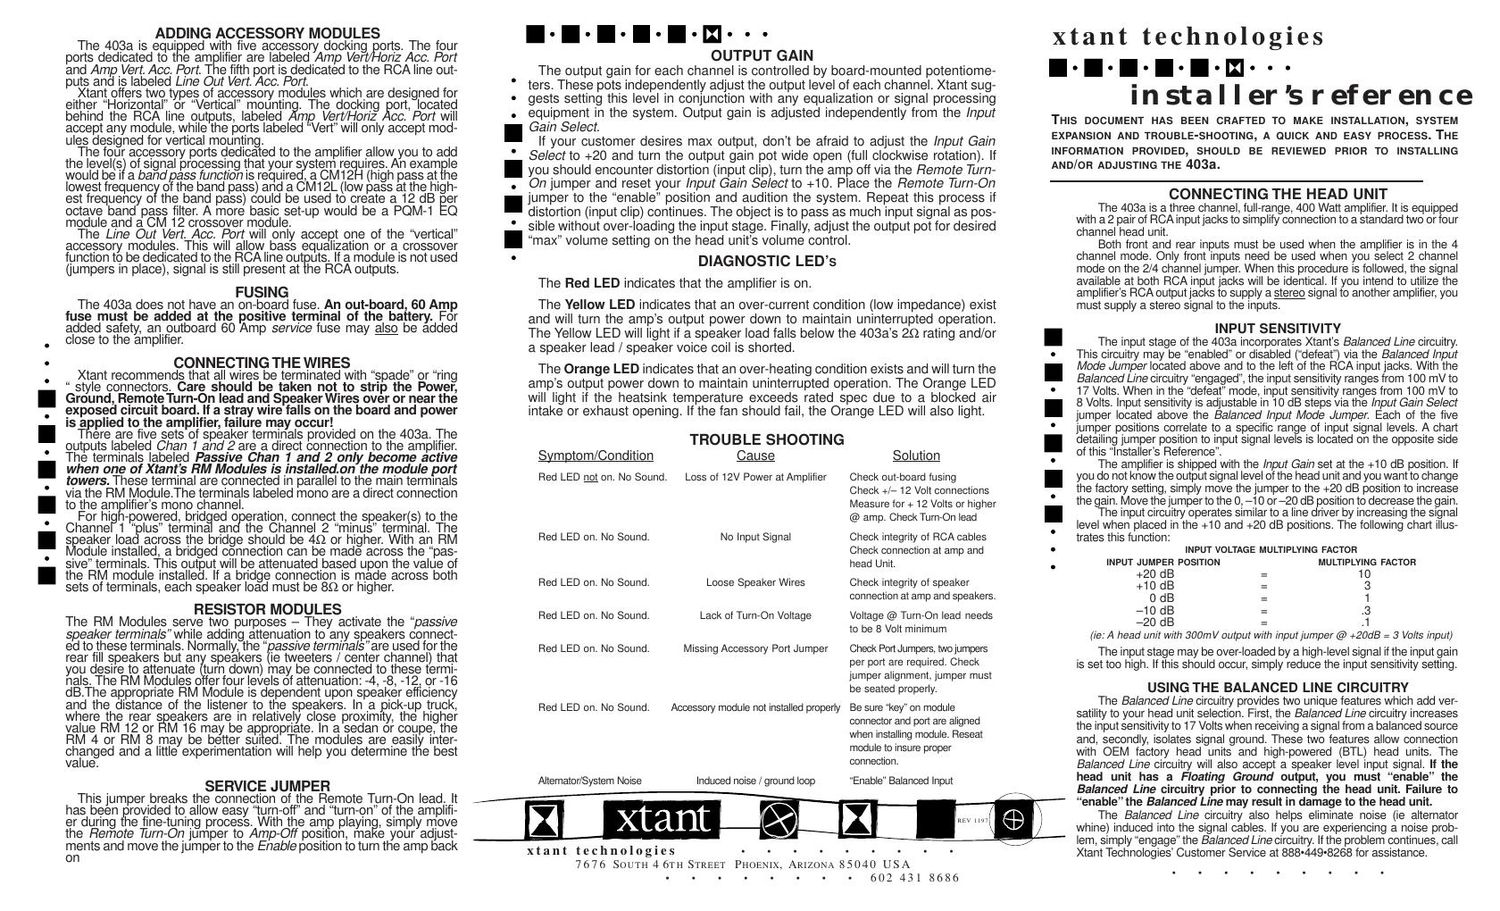
Xtant 403 a owners manual

This is the 2 pages manual for xtant 403 a owners manual.
Read or download the pdf for free. If you want to contribute, please mail your pdfs to info@audioservicemanuals.com.

Page: 1 / 2
left right
xtant 403 a owners manual

Extracted text from xtant 403 a owners manual (Ocr-read)


Page 1

fan speed +-+-+-+-+ - fan INSTALLERÕS REFERENCE . . . . . . . . . . . XTANT 403A............ remove amplifier cover Do not remove protective covering until installation is complete. temporarily mount amplifierThe amplifier is designed to be anchored through the four holes located on the circuit board/base assembly. mark wires for terminationDetermine wire lengths for Power, Ground, Remote, & Speaker cables. Mark for cutting/termination. Remove 403a . Cut and terminate all wires. CAUTION: Stripping wires over the circuit board may cause product failure. balanced inputs Make all initial adjustments at your work bench. To select ÒBalanced Input Ó for OEM integration or inductive noise cancellation, move the two jumpers, located above and to the left of the RCA input connectors to the ÒenableÓ position. input gain The input gain is factory preset at +10dB and will work with an input signal of 300mV to 1 Volt . To increase the gain, move the jumper to the +20dB position. To decrease input gain, place jumper in the 0, -10 , or -20dB position. install accessory modules At your bench, adjust crossover mode jumpers and change crossover frequency SIPÕs . Remove port jumpers and install module(s) Ð observe ÒkeyÓ on connector for proper fit. Adjust PQM-1 or LFQ 45 EQ modules after amp is mounted. mount the amplifier and connect speakers Two pairs of speaker terminals are provided. The attenuation function of the termi- nals labeled ÒpassiveÓ is only activated when Xtant Õs Òpassive attenuation boardsÓ Ð RM 4, RM 8, RM 12 or RM 16 are installed. Channel input mode jumper Both front and rear inputs must be used when the amplifier is in the 4 channel mode. only front inputs need be used when you select 2 channel mode on the 2/4 channel jumper. make remaining connectionsDouble check all connections! Turn on amplifier. Check red led, it should be on. If any other adjustments need to be made (crossover modules/input gain adjustment) thE Service jumper may be used to turn the amp off. Make adjustments and place jumper in the enable position to turn the amp back on. adjust output gain to set system level. after fine tuning the system, remove protective covering and spray a light coating of WD40ª on a soft cloth and clean cover. 5 8 7 4 1 2 3 XTANT TECHNOLOGIES 7676 SOUTH 46TH STREET PHOENIX, ARIZONA 85040 PHONE: 888.449.8268 FAX 602.431.8600 amplifier gain controls: TURN CLOCKWISE TO INCREASE GAIN Amplifier Accessory Ports 1 2 3 4 5 7 8 CAUTION: THE 403 AIS NOT FUSE PROTECTED ! FOR SAFTEY , AN OUTBOARD 60 AMP FUSE MAY BE ADDED CLOSE TO THE AMPLIFIER . A60 AMP FUSE MUST BE INSTALLED IN -LINE WITH THE POWER WIRE AT THE BATTERy. Caution: SHARP EDGES be careful when handling top and bottom metal. Speaker output terminals:THE 403A FEATURES TWO PAIRS OF SPEAKER TERMINALS. THE ATTENUATION FUNCTION OF THE TERMINALS LABELED ÒPASSIVEÓ IS ACTIVATED WHEN XTANTÕS PASSIVE ATTENUATION BOARDS - RM4, RM8, RM12 OR RM16 ARE INSTALLED. THE AMOUNT OF SERIES RESIS- TANCE ADDED WILL REDUCE THE LEVEL OF THE SPEAKER SYSTEM (ATTACHED TO THE ÒPAS- SIVE TERMINALSÓ) BY -4, -8,-12 OR 16 db. 6 2/4 Channel Jumper 6