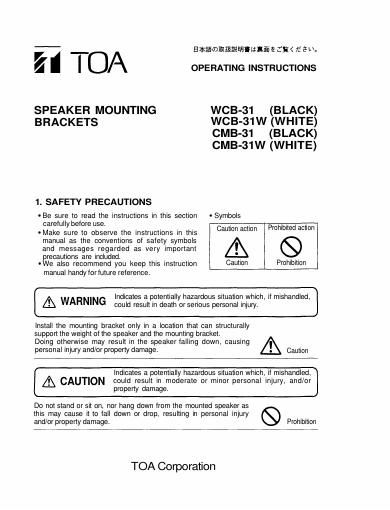
Toa wcb cmb 31 install

This is the 8 pages manual for toa wcb cmb 31 install.
Read or download the pdf for free. If you want to contribute, please mail your pdfs to info@audioservicemanuals.com.

Page: 1 / 8
left right
toa wcb cmb 31 install

Extracted text from toa wcb cmb 31 install (Ocr-read)


Page 1

2. GENERAL DESCRIPTION These TOA speaker mounting brackets are designed for indoor use exclusively with theF-240 series speaker systems. The WCB-31 and WCB-31W can be used for mounting aspeaker on both a wall or ceiling, and the CMB-31 and CMB-31W for mounting it on aceiling. Speaker angle can be changed freely to your desirous direction according to the speaker location. 3. NOMENCLATURE AND DIMENSIONS WCB-31/WCB-31W Mounting hole (6.8 mm dia. x 6) Square sockethead screw* Safety pin Horizontal angleadjustment screw 61 mm Bracket base Horizontal angleadjustment screw Speaker cable hole(8.8 mm dia. x 2) 150 mm Vertical angle adjustment screw Suspension bracket CMB-31/CMB-31W Speaker cable hole (10 mm dia. x 2) Mounting hole(6.2 mm dia. x 4) Horizontal angle adjustment screw Safety pin Square socket head screw* Horizontal angleadjustment screwBracket base 80 mm 61 mm Vertical angle adjustment screw Suspension bracket Caution: * Never loosen two square socket head safety screws for falling-out prevention.

Page 2

4. INSTALLATION 4.1 Procedures 1. Disassemble the mounting bracket into the suspension bracket and bracket base. Pull out the safety pin, and remove the vertical angle adjustment screw using the supplied hexagon w rench (large). Speaker mounting screw 2. Mount the suspension bracket to a speakerusing the supplied two speaker mountingscrews (M5). Refer to the right figure. 3. Mount the br acket base to a wall or ceiling.Verify that the wall or ceiling can safely supportthe weight of both the speaker mountingbracket and mounted speaker, and reinforce if its strength is insufficient. NoteNo screws are supplied for mounting the bracket base to a wall or ceiling.Prepare the commercial screws appropriate for the wall or ceiling material. 4. Fix the suspension bracket mounted on the speaker to the bracket base. Tighten the vertical angle adjustment screw securely with the supplied hexagon wrench (large), and insert the safety pin. 5. Determine and fix the speaker direction. Tighten the vertical and horizontal angle adjustment screws securely with the suppliedhexagon wrenches (large/small). Suspensionbracket Speaker Caution: Verify that both bracket contacts are securely fitted each other. 4.2 Dimensions of the Bracket Base (Unit: mm) WCB-31/WCB-31W CMB-31/CMB-31W Mounting hole(6 places) Speaker cable hole(2 places) Mounting hole(4 places) Speaker cable hole (2 places)