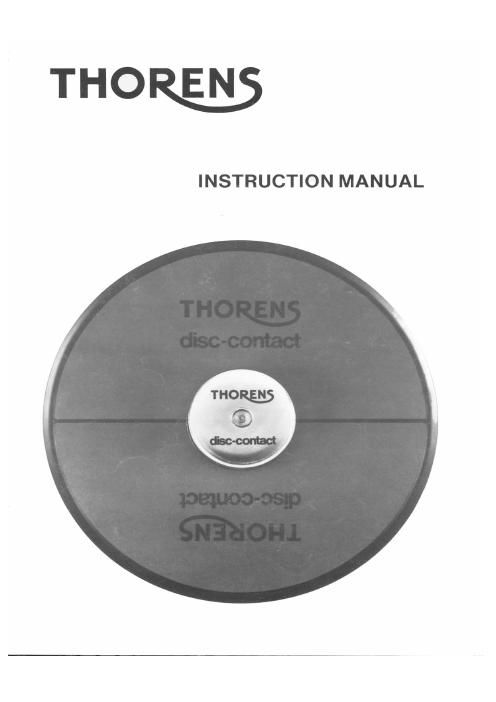
Thorens disc contact owners manual

This is the 5 pages manual for thorens disc contact owners manual.
Read or download the pdf for free. If you want to contribute, please mail your pdfs to info@audioservicemanuals.com.

Page: 1 / 5
left right
thorens disc contact owners manual

Extracted text from thorens disc contact owners manual (Ocr-read)


Page 1

disc-contact Vacuum Record Clamp The disc-contact vacuum record clamp consists of: - a special disc-contact-mat (T) - a sealing disc @ - a vacuum puck (3) - a vacuum pump with connecting tube and coupling (4) Included as accessories are a clamp (5) for holding the tube when not in use and self-adhesive sealing foil @ for damaged record labels. By employing reduced air pressure, the clamp presses the record firmly onto the turntable mat. Distortion and tonal colorations are thereby effectively prevented, especially with thin or warped records. The advantage of the technique employed is that the platter bearing and spindle are not subjected to reduced air pressure during record play. Therefore, vacuum seals which could impair rumble and wow-and -flutter perfor- mance are not required. Installation of the disc-contact Mat on THORENS Turn- tables (except TD 104/105 and TD 524) To permit the rubber drive belt to be exchanged as required, the disc-contact mat is bonded only to the outer turntable platter. 1. Remove the standard turntable mat from the turntable platter. Clean the surface of the o u t e r p lat t e r wit h denatured alcohol. 2. Press the sealing disc with the flat side facing upwards onto the turntable spindle. Clean the surface of the disc with denatured alcohol. 3. Peel off the inner protective paper ring from the underside of the disc-contact mat to expose the adhesive surface. Position the middle hole over the turntable spindle and press the center of the mat lightly onto the sealing disc. 4. Lift one side of the disc-contact mat from the rim of the turntable platter and peel off the half of the outer paper ring underneath. Press and stroke this section of the mat outwards to bond it to the platter without trapping air pockets in- between (Figure 2). 5. Peel off the second half of the outer ring from the other side of the mat and bond this section to the platter in the same manner as in step 4.

Page 2

Installation of the disc-contact Mat on TD 104/105 and Other Turntables The disc-contact vacuum record clamp may be used not only on THORENS turntables but also on many other units. It is necessary only that the surface of the turntable be completely flat between the rim and the spindle when the rubber mat is removed. (Holes and grooves in the platter are permissible.) 1. Remove the mat from the turntable platter and clean the entire surface of the platter with denatured alcohol. 2. Peel off the two inner protective rings (for the TD 104/105, only the innermost ring) from the underside of the disc-contact mat to expose the adhesive surface. 3. Holding the mat at the outer edge, position the middle hole over the turntable spindle and press the center of the mat onto the middle of the platter (Figure 3). Press and stroke the mat outwards to bond it to the platter without trapping air pockets in-between. 4. Lift one side of the disc-contact mat from the rim of the turntable platter and peel off the half of the paper ring underneath. Press and stroke this section of the mat outwards, taking care not to stretch it. 5. Repeat step 4 for the other half of the mat. Installation and Connection of the Vacuum Pump The pump should be installed near the turntable so that the vacuum puck at the middle of the platter may be easily reached with the vacuum tube. A location to the left of the turntable is the most suitable, since the tube will not interfere with the tone arm. After the pump has been connected to the electrical mains, the disc-contact is ready for use. In order to mount the holding clamp for the vacuum tube and coupling, peel off the protective foil and press the clamp onto either the (left-hand) side of the turntable base or another easily accessible location. WARNING! To prevent fire or shock hazard, do not expose this appliance to rain or moisture.