Technics SV 260 Service Manual

This is the 54 pages manual for Technics SV 260 Service Manual.
Read or download the pdf for free. If you want to contribute, please mail your pdfs to info@audioservicemanuals.com.

Page: 1 / 54
left right
Technics SV 260 Service Manual

Extracted text from Technics SV 260 Service Manual (Ocr-read)


Page 1

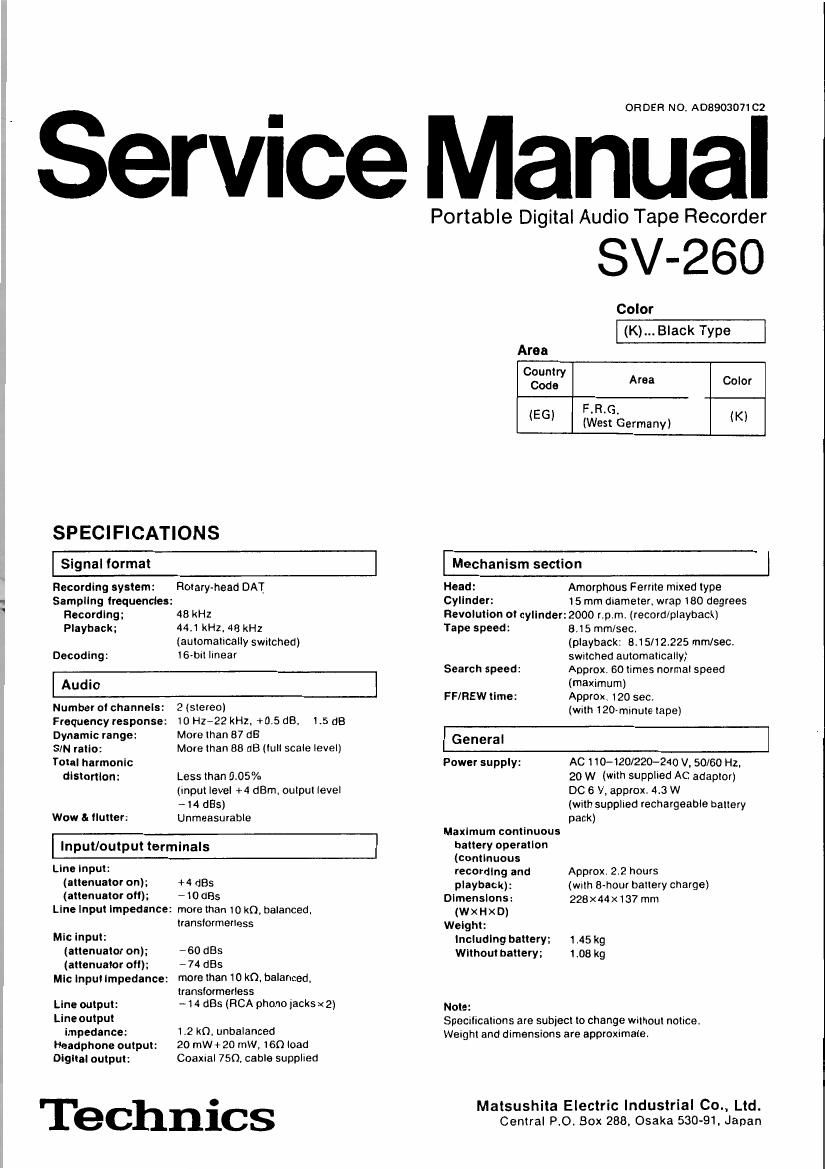
OHDER NO. A08903071C2

' Service Manual

Portable Digital Audio Tape Recorder

SPECIFICATIONS

SV-26O

Color
(K)... Black Type

Area
08:3? Area Color
F.R.G.
IEGI (West Germanyl (K)

Signal format

Mechanism section

Recording system: Rotary-head DAT
Sampling frequencies:

Recording: 48 kHz
Playback: 44.1 kHz. 48 kHz
(automatically swrtched)
Decoding: IGDII Ilnear
Audio

Numberolchannels: 2(slereol
Frequency response; to Hz-22 kHz, +0.5 dB. l.5 dB

Dynamic range: More than 87 dB
SIN ratio: More than 88 dB (lull scale level)
Total harmonic
distortlon: Less than 0.05%
(lnpuI level +4 dBm. output level
14 st)
Wow 5. llutter: Unmeasurable

Input/output terminals

Line Input:
(attenuator on); +4 (185
(attenuator oil); 710 st

Line Input Impedance: more than 10 k0. balanced.
lranslormerless

Mic input:

(attenuator on); -60 st

(attenuator oft); - 74 st
Mic lnpul Impedance: more than 10 k0, balanced.

translormerless

Line output: ~14 st (RCA phono jacksx2)
Line output

impedance: 1.2 RC. unbalanced
Headphone output: 20 mWi» 20 mW. 160 load
Digital output: Coaxral 750, cable supplied

Technics

Head:

Cylinder:

Revolution 01 cylinder:
Tape speed:

Search speed:

FF/REW time:

Amorphous Ferrite mixed type

15 mm diameter, wrap l80 degrees
2000 r.p.m. (record/playback)

8.15 mm/sec.

(playback: 6.15112225 mm/sec.
switched automatically)

Approx. 60 limes normal speed
(maximum)

Approx. 120 sec.

(with l20

General

Power supply:

Maximum continuous
battery operation
(continuous
recording and
playback):

Dimensions:

(wxl-lx D)

Weight:

Including battery:
Without battery;

Note:

AC 1 10-1201220-240 VV 50/60 Hz,
20 w (wrth supplied AC adapter)
DC 6 V, approx, 4.3 W

(with supplied rechargeable battery
pack)

Approx. 2.2 hours
(With 8-hour battery charge)
228x44><137 mm

1.45 kg
1.08 kg

SpeCIIICaIIDnS are subjecl to change without notice.
Weight and dimensions are approximate,

Matsushita Electric Industrial Co., Ltd.
Central P.O. Box 288, Osaka 530-91, Japan

Page 2

SV 260

I CONTENTS
P-II
POWER wPPLVt...,.. ..... ........ . .,.2
PANEL DDNTRDLS AND FUNCTIONS a ~s

SV-zso MAINTENANCE CNART .
AmmoRlEs_........t. .
MECHANISM CDNIPONENY LAYOUT.
DISNEMBLV INSTRUCTIONS t . t t
TERMINAL GUIDE OF Its,
TRANSISTORS AND DIODES .
MEASUREMENTS AND ADJUSTMENTS t
LOCATION OF ADJUSTMENT POINTS .
TERMINAL FUNCTION OF I: .....

I POWER SUPPLY

F
aLocttolAGRAM..... ....... .. ...... ...,:Isaa
scuEMAric DIAGRAM ...... .31 ~60
WIRING CONNECTION DIAGRAM . .5152
PRINTED CIRCutT BOARDS . . . .s:~72
REslsTons a. CA'ACITORS , . , .1a~77
REPLACEMENT PARTS LIST. ,_ .1. ~30
CABINET PARTS LOCATION. , .5132
REPLACEMENT PARTS LIST, . . a:
MECHANICAL PARTS LOCATION . .u ~M
REPLACEMENT PARTS LIST. . . . . . . .51,"
TROUBIESROOYING GUIDE .. to ~92

bUsing the rechargeable battery pack 1

Note:

The rechargeable battery pad< ol thrs unit was charged by the
martutacturer belore shipping, l-loerever, during transport Ind
storage Il may have drseharged

Be sure to recharge the battery pack beiore using it tor the itrst
trme.

1 Open the cover on the rear panel at this unit.

Raise the recessed ring and turn
it "I the direction marked OPEN.

2 Insert the rechargeable battery pack into the
battery compartment.

.The rechargeenle battery pack
IS mark Vlllh II'VO'IS
indicaling the oorrecl direclrofl
In Irma! to insert it Into [VII
recorder

Chedt the arrows as rndiceied in

the diagram to make sure the

2312:1222" rechargeable battery pack is
mun, inserted right side up,

3 Close the cover.

Turn the nrtg tn the drrenrorr marked CLOSE and return it
to its recessed positron.

Removlng the recharge hle ttery pack

Open the cover_ press and tin the locking latch. and gently
remove the_ rechargeable battery paolt by hand. Till the unit
sirghtly to get the rechargeable battery putt wt.

I Checkan the battery capaclty

TM slrengtrt ol lhl chains remaining in the biliary is shown an
the BATTERY indicator on the right side or the display

E. I rBItIery rs luily charged.

, Suhlctenl power to run the unit out charge is
last,


V DEI- --When the battery charge rndrcator begins to
trash on and one the u will automatically shut

Fl h . r
50: rtseii oil alter approximately three minutes,

Connect the AC adaptor to the unrt with the battery Pack loaded
normally, The POWER indicator light on the Ac adaptor vritl go
on and recharging will commence.

Dc IN iaclt

POWER indicator


l-Fn To AC outlet

AC adaplar
(rrtclttded)

For lEll

Fit a strttable plug in
the Ac power supply
cord.

Recharge battery pack with the power OFF,

About 4 hours é.) About 2 0 hours

Abouto hours r15 About 2.2 hours

«he unit can be powered with the AC adaptor while the battery
pack rs oerng recharged,

ente POWER indicator light goes on as recharging nears

common. however. leave the unit connected to the AC adapter
tor the hill time period as given above.

I PAN EL CONTROLS AND FUNCTIONS

o Carrying Dell anchor (on both sldes)

9 PHONES LEVEL control
Use this oontrel to adjust the output level to the head-
phones

When listening to music with stereo headphones.
avoid listening tor prolonged periods or time Hearing
experts advise against continuous extended play

PHONES ilck
Dlsplay panel
STOP/CLEAR button and indicator (I)

Press to stop tape running. This button also clears the
program memory. (Indicator illuminates when in STOP
mode. Dunno end search operation or tape leadingi
unloading, the indicator «ashes on and all.)

06$

6 PLAY button and lndlcator (>)
Press to initiate recording or playback. This button is also
used to record Irack numbers manual y. (indicator illumir
nates during playback and recording.)

0 PAUSE button and indicator (ll)
Press to temporarily interrupt planner or recording. (In~
dictator illumtnatea while in PAUSE or recording slandby
mode.)

0 RECORD button and indicator (0)
Preps In ptII lrta unll In {no record standby mode When
ready la begin recording, press the PLAY button alter the
RECORD button. {Indicator illuminates during incoming
and when in recording standby mode)

9 REC (record) LEVEL controls
Use these oonerIS to must the recording level,
The outer mnlrnl adjusts [ht righl channel level and the
inner control the Iell channel lat/9|.

0 OPERATION switch
Pushtolhertgmlotttmtheunttonandoh

STANDBY indlcllor

OWN-n the unlt is Inn in the STOP or PAUSE mode lor
approximately to mlmlfi'ss Ihe STANDBY indicator will
light up and the unit III" automatically go tnlo an energy
sawng STANDBY mode.

on the unit is ten in the STANDBY mode lot approximately
30 minutes more. it IIIII automatically turn rtsell on:

REC (record) MUTE button (0)

Press to insen a silent sectron oi approximately lour
seconds. .

Press the PLAY button to resume recording.

FF (fast-toward) button and Indie-tor (>>)
Press to wind the rape rapidly lorward [indicator illuminates
while tape rs advancing.)

Ill this button is pressed when the unit is in the STOP er
PAUSE mode. the tape will move at so times its normal
speed.

eWhen this button rs held down during playback. the tape
will move at 11 times its normal speed.

REW (retrrlnd) button and Indicator (<4)

Press to wind the tape rapidly backwards. (indicator

illuminates while tape is reminding.)

oli this bullofl is pressed when the umt is in the STOP or
PAUSE mode, the tape wiil rewind at on times normal

speed.
ownen this button is held down during playoaett the lape
will rewind at 15 times normal speed.

ll (he HEW button is pressed while the laps ts rewound, you
wIll Shit! mm In Oven luster rewind mode.

{The rIwind in cator (<) flashes 011 Ind on during laal
rewind operation.)

COUNTER RESET Dutton
Press to reset the tape counter to "9000.