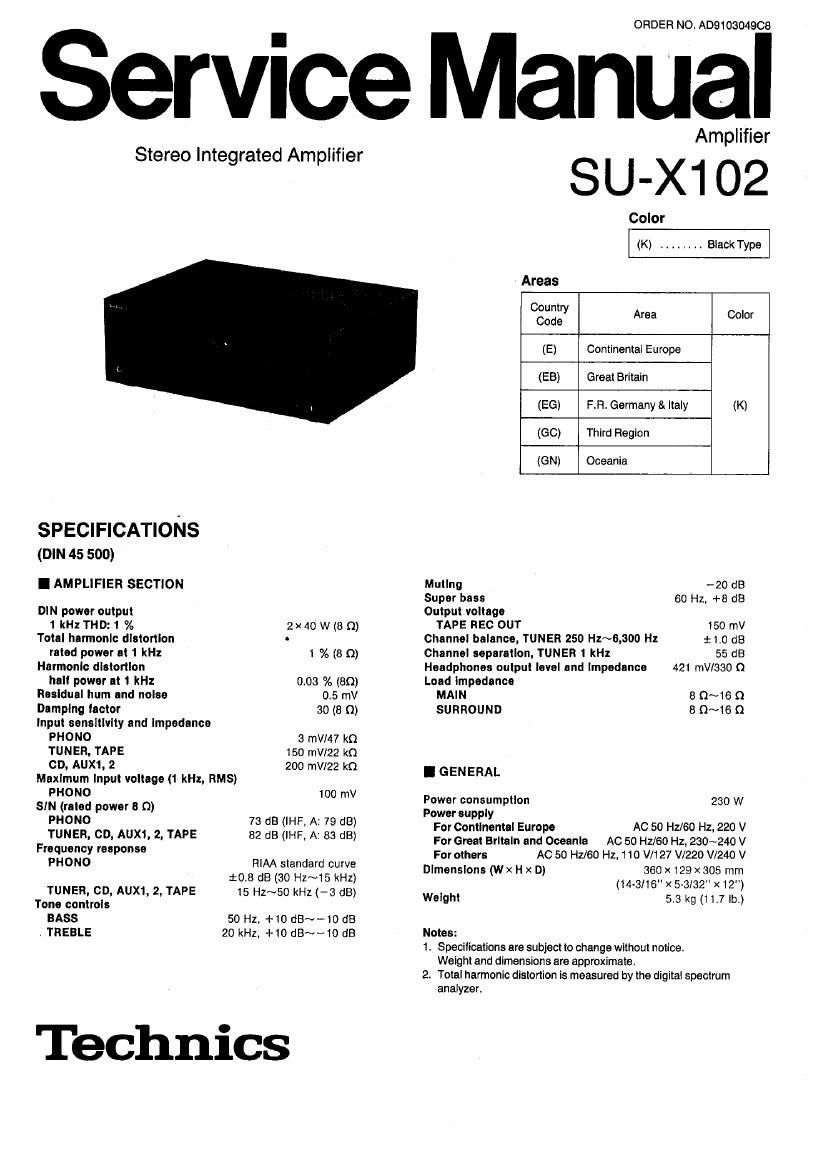
Technics SUX 102 Service Manual

This is the 19 pages manual for Technics SUX 102 Service Manual.
Read or download the pdf for free. If you want to contribute, please mail your pdfs to info@audioservicemanuals.com.

Page: 1 / 19
left right
Technics SUX 102 Service Manual

Extracted text from Technics SUX 102 Service Manual (Ocr-read)


Page 2

SU-X102

I CONTENTS

Before repairs .....................................
Protection circuitry
Accessories
Location of controls
Standard operations ..............
Connections .....................
Disassembly instructions. . .
Schematic diagram ................................

I BEFORE REPAIR

Page
Description of FL panel .................................. 13
Circuit board diagram .............................. 20~25
Terminal guide of IC's. transistors and diodes ................ 25
Wiring connection diagram ............... . . . 26
Block diagram ....................................... 27, 28

Function of IC terminals
Replacement parts list . . . , .
Cabinet parts location .................................. 84, 35
Packaging .............................................. 36

(1) Turn off the power supply. Using a 100. 5 W resistor connect both ends of power supply capacitors (C71 1, C712, 3300 HP) in order to discharge the

voltage.

(2) Before turning the power supply on, after completion oi repair, slowly apply the primary voltage by using a power supply voltage controller to make
sure that the consumed current at 50 Hzlso Hz in NO SIGNAL mode should be shown belowwlth respect to supply voltage 110 W127 V/220 V/

240 V.
Power supply voltage AC 110 V AC 120 V AC 220 V AC 230 V AC 240 V
Consumed current 50 Hz 181 ~424- mA 166~386 mA 96~224 mA 86~200 mA 87N204 mA
Consumed current 60 Hz 161~376 mA i48~346 mA 86~200 mA 75~175 mA 79~185 mA

I PROTECTION CIRCUITRY

The protection circuitry may have operated it either of the following conditions is noticed:

No sound is heard when the power is switched ON.
Sound stops during a performance.

The function of this circuitry is to prevent circuitry damage it. for example, the postive and negative speaker connection wires are shorted", or if speaker
systems with an impedance less than the indicated rated impedance of this unit are used.

Itthis occurs. follow the procedure outlined below:
1. Switch OFF the power.
2. Determine the cause of the problem and correct it.
3. Switch ON the power once again.

Note:

When the protection circuitry functions, the unit will not operate unless the power is first switched OFF and then ON AGAIN.

I ACCESSORIES

OAC power supply cord ..... 1
Configuration of AC power supply cord differs according to area.


SJA187. . . For (E) (EG) area only.
SJA173. . For(GN) area only.
SJA188. . . . For(EB) area only.
RJAOOOA ........ For (60) area only.

OAttachment AC plug ...........

SJP9215 ........ For (GC) area only.

Page 4

SYSTEM OONTROL OUT

SU-X102

I STANDARD OPERATIONS

Adjust the high-frequency sound to the desired

tone quality.

Adjust the low-frequency sound to the desired
tone quality.

EifKfiEE

Adjust the balance at the left/right volume.
Adjust the volume level.

SUPER BASS

Press this button to boost the super-low
frequency range. (The indicator will illuminate.)

I CONNECTIONS

my

Set to the ON position to activate the sur-
round-sound ettect. (rite indicator wiii illuminate.)

Note:

The surround-sound eiiect is only etlective tor phone discs, com-
pact discs, tapes that are recorded in stereo. and for FM and
other broadcasts that are broadcast in stereo. it has no etlect tor
monaural AM broadcasts, or for any other monaural source,
when listening to a sound source recorded by the surround-
sound method, set this switch to the "OFF" position.

The eltect by using surround-sound speaker systems
lelt t A 4 7 ri ht
< ) 19/le ( g ) An eitect similar to the
J dynamic sound at a
'\ r
\ 7 concert hall
tiehd Olrigm)

During recording
Operation oi controls or switches other than the surround-sound
switch has no inlluence upon recording.

To connect the ampli 'er with the cassette deck

» 9 ,

Amplifier

Stereo connection cable
White (L) g
Red (R)

See the operating inst ructlcns oi the tuner (ST~X302L) tor
details.

[3 Connect the stereo connection cables.
[2] Connect the L-type cable.
E Connect the flat cable.

SYSTEM CONTROL OUT

This terminal is used to connect a Technlcs compact
disc player or a Technics stereo graphic equalizer with
the SYSTEM CONTROL IN terminal.

coufitcl.
This terminal is used to connect a Technics mulil com-
pact disc player with the CONTROL terminal.

Cassette deck

CONTROL