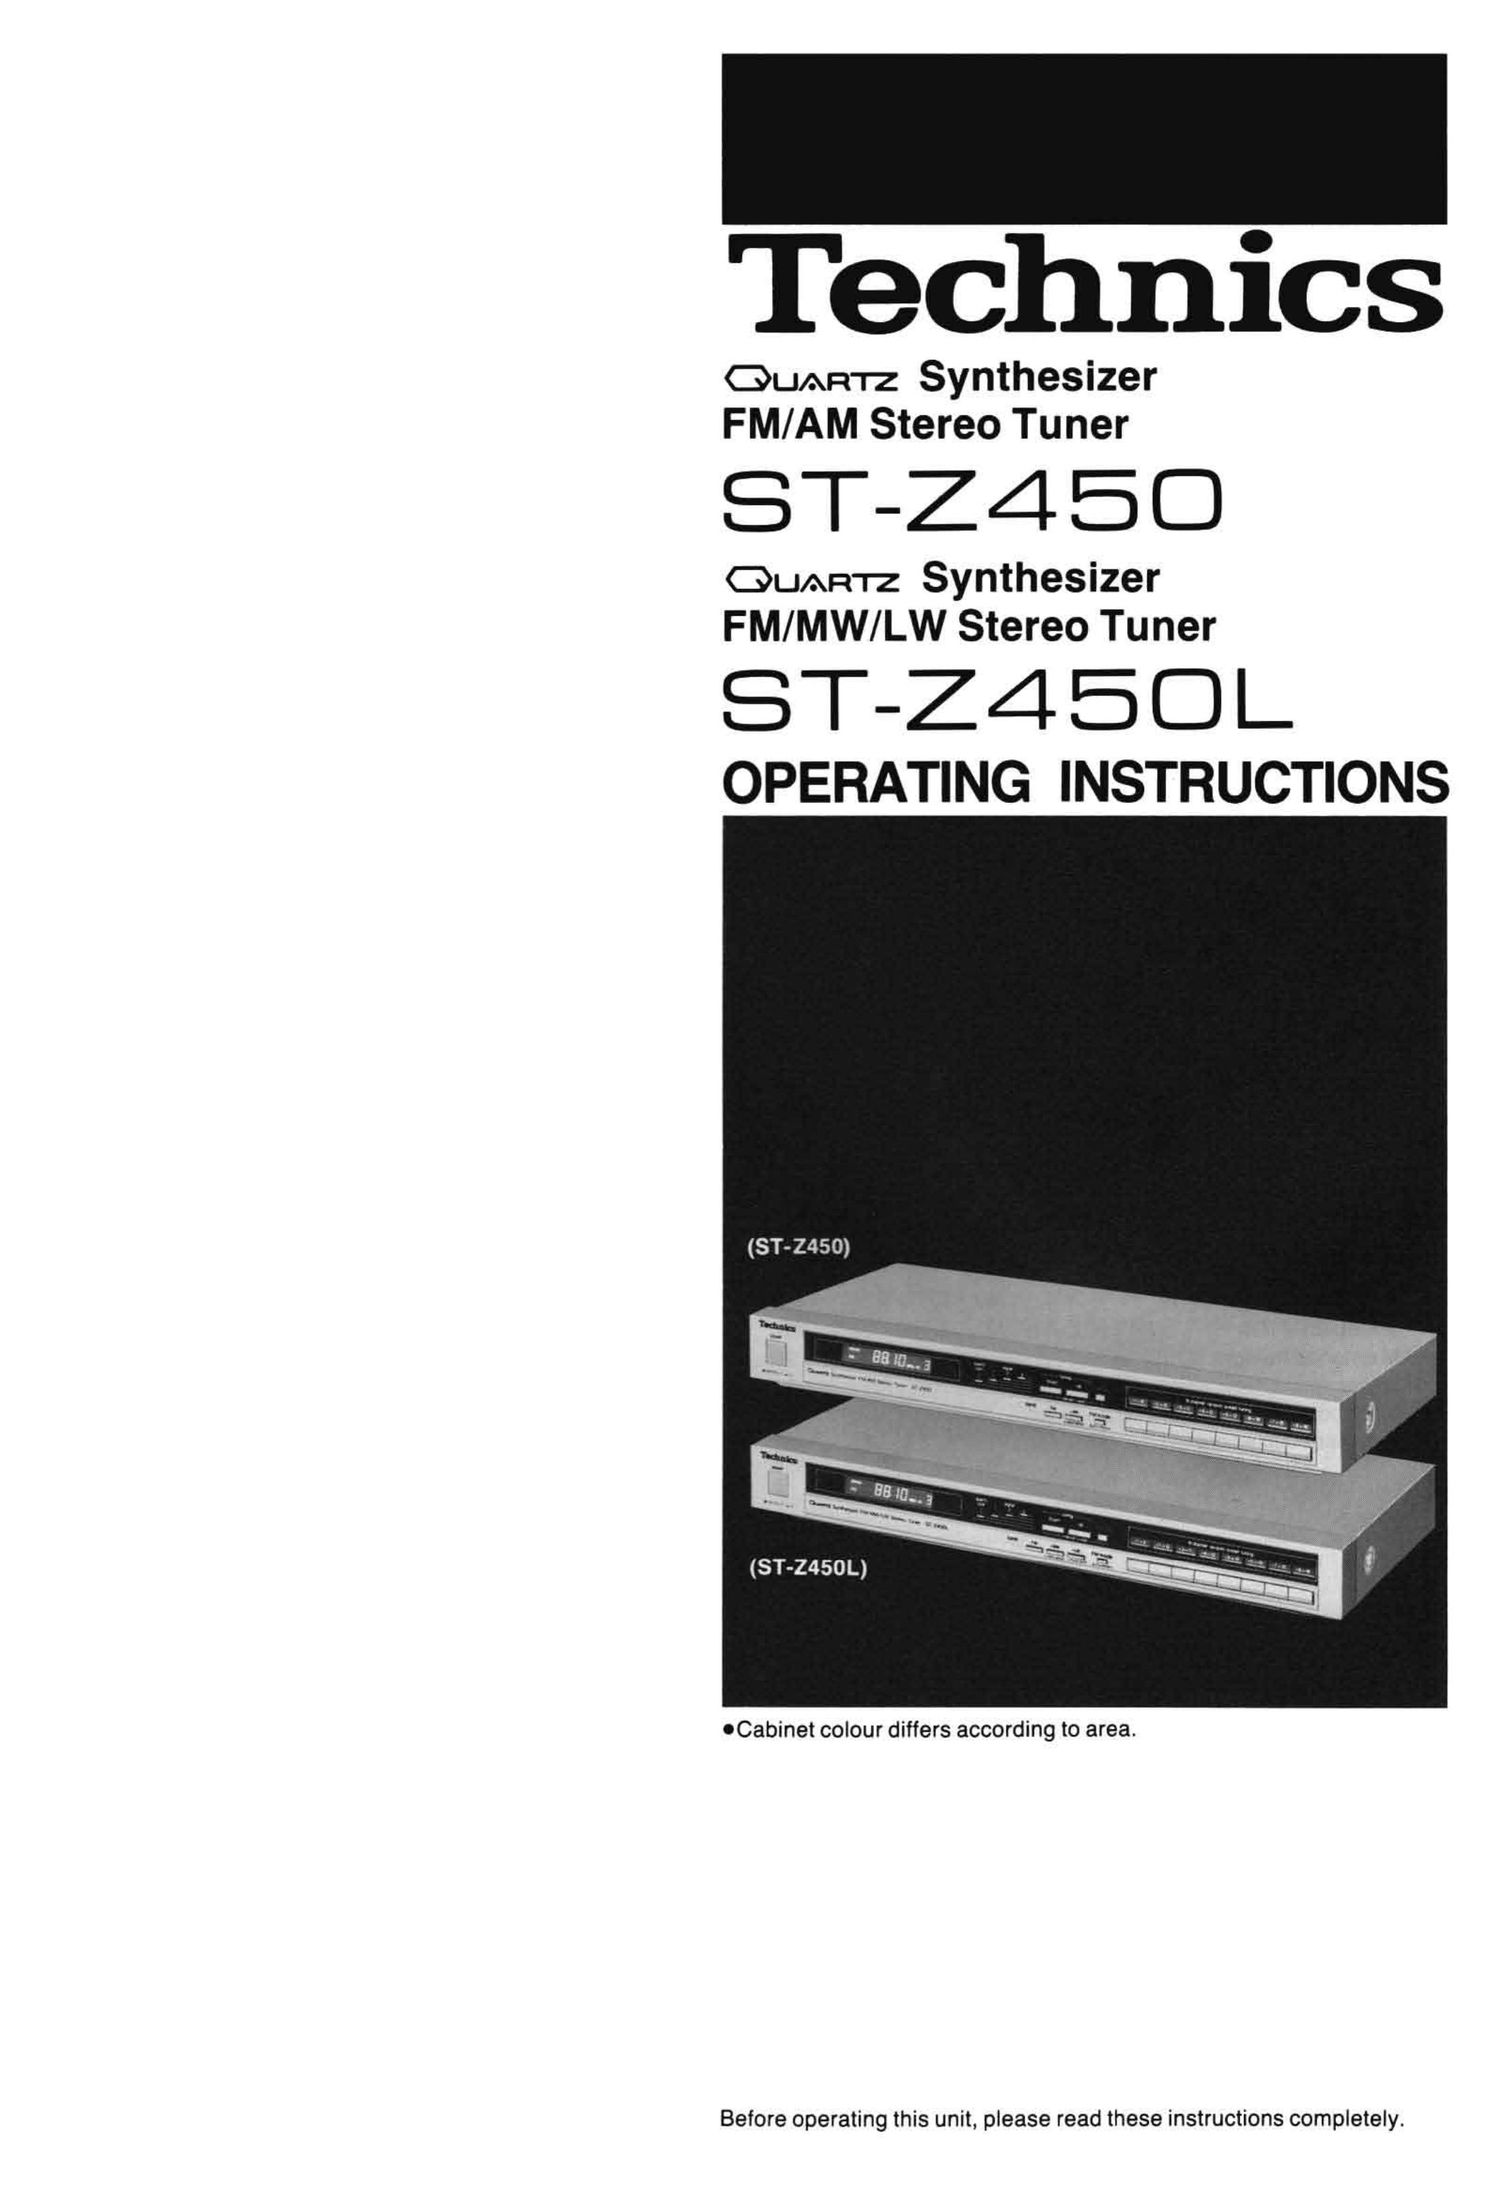
Technics STZ 450 L Owners Manual

This is the 12 pages manual for Technics STZ 450 L Owners Manual.
Read or download the pdf for free. If you want to contribute, please mail your pdfs to info@audioservicemanuals.com.

Page: 1 / 12
left right
Technics STZ 450 L Owners Manual

Extracted text from Technics STZ 450 L Owners Manual (Ocr-read)


Page 2

We want to thank you for selecting this product and
to welcome you to the growing family of satisfied
Technics product owners around the world.

We feel certain you will get maximum enjoyment

from this new addition to your home.

Please read these operating instructions carefully,
and be sure to keep them handy for convenient
reference.

OACCESSORIES ................................ 2
OBEFORE USING THIS UNIT .................... 2
OMAINTENANCE OF EXTERNAL SURFACES ...... 2
OFOR SAFE USE OF THIS UNIT .................. 3
OCONNECTIONS ................................ 4
0MOST-RECENT MEMORY AND

BACK-UP MEMORY .......................... 5
oTO PREVENT ERASING THE MEMORY .......... 5
OFRONT PANEL CONTROLS AND

THEIR FUNCTIONS ............................ 6
CHOW TO PRESET RADIO BROADCAST

FREQUENCIES ................................ 8
OLISTENING TO RADIO BROADCASTS .......... 10
OTECHNICAL SPECIFICATIONS .................. 11

OTROUBLESHOOTING GUIDE

.................. 12

0 FM indoor antenna .................................... 1
0 AM loop antenna .................................... 1
0AM antenna holders .................................. 2
O Screws .............................................. 2
0 Stereo connection cable .............................. 1
GAO power supply cord ................................ 1

Be sure to disconnect the mains cord before adjusting the
voltage selector.

Use a minus (-) screwdriver to set the voltage selector (on the
rear panel) to the voltage setting for the area in which the unit will
be used.

(If the power supply in your area is 117 V or 120 V, set to the
127 V" position.)

Note that this unit will be seriously damaged it this setting is not
made correctly. (There is no voltage selector for some countries;
the correct voltage is already set.)

To clean, use a soft dry cloth.

It the surfaces are extremely dirty, use a soft cloth, dipped into a
soap and water solution or a weak detergent solution.

Wring the cloth well before wiping the unit.

Wipe once again with a soft dry cloth.

Never use alcohol, paint thinner, benzine, nor a chemically
treated cloth to clean this unit.

Such chemicals may damage the finish of your unit.