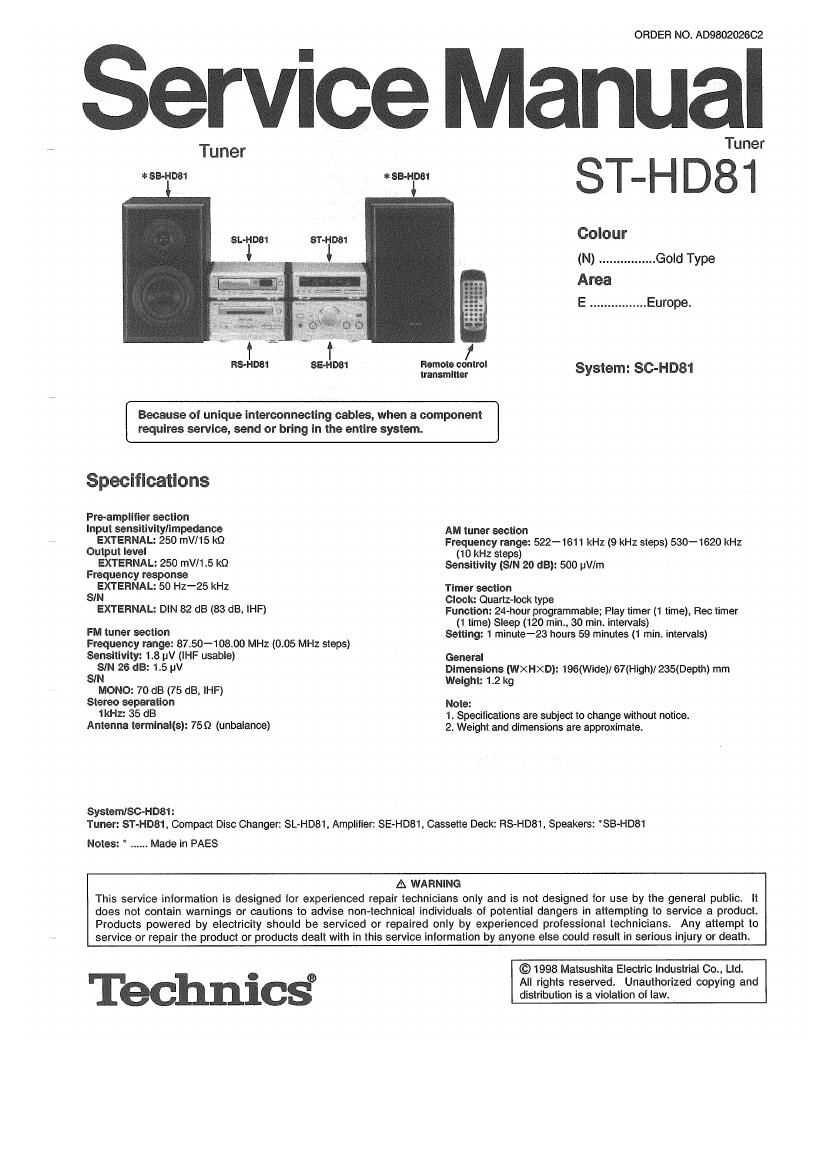
Technics ST HD 81 Service Manual

This is the 32 pages manual for Technics ST HD 81 Service Manual.
Read or download the pdf for free. If you want to contribute, please mail your pdfs to info@audioservicemanuals.com.

Page: 1 / 32
left right
Technics ST HD 81 Service Manual

Extracted text from Technics ST HD 81 Service Manual (Ocr-read)


Page 1

ORDER NO. AD980202602

Service Manual

Tuner

at: SB-HDBt

SEvHDfli

Tuner
Colour
(N) ................ Gold Type
Area
E ....... .....Europe.
figgsfig'm System: SC-HD81

requires service, send or bring in the entire system.

Because of unique interconnecting cables, when a component J

Specifications

Pre-ampliller section
Input sensitivity/impedance
EXTERNAL: 25D mV/15 k0
Output level
EXTERNAL: 250 mV/1r5 k0
Frequency response
EXTERNAL: 50 Hz-25 kHz

SIN
EXTERNAL: DIN 82 dB (83 dB, IHF)

FM tuner section
Frequency range: 8750-10800 MHz (0.05 MHz steps)
Sensitivity: 1.8 uv (IHF usable)

SIN 26 dB: 1.5 pV

SIN
MONO: 70 dB (75 dB, IHF)
Stereo separation
1kHz: 35 dB
Antenna termlnal(s): 759 (unbalance)

System/WHOM :

AM tuner section

Frequency range: 522-1611 kHz (9 kHz steps) 530-1620 kHz
(10 kHz steps)

Sensitivity (SIN 20 as): 500 uV/m

Timer section

Clock: Quartz~lcck type

Function: 24-hour programmable; Play timer (1 time), Rec timer
(1 time) Sleep (120 min., 30 min. intervals)

Setting: 1 minute-28 hours 59 minutes (1 min. intervals)

General
Dimensions (waxo): 196(Wide)! 67(High)! 235(Depih) mm
Weight: 1.2 kg

Note:
1. Specifications are subject to change without notice
2. Weight and dimensions are approximate.

Tuner: ST-HDBL Compact Disc Changer: SL-HDBI, Amplifier: SE-HD81, Cassette Deck: RS-HDB1, Speakers: 'SB-HDB1

Notes: " Made in PAES

A WARNING
This service information is designed for experienced repair technicians only and is not designed for use by the general public It
does not contain warnings or cautions to advise non-technical individuals of potential dangers in attempting to service a product.
Products powered by electricity should be serviced or repaired only by experienced professional technicians. Any attempt to
service or repair the product or products dealt with in this service information by anyone else could result in serious iniury or death

Technics

©1998 Matsushita Electric Industrial 00., Ltd.
All rights reserved. Unauthorized copying and
distribution is a violation of law.

Page 2

3 D81

I Contents

Location of Controls
Setting the Time....
Preparing for the Remote Con ro
Installation
Connections...
About the Sen-Diagnostic Mod .
Operation checks and Main Component
Replacement Pdroccdures
wiring Connection Diagram .....


NOTE:


Block Diagram ..
To Supply Power urce
Schematic Diagram .....
Replacement of the Foot
Printed Circuit Board Diagram.
Terminal Function of lCs

Type Illustration of Ics, Transistors and Diode
Replacement Parts Lls
Cabinet Parts Location

Refer to the service manual for Model No. SE-HDBI (ORDER No. A0980202302) for Information onAccessories",

Installation, Connections and Packaging".

I Location of Controls

E

When -:- appears:

It flashes when you connect the AC power supply cord for the first
time or if there has been a power failure

Reset the time as explained above.

It the minutes setting Is off:

1. Press CLOCK/TIMER.

24 Press SET 3 times.

3 Press v or A to set the minute, and then press SET.

To display the clock again:
Press CLOCK/ TIMER.
The clock display will appear for about 8 seconds.

For your reference:
When you turn OFF the system from the POWER button, the system
goes on standby and the STANDBY indicator lights up.

(D Remote control signal sensor
® Record timer button (0 REC)
© Play timer button (0 PLAY)
@ Clock/timer button (CLOCK/TIMER)
(53 Set button (SET)
(6) Tuning/time adjust buttons (v, A TUNING/TIME ADJUST)
® Tuning mode select button (TUNING MODE)
Source Input select button (INPUT SELECTOR)
RDS display mode select button
(RDS DISPLAY MODE)
® Band select button (FM/AM)

The tuner displays the time, frequency and other information
on CD5 and tapes.

This is a 24-hours display clock.

These instructions explain how to set the timer for 16:25 on
Wednesday,

[I Switch on the power.
(D Press CLOCK/TIMER to show CLOCK.

Every time you press the button, the indication changes in the
order of CLOCK->6 REC-> @ PLAY->Original displayt
Within 3 seconds:

® Press SET.

(D Press v or A to select the day.

Every time you press one of the buttons, the indication changes
in the order of SUN :MONZTUEinDiTHUZFRI:
SAT.

® Press SET.

@Press v or A to select the hour.
® Press SET.

® Press v or A to select the minutes.
(2) Press SET to finish setting the time.

The display will return to the previous display after about 3 sec-
onds.

Page 4

ST-HD81

I Connections

Connect the AC mains lead after you have connected all other cables. To prepare the AM loop antenna wire and speaker cords,
twist the vinyl cover tip and pull off

=1@=>=zm


To connect cables T0 HPIUQ cables

Hold the connector from
Connector both ends and puu it out.

To household
AC outlet


Black (-)

Cylindrical
sleeve