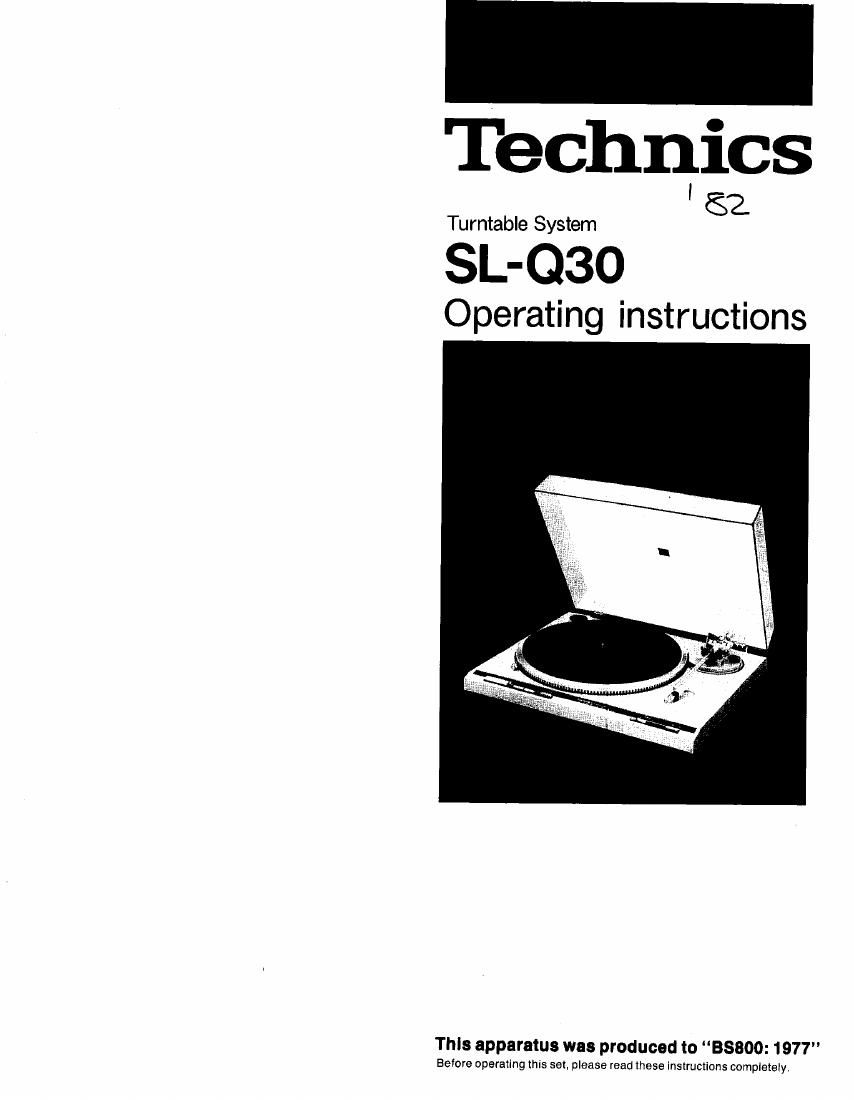
Technics SLQ 30 Owners Manual

This is the 8 pages manual for Technics SLQ 30 Owners Manual.
Read or download the pdf for free. If you want to contribute, please mail your pdfs to info@audioservicemanuals.com.

Page: 1 / 8
left right
Technics SLQ 30 Owners Manual

Extracted text from Technics SLQ 30 Owners Manual (Ocr-read)


Page 1

Technics

'Sz

Turntable System

SL-Q30

Operating instructions

This apparatus was produced to 38800: 1977"

Before operating this set, please read these instructions completely,

Page 2

Before use

Caution:
.00 not plug in the AC power plug beiore completing
assembly.
OAttach the dust cover last to make assembly and adjustments
easier.
oThese instructions apply to units otdlfferent colour.
off: This symbol indicates the stand-by" mode, which
means that when the switch is in this position, the unit is
switched off but not entirely.
on: This symbol indicates on". Push to switch the unit on.
Push again to switch the unit to the stand-by mode.

I Removing the transport screws and

protector

Remove transport screws. (Fig. 1)

Remove transport protector of the tonearm (Fig. 2) and tape
on side of cartridge. (Fig. 3)

Save for future use.

I Checklist of parts
Turntable unit ....................
Turntable platter
Turntable mat . , . . .
Dust cover ...................
45-rpm adaptor .........................

Assembly

I Installing the turntable platter

1. Place the platter on the center spindle.
Note:
in our direct drive system, the motors rotor-magnet is
attached to the undersrde oi the platter. Handle the
platter careiully during assembly and be sure the rotor-
magnet does not get dusty or attract iron filings.
Do not remove or loosen the rotor-magnet screws.
(Fig.4)
Tampering with the rotor-magnet may interfere with
motor performance.

2. Place the turntable mat on the platter.
Be sure the slot in the mat is over the protrusion (record
size sensor) on the platter. (Fig.5)

Note:

After placing the mat on the platter, turn the platter
clockwise aboutten iull rotations by hand.

This is necessary to assure correct operation at the
automatic mechanism.

About stylus pressure

(tracking force)

The tracking force is already set to 1.25 9 so no adjustment is
necessary. (Fig.6)

When records with a high modulation level are played or when
the turntable is used where the temperature is low or in a
location subject to vibrations. sound may be distorted and the
stylus may skip. Ii this occurs, rotate the stylus adjustment
knob at the reartolhe "1 .5 setting. (Fig. 7)

lithe knob is set to i .0" the tracking force will be lighter.

I Adjusting the anti-skating control (Fig. a)
This is set to the same level as the tracking force (1.25);
there is no need to adjust it yourself. However, it the index
mark (V ) ls oil center, reset it to the proper position.
It the tracking force Is set to 1.5 g. the anti-skating control
also must be set to 1 .5".

I Attaching the dust cover (Fig. 9)
Hold both sides of the cover and lower it into the hinge slots.
To remove the cover, open it and pull upward.

Note:

Opening or closing the cover during play may cause
vibrations and groove skipping.

lfyou must open thecover during play, do soverygently.

Placement

I Place the unit in a stable and horizontal position where
there is little or no vibration.
This unit features double-isolated suspension system. To
take maximum advantage oi this feature, place the unit or a
stable. level surface. Do not put anything between the
turntable base and the surface on which it is placed.

I Place the unit away from the speakers so that it will be
subject to as little direct sound radiation as possible.

I Do not place the unit where it will be exposed to direct
sunlight, dust, moisture or heat.

I Place it In a well ventilated location.

I it you try to listen to a radio nearthe turntable while it is
turning, you may hear some Interference.

Connections

I Connect the output jacks (Fig. 10)
Output jacks Amplltler or receiver

L (White) -- Channel
R (Red) ->-3' Channel
GND (Spade lug) ->EIE

Note:
To avoid hum. be sure to make a secure ground connec-
tion between turntable and ampliiier or receiver.

I Plug in the AC power plug
Plug the AC power plug into on AC wall socket.

Operation

I Automatic play

1. Put a record on the turntable met.

2. If the cartridge has a detachable stylus protector
remove it.

3. Release the arm clamp.

4. Push the on noii switch to the on" position (A).(Fig. 11)
The 33 (3371/3 rpm) speed indicator will light. so will the
strobe illuminator/pilot lamp.

Note:

33-1/3 rpm is selected automatically whenever the
on soft switch is turnedon. Remember to push lhe45 rpm
selector to play 455.(Fig. 12)

5. Push the start/stop switch. (Fig. 13)
The tonearm automatically selects the record size [for 30
cm (12") and 17 cm (7") reoordsonly] and begins record
play.
At the end 01 the record, the tonearm will automatically
return to the arm rest and the turntable will stop.