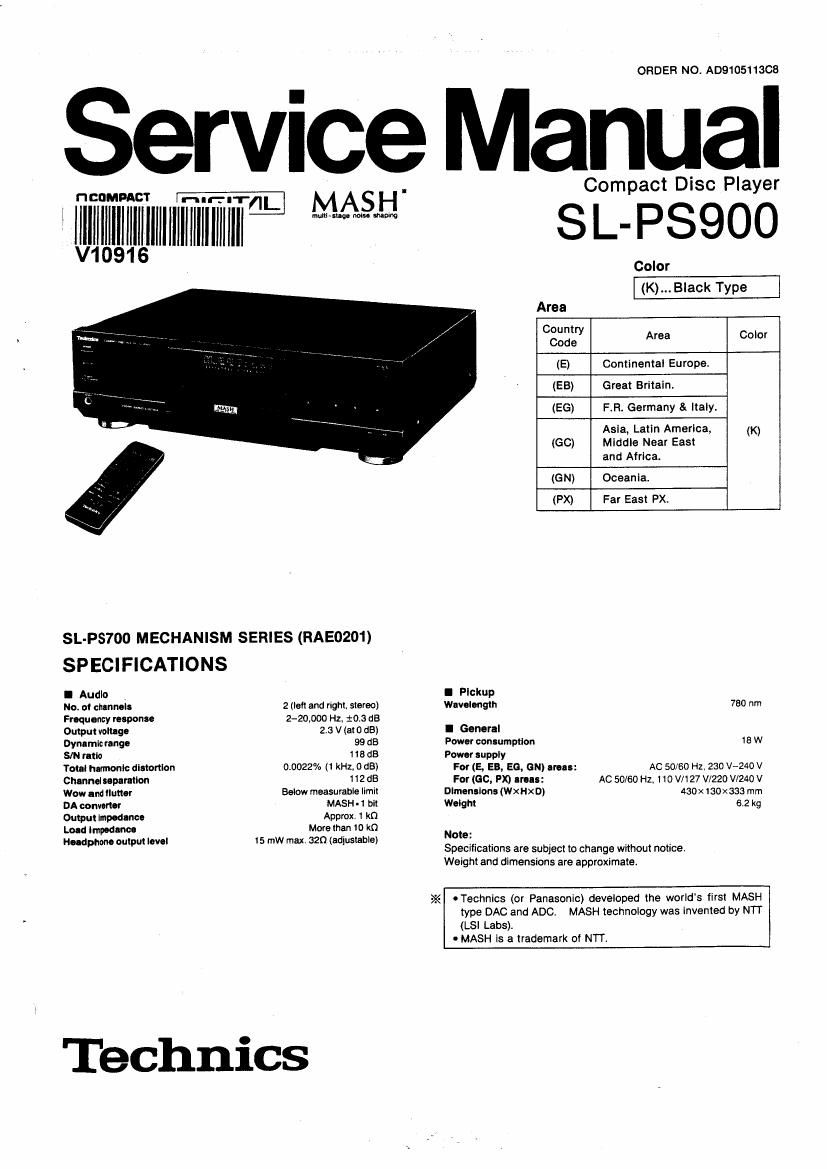
Technics SLPS 900 Service Manual

This is the 44 pages manual for Technics SLPS 900 Service Manual.
Read or download the pdf for free. If you want to contribute, please mail your pdfs to info@audioservicemanuals.com.

Page: 1 / 44
left right
Technics SLPS 900 Service Manual

Extracted text from Technics SLPS 900 Service Manual (Ocr-read)


Page 1

ORDER NO. A0910511SCB

anual

Compact Disc Player

S L-PSQOO

Service

r1 COMPACT n l- lffl

IVII IIIIIIIIIIIIII IIIIIIIIIIIII

Color
Area
Country Area Color
Code
(E) Continental Europe.

(EB) Great Britain.
(EG) F.R. Germany & Italy.

Asia, Latin America, (K)
(66) Middle Near East
and Africa.

(GN) Oceania.
(PX) Far East PX.

SL-PS700 MECHANISM SERIES (RAE0201)

SPECIFICATIONS

I Audio . I Pickup

Me. at ctr-uncle 2 (left and right, stereo) Wavelength 780 nm
Frequency rolponso 2-20.000 Hz, 20.3 dB

Output voltage 2.3 V (at 0 dB) I General

Dynamic range 99 (15 Power coniumptlan 18 W
SIN ratio 1 18 dB Power supply

Total humonlc distortion 0.0022% (1 kHz. 0 65) For (E, as, 55, an) are: AC 50/60 Hz, 230 v-24o V
Channut wpamlon 1 12 dB Far (ac, PX) arc-s: AC 50/60 Hz, 1 10 wt 27 V1220 VI240 v
Wow and flutter Below measurable limit Dimensions (waxD) 430x130x 333 mm
DA converter MASH -1 hit Weight 52 kg
Output Impedance Approx. 1 «(3

Load Impedance More than 10 k0 Note

Headphone output level

15 mW max, 320 (ediustable)

Technics

Specifications are subject to change without notice.
Weight and dimensions are approximate.

oTechnics (or Panasonic) developed the worlds first MASH
type DAC and ADC. MASH technology was invented by NTT
(LS! Labs).

- MASH is a trademark oi NTT.

Page 2

bL-PS900

I CONTENTS

BEFORE USE
ACCESSORIES.
BEFORE TRANSPORTING THE UNI
PRECAUTION OF LASER DIODE ..
PLACEMENT
CONNECTIONS
LOCATION OF CONTROLS.
HANDLING PRECAUTIONS FOR OPTICAL PICKUP
INSTRUCTIONS FOR TRAVERSE OIL .
DISASSEMBLY INSTRUCTIONS .......
MEASUREMENTS AND ADJUSTMENTS
TERMINAL FUNCTION OF IC'S.
DIGITAL SERVO SYSTEM

I BEFORE USE

Be sure to disconnect the mains cord beiore adjusting the voltage
selector.

Use a minus (a) screwdriver to set the voltage selector (on the rear
panel) to the voltage setting for the area in which the unit will be

TROUBLESHOOTING GUIDE ......
INTERNAL CONNECTION OF FL
BLOCK DIAGRAM ..........
TERMINAL GUIDE OF ICS,


TRANSISTORS AND DIODES 32
SCHEMATIC DIAGRAM ..... 3~40
PRINTED CIRCUIT BOARDS 41~47

WIRING CONNECTION DIAGRAM
EXPLODED VIEWS .........
REPLACEMENT PARTS LIS

PACKING 53
REPLACEMENT PARTS LIST .. 54~56
RESISTORS & CAPACITORS.. 55. 57

(If the power supply in your area is 117 V or 120 V, set to the
"127 v" position.)

Note that this unit will be seriously damaged it this setting is not
made correctly. (There is no voltage selector for some countries:
the correct voltage is already set.)

used.
I ACCESSORIES
IAC power supply o$1ereo connection
00rd .................... 1 pc. cable .............
(SFDACOSEOS): (E, E6) (SJP2249-4)
(SJA193): (EB)
(RJAoooa); (GC, PX)
(SJA173): (GN)
OBatterles ................ 2 pcs.
(UM~4NEIZS)

........1pc,

0 Remote control
transmitter .............. 1 pc.

(RAK-SL51 2W)

(SJP9215): (GC, PX)

@@

Note: The configuration at the AC power supply cord ditters according to area.

I BEFORE TRANSPORTING THE UNIT

To saieguard against damage in transit, be sure to secure the
optical pickup by following the procedure below.

1 Remove the compact disc inside, and set the
power switch to OFF with the disc holder still
open.

2

Slowly push in the disk holder by hand.

0Do not till the unit while doing this.

sit the disc holder is not pushed in slowly, the optical pick-up
may not be secured properly.

Check that the optical pick-up Is secured.
(Refer to the figure on the right.)

OCheok that this hole can be seen in its entirety.

Page 9

SL-PSSOO

I DISASSEMBLY INSTRUCTIONS

Warning: This product uses a laser diode. Refer to caution statements on page 3.

ACHTUNG: «Die lasereinhelt nicht zerlegen.
-Dle Iasereinheit darf nur gegen eine vom hersteller spezitizlerte einheit ausgetauscht
werden.

*Thls CD player is equipped with FPC board so handle them with care during dlsassembly and reassembly.

ltel.1No. Removal of the cabinet sz Removal of the front panel ass'y
Procedure Procedure
1 1-~2

A"


Cabinet

06 1. Remove the 3 screws (0~0)-

2. Remove the front panel ass'y in the direction of

ORemove the 6 screws (0~0). arrow.

He'éuo' Removal of the mar switch P_C_B_ Ret.No. Seaméwal ol the headphones jack
Procedure Procedure

1->2->3 1->2-*4

1. Remove the 1 connector (CN901).

2. Remove the headphones volume knob.
3. Remove the 1 screw (0).

4. Remove the headphones holder.

1. Remove the 1 screw (0).
2. Release the 1 claw.

Rel. No.

5 Removal ot the FL drlve P.C.B.

Procedure
t->2->5

1. Remove the 1 connector (CN901).

2. Remove the 3 screws (0~0).

3. Remove the 5 claws.

4. Remove the FL drlve P.C.B. in the direction of
arrow.