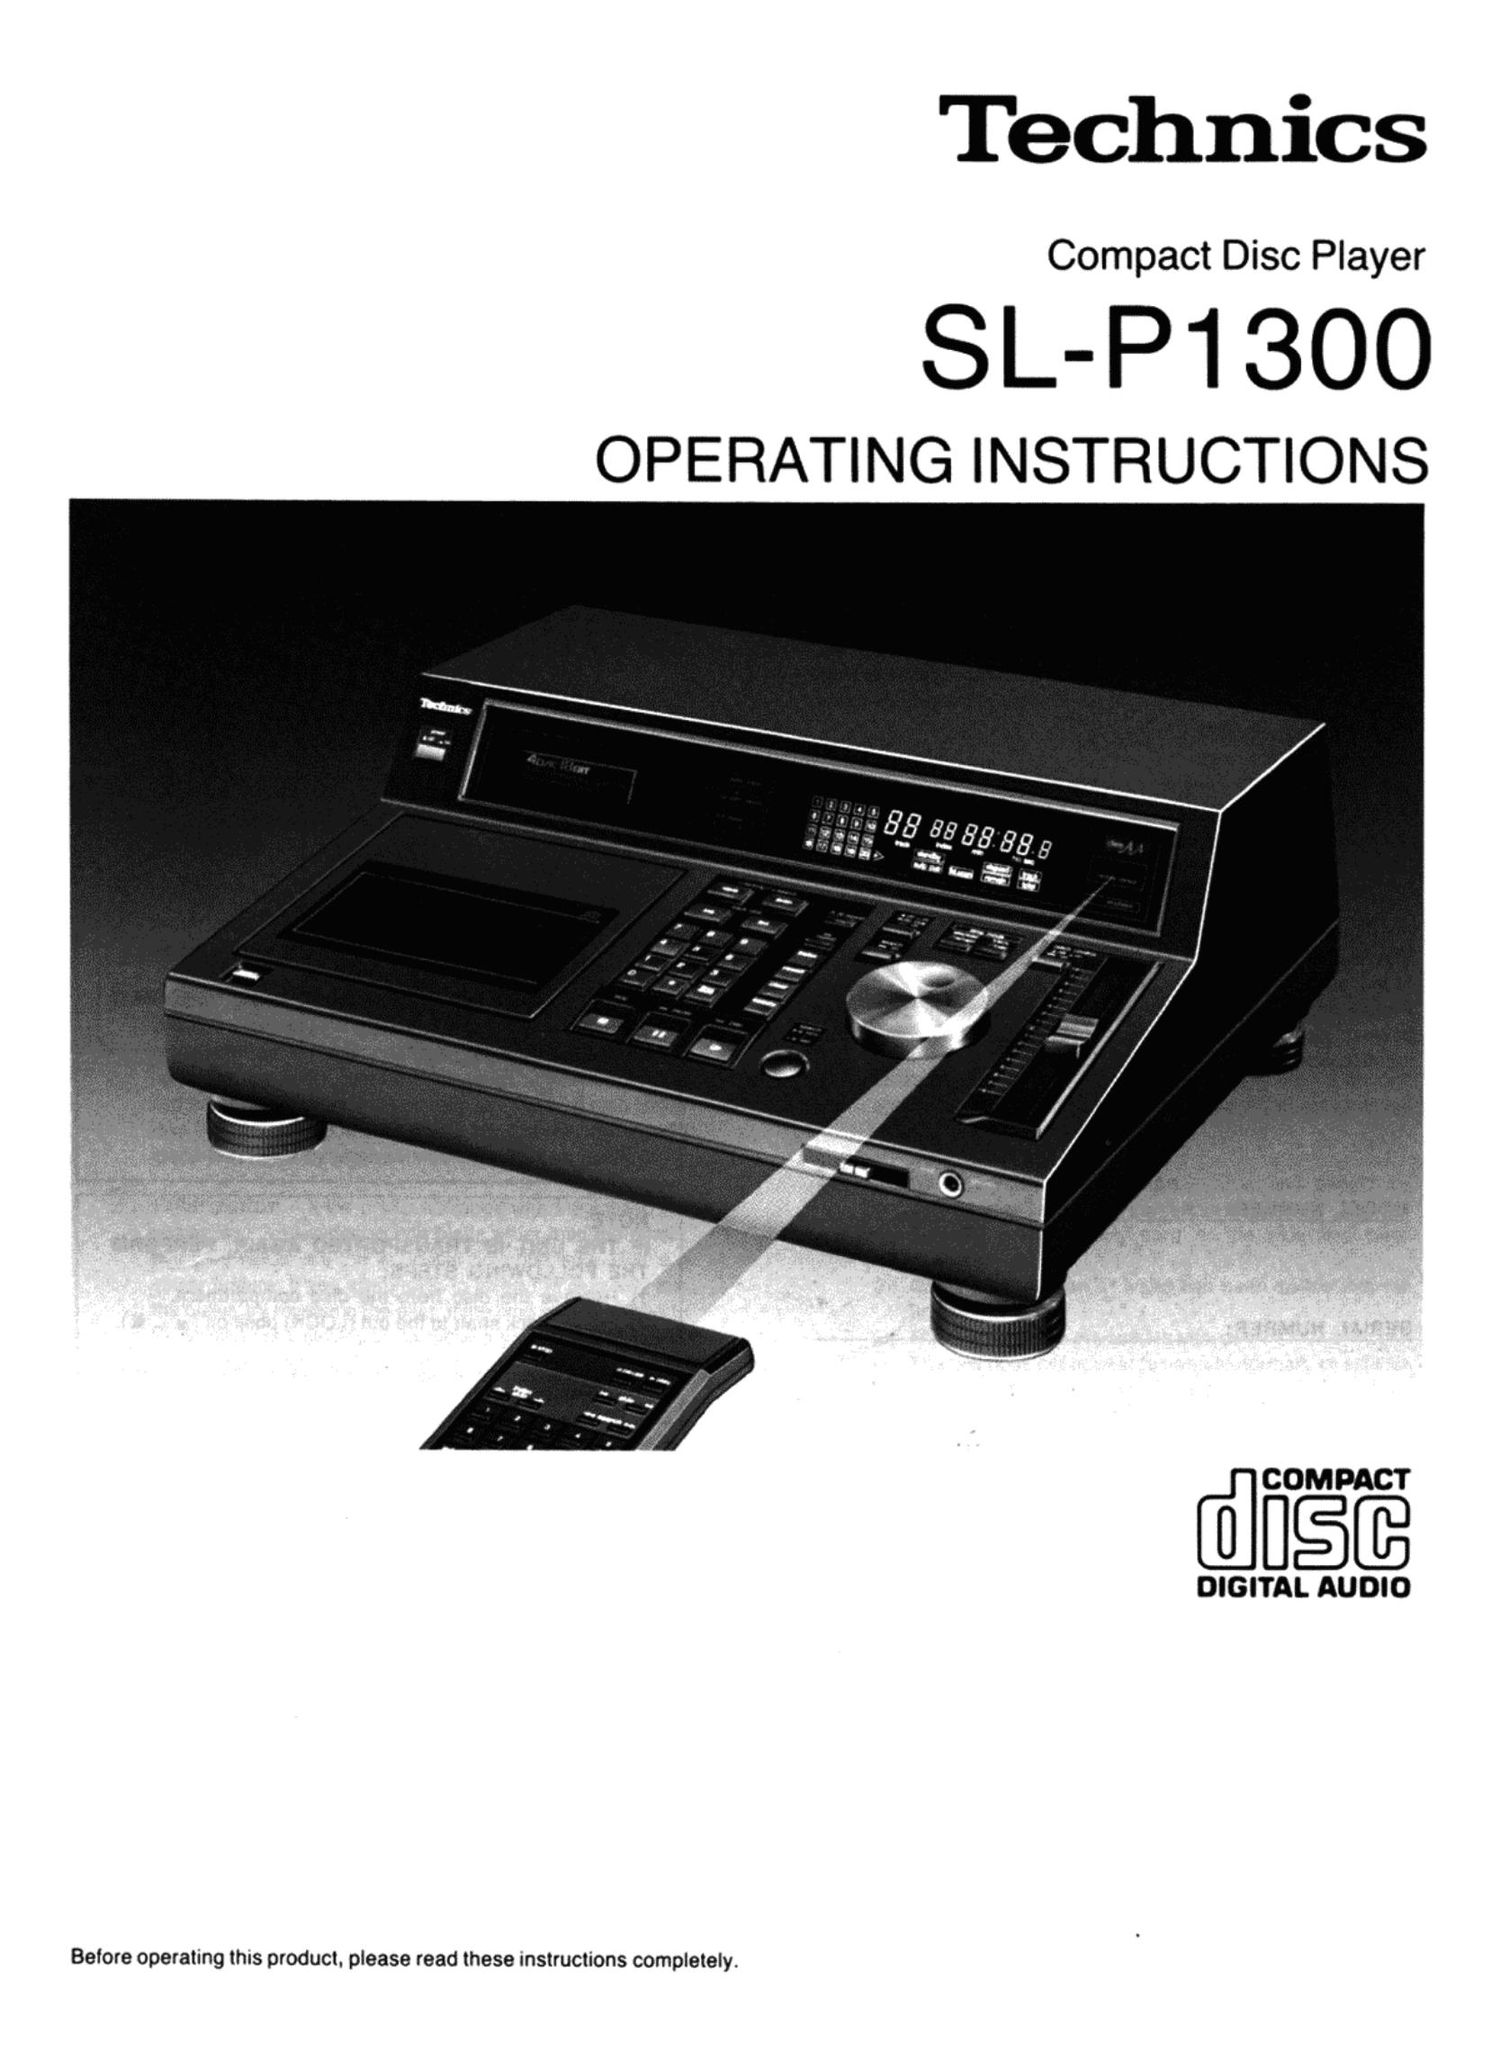
Technics SLP 1300 Owners Manual

This is the 30 pages manual for Technics SLP 1300 Owners Manual.
Read or download the pdf for free. If you want to contribute, please mail your pdfs to info@audioservicemanuals.com.

Page: 1 / 30
left right
Technics SLP 1300 Owners Manual

Extracted text from Technics SLP 1300 Owners Manual (Ocr-read)


Page 1

Technics

Compact Disc Player

SL-P1300

OPERATING INSTRUCTIONS

@fiéfi

DIGITAL AUDIO

Before operating this product. please read these instructions completely.

Page 2

Thank you for purchasing this Compact Disc
Player.

For optimum performance and safety, please
read these instructions carefully.

3/; @000 WW (gm/(amen,

Technics, The Science of Sound. welcomes the challenge of
new audio technologies and brings yOu a multitude of world-
renowned, high quality audio components, all backed by our
time-honored commitment to Innovation. value, and quality.

Technics captures the power of new ideas and turns them into
high performance components like digital Compact Disc players
that feature High Speed Linear motor Transports, high speed
editing cassette decks. professional and consumer turntables,
Computer Drive New Class A amplifiers, and AN receivers that
integrate both audio and video equipment.

The Technics list of advanced audio components continues.
From Class AA amplifiers, Honeycomb Disc speakers, and
multi-disc CD changers to the world's first touch~sensitive
graphic equalizer, Technics is a shining example of audio
technology at its best.

The model number and serial number of this product can be
found either on the back or bottom of the unit.

Please note them in the space provided below and retain this
booklet as a permanent record of your purchase to aid
identification in the event of theft.

MODEL NUMBER:

SERIAL NUMBER:

Contents

Before Use .......................................... 2
Accessories .......................................... 2
Suggestions for Safety ................................ 3
Concerning Compact Discs ............................ 4
Installation .......................................... 4
Connections .......................................... 5
Front Panel Controls and Functions .................. 6~1O
Playing a Disc .................................... 11~22
Using the Remote Control Unit (included) ............ 23~24
Operation Notes ...................................... 25
Troubleshooting Guide ................................ 26
Maintenance ........................................ 26
Limited Warranty. . . . .................................. 27
Product Service ...................................... 27
Technical Specifications ...................... Back cover

Before USe

1. Place a soft cloth under the unit to protect it from scratches.
2. Press the lock shaft on the bottom panel to the in (FREE)
position (1-3).

r-\
Lock sh aft

797

LOCK FREE

1*.-

Soft cloth

NOTE:

IF THE UNIT IS TRANSPORTED AGAIN, PERFORM
THE FOLLOWING STEPS:

1) Remove the disc from the disc compartment.

2) Pull the lock shaft to the out (LOCK) position (.I. _. l).
CAUTION:

Do not transport the unit without locking the lock shaft.
SEVERE DAMAGE WiLL RESULT.

Accessories

Stereo connection cable

Optical cable

(Part No. swore-1)

(Part No. SJPD16J

Remote control unit Batteries

@399

(IEC R03/AAA" UM-4)

(Part No. EUR64719)

Page 18

I Program play (continued)

Entering additional program
selections during play

1 Press the numeric button(s) to specify the
additional track.
The specified track is shown on the track display.

2 Press the memory button.
Repeat steps 1 and 2 until the desired programming (up to 20
tracks) IS completed.

I For example. it track 3 is being played and track 2 and
track 6 are to be added to the program. proceed as

follows:
E -» E -v E 9 Ti
Specify Specify
track2 tracks
Notes:

Oll more than 20 selections are entered. ,C " (full) is shown on
the time display and further program entries are not accepted.
Oil the memory button is not pressed within 25 seconds after
specifying a track. the display returns to the playing time mode.

-15-

To check the contents of a program
(Program confirmation)

Press the recall button.

The programmed tracks are displayed in their programmed
order. After the last programmed track has been displayed. the
current track is shown.

Note:
Tracks that have been played are not displayed. unless the
repeat button is on.

I For example. when track 3-»track 5-.track 1 are pro-
grammed in that order and the recall button is pressed
while track 3 la being played.

OFirst programmed track

Programmed track Programming order

I
l

Programmingorder - __-

(No) illuminates.

OSecond programmed track

OLast programmed track '