Technics SLMA 1 Owners Manual

This is the 14 pages manual for Technics SLMA 1 Owners Manual.
Read or download the pdf for free. If you want to contribute, please mail your pdfs to info@audioservicemanuals.com.

Page: 1 / 14
left right
Technics SLMA 1 Owners Manual

Extracted text from Technics SLMA 1 Owners Manual (Ocr-read)


Page 1

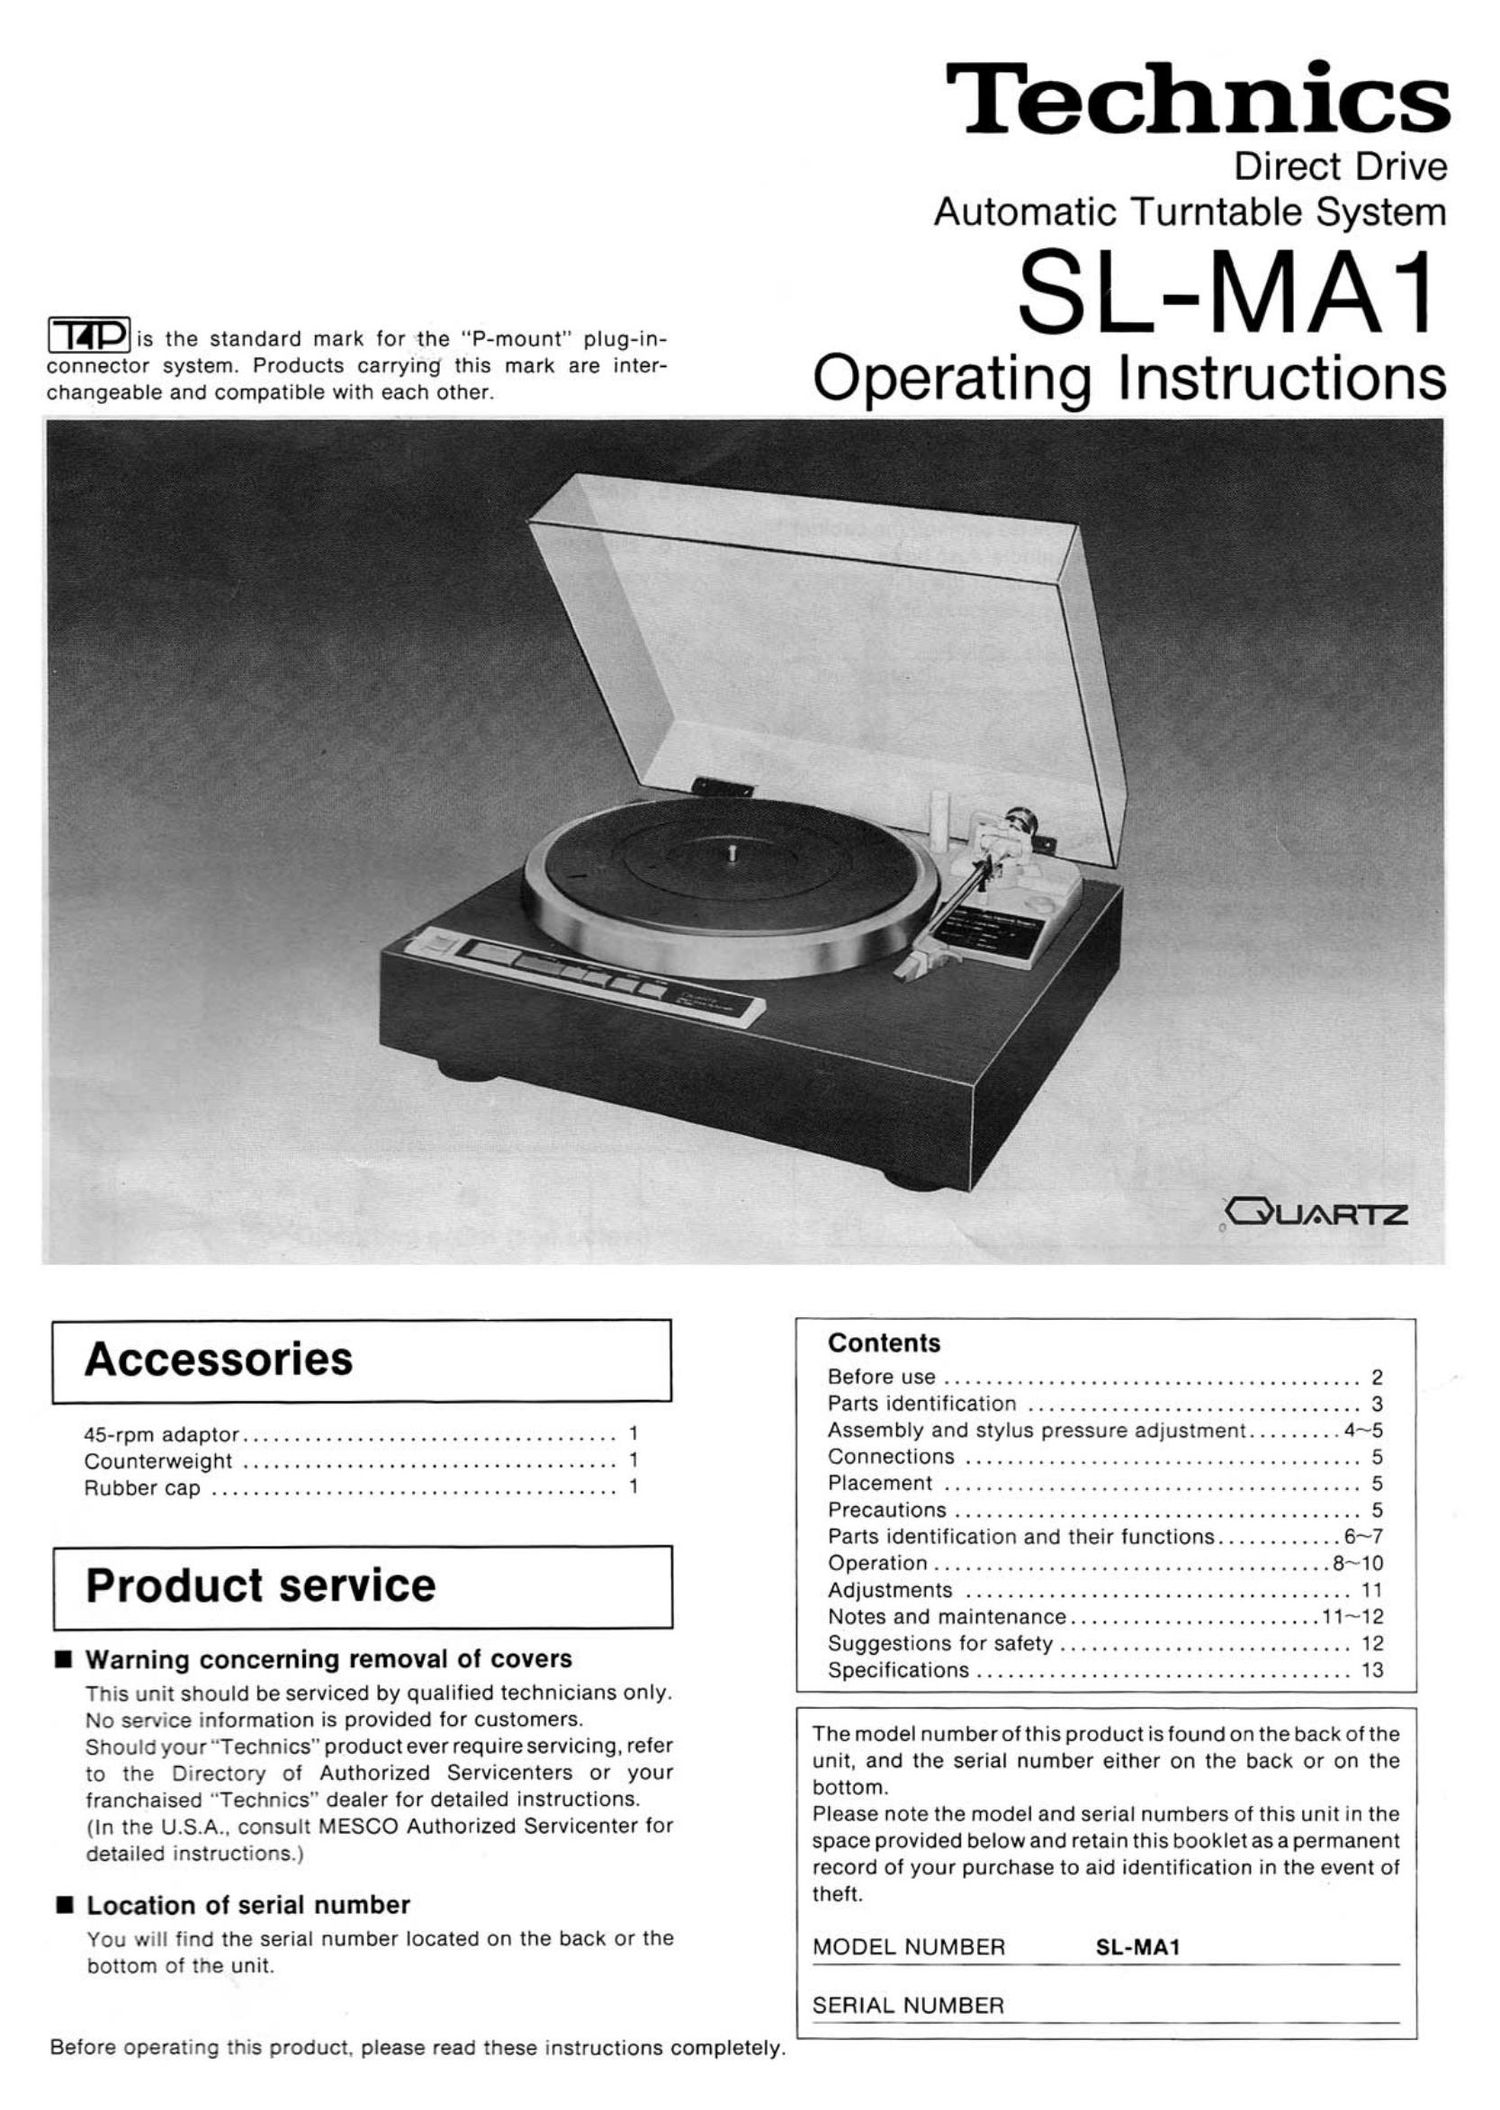
Technics

Direct Drive
Automatic Turntable System

'ITD is the standard mark for the P-mount" plug-in-

t t .P d t th' k 't - ' '
ESSSSEaiieZYSdflmpfiiibi: :itiaéilc'flgome'i "3' ' e O perati ng I nstru ctIons

Accessories Contents ]

Before use ........................................ 2

Parts identification ................................ 3

45-rpm adaptor .................................... 1 Assembly and stylus pressure adjustment ......... 4~5
Counterweight .................................... 1 Connections ...................................... 5
Rubber cap ....................................... 1 Placement ........................................ 5
Precautions ....................................... 5

Parts identification and their functions ............ 6~7

. Operation ...................................... 8~10

PrOdUCt serVIce Adjustments ..................................... 11
Notes and maintenance ........................ 11~12

Suggestions for safety ............................ 12

I Warning concerning removal of covers

This unit should be serviced by qualified technicians only.
No service information is provided for customers.
Should your "Technics" product ever require servicing. refer

Specifications .................................... 13

The model number of this product is found on the back of the

to the Directory of Authorized Servicenters or your unit, and the serial number either on the back or on the
franchaised "Technics" dealer for detailed instructions. bottom.

(In the U S A consult MESCO Authorized Servicenter for Please note the model and serial numbers of this unit in the
detailed instructions ) space provided below and retainthis booklet asapermanent

record of your purchase to aid identification in the event of

I Location of serial number theft-

YOu wull find the serial number located on the back or the MODEL NUMBER SL-MA1
bottom of the unit. ,

SERIAL NUMBER

Before operating this product. please read these instructions completely.

Page 2

Thank you for selecting the SL-MA1.
For optimum performance, we recommend that
you read these instructions carefully.

Technics. The science of sound. Our name representsa multitude of high
quality audio products. in every price range.

From the electronic wizardry of the Ultra-Slim Hi-Fi Component Systems
to our revolutionary Honeycomb Disc Speakers. Technics has grown to
become legendary among audio enthusiasts.

Technics is proud to be an industry innovator in the development of
digital equipment.

Audio fans can choosefrom a selection of Digital Compact Disc Players.
For those with discriminating taste, Technics offers a hi-tech digital
audio cassette recorder. And, our PCM processors can turn your video
cassette recorder into a high performance. dynamic stereo digital
recorder.

Plus, Technics pioneered the Honeycomb Disc Speaker-the ultimate
speaker for handling the demands of digital audio.

Our Iineartracking and compact lineartracking turntables join the widely
acclaimed belt-drive. direct-drive quartz-locked models. To add to the
illustrious high performance of the turntables. Technics engineers
created the-Plug-in Cartridge. Eliminating the tediousness of
cartridge mounting. it has become an international cartridge mounting
system.

Technics engineering is a driving force in the effort to link audio with
video. A prime example is the Stereoplex receiver which delivers high
quality television scund in simulated stereo.

And. Computer Driven New Class A Circuitry. the world's first use of a
microcomputer to improve sound quality, in combination with most
Technics receivers aids in providing a truly unique and satisfying
listening experience.

Technics Cassette Decks, including the auto-reverse decks. provide
audiophiles with as many as three exceptional noise reduction systems-
Dolby B. Dolby C, and dbx.

The Technics list of high quality audio products continues. From multi-
band equalizers to tuners. pre-amps. microphones. and Honeycomb
Disc headphones. Technics is a shining example of audio technology at
its best. Technics is proud of the products it develops. At Technics. we
are constantly trying to improve the efficiency. handling ease, and
performance of all our products to make listening not only a pleasure. but
an experience for all our customers.

'Dolby and the double-D symbol are a trademark of Dolby Laboratories
Licensing Corporation.

"dbx is a registered trademark of dbx, Inc.

CAUTION

RISK OF ELECTRIC SHOCK

DO NOT OPEN

CAUTION: TO REDUCE THE RISK OF
ELECTRIC SHOCK. DO NOT
REMOVE SCREWS.
NO USER-SERVICEABLE
PARTS INSIDE.
REFER SERVICING TO QUALIFIED

SERVICE PERSONNEL.

The lightning flash with arrowhead symbol,
within an equilateral triangle, is intended to
alert the user to the presence of uninsulated
"dangerous voltage" within the product's
enclosure that may be of sufficient magnitude
to constitute a risk of electric shock to persons.

The exclamation point within an equilateral
triangle is intended to alert the user to the
presence of important operating and main-
tenance (servicing) instructions in the literature
accompanying the appliance.

Before use

Caution:

ORemove the transport spacers of the tonearm.

ONever connect the AC power plug before assembly has been
completed.

OAttach the dust cover last, so that assembly and adjustments
can be made most conveniently.

l Remove the transport materials.

To protect the unit from bumps and shocks during transport.
certain parts have been removed from the main unit while others
are held in place by transport materials. These transport
materials must be removed as shown below before the unit is
used for the first time. Be sure to remove the materials in the
order shown below and keep them in a safe place for use if the
unit is shipped again.

1. Remove this 3, Pull out the
support spacer.
block.


r Spring washer
2. Unscrew the
transport
screw. spring
washer and
remove the Q
pipe by using
the nylon tie.
Cover this
hole with the
rubber cap.
N Ion t'e
L y I J
4. Remove the //
spacer and r
locking band. .
Be sure to
perform this
step last.

I When retransporting the unit

Be sure to follow these steps when preparing the unit for
retransport.

1. Insert the spacers as far as they will go.

2. Remove the rubber cap. (Be sure to store it in a safe place so
that it does not become lost.)

3. Insert the transport pipe in the hole which has been covered
by the rubber cap.

4. Insert the transport screw into the spring washer, then use it
to affix the pipe.

WARNING!
Be sure to follow the above order exactly to avoid causing
permanent damage to the tonearm.

WARN I N G: To reduce the risk of fire or electric shock,
do not expose this appliance to rain or moisture.

_2_

Page 10

Search operation

Use the search operation to move the tonearm lorward or
backward in either at the following two ways.
(These explanations assume that record play is in progress.)

Procedure

Function/Notes

Using the cueing and search buttons:

1. 2 m 1 Press the cueing button.

OThe tonearm rises.

l O

2. L537: Hold down one oi the search buttons until the

' -. tonearm has reached the desired point over
' the record.

3. :5: Press the cueing button again.

0-0

OThe tonearm is lowered.

Using only the search buttons:

(without the cueing button)

m s Hold down one ol the search buttons until the
@B tonearm has reached the desired point over

the record.

1

I?

Oln this case. the tonearm is automatically lowered when the
search button is released.

The speed of tonearm movement is dltlerent depending on how the search button is pressed.

OBe sure to perform search operation only over records.
Olf a search button is released when the tonearm is outside
a record. the tonearm will be lowered onto the turntable

platter, resulting in serious damage to the stylus.

Repeat play

The repeat mode can be switched on either before or
during record play.

(Possible only for 30 cm (12") and 17 cm (7") diameter
records)

In."

% Press the repeat button.

H

% 3

0The repeat indicator illuminates and remains on until the
repeat play mode is cancelled.

To cancel repeat play

a
i

/ E Press the repeat button again.

OThe repeat indicator goes out. Repeat play is also
cancelled when the start/stop button is pressed to stop
record play.

-10-