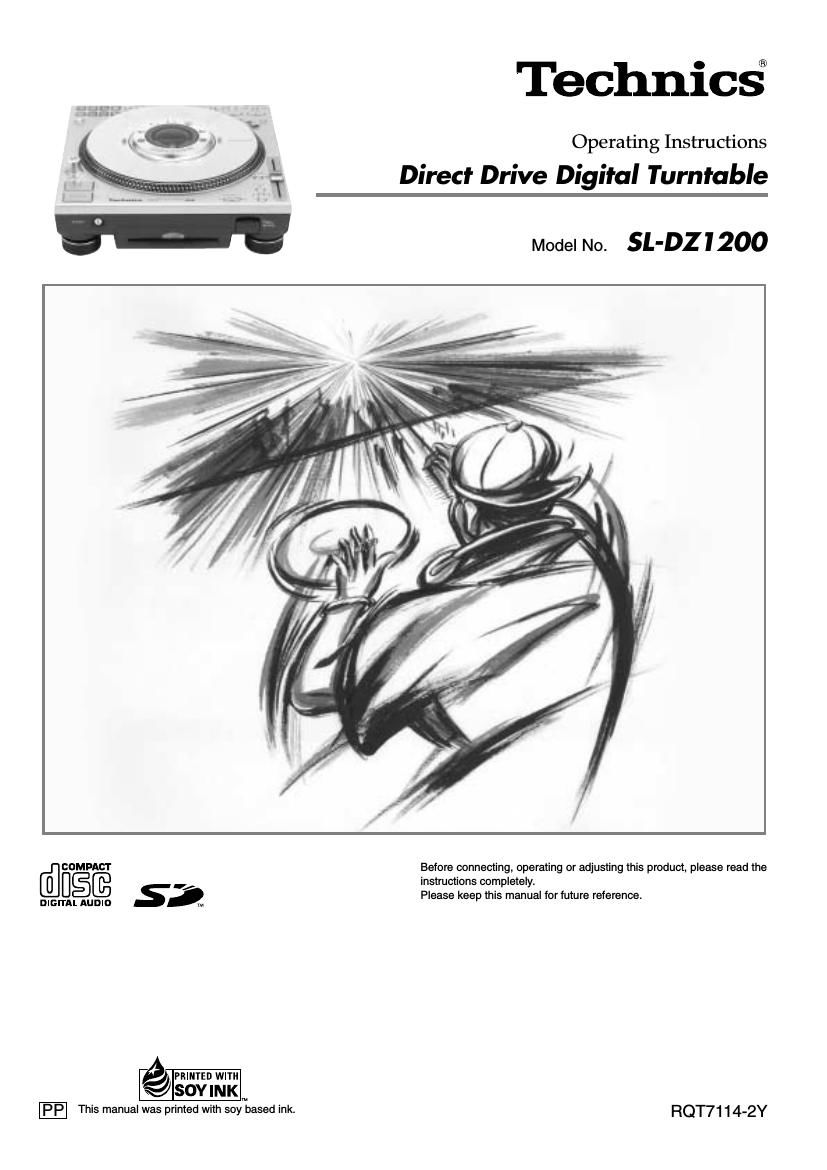
Technics SLDZ 1200 Owners Manual

This is the 28 pages manual for Technics SLDZ 1200 Owners Manual.
Read or download the pdf for free. If you want to contribute, please mail your pdfs to info@audioservicemanuals.com.

Page: 1 / 28
left right
Technics SLDZ 1200 Owners Manual

Extracted text from Technics SLDZ 1200 Owners Manual (Ocr-read)


Page 1

RQT7114 2 Before use Parts and supplied accessories Please check and identify the parts and sup- plied accessories. Use numbers indicated in parentheses when asking for replacements parts. In U.S.A. to order accessories, refer to Acces- sory Purchases on back cover. AC power supply cord (REZ1619) ................................. 1 Note The included AC power supply cord is for use with this unit only. Do not use it with other equipment. Do not use an AC power supply cord from any other type of equipment with this unit. Stereo connection cable (SFDHBD2N01) ..................... 1 Slip surface (RGK1704-S2) ............................................ 1 Dear customer Thank you for purchasing this product. For optimum performance and safety, please read these instructions carefully. Table of contents Before use Parts and supplied accessories................................................. 2 Product service ............................................................................. 2 Listening caution .......................................................................... 3 IMPORTANT SAFETY INSTRUCTIONS ....................................... 4 Main features................................................................................ 5 Component part names ............................................................... 6 Platter setup .................................................................................. 7 Setup .............................................................................................. 7 Connections.................................................................................. 8 Connecting with the DJ mixer .................................................... 8 Connecting the control terminals for relay play......................... 9 Connecting with the stereo amplifier (Not using the DJ mixer)........... 9 Connecting to equipment with digital input terminals ................ 9 Basic operations Inserting-removing a disc or SD Memory Card ...................... 10 Display indicator ......................................................................... 11 Playing a CD or SD Memory Card (basic play) ....................... 12 Basic function settings .............................................................. 14 Selecting TURNTABLE mode or CD PLAYER mode .............. 14 Instant play (INSTANT CHANGE)........................................... 14 Using the FREE WHEEL mode ............................................... 14 Adjusting the platter brake ....................................................... 14 Adjusting the auto cue level ..................................................... 14 Advanced operations Platter operations....................................................................... 15 Changing play with your hand ................................................. 15 Basic play for DJs.................................................................... 15 Changing tempo and direction of play .................................... 16 Changing tempo ....................................................................... 16 Locking the pitch ...................................................................... 16 Reverse play (Reversing the platter) ....................................... 16 Playing from memory................................................................. 17 Setting the auto cue point........................................................ 17 Setting the cue point at any point ............................................ 17 Play from the stored point ........................................................ 17 Storing to the CUE PADS and playing.................................... 18 Store desired points to memory and play (loop play) ............. 18 Recording to the SAMPLE PADS and playing ........................ 19 Erasing cue pad, sample pad, loop play data ......................... 19 Changing the sound................................................................... 20 Changing sound to simulate analog........................................ 20 Change sound with combined performance ............................ 20 Editing the SAMPLE PADS ...................................................... 20 Other functions Saving to a SD Memory Card, Recalling .................................. 21 Saving to a SD Memory Card.................................................. 21 Formatting the SD Memory Card ............................................. 22 Recalling (loading) data saved on a SD Memory Card ........... 22 Regarding MP3 albums and SD audio .................................... 22 Using with other equipment...................................................... 23 Start play using the mixers fader............................................ 23 Using two units for relay play ................................................... 23 Using the amplifier and other equipment ................................ 23 Linking different tracks............................................................. 24 Units initialize memory function.............................................. 24 Initializing this units memory ................................................... 24 Reference Glossary ...................................................................................... 24 Handling SD Memory Cards...................................................... 25 Concerning CDs ......................................................................... 25 Q&A (Frequently asked questions) .......................................... 26 Troubleshooting guide ............................................................... 26 Error messages .......................................................................... 27 Maintenance ................................................................................ 27 Specifications............................................................................. 27 Warranty (U.S.A.) ......................................................... Back cover The model number and serial number of this product can be found on either the back or the bottom of the unit. Please note them in the space provided below and keep for future reference. MODEL NUMBER SL-DZ1200 SERIAL NUMBER User memo: DATE OF PURCHASE DEALER NAME DEALER ADDRESS TELEPHONE NUMBER Product service 1. Damage requiring service- The unit should be serviced by qualified service personnel if: (a) The AC power supply cord or AC adaptor has been damaged; or (b) Objects or liquids have gotten into the unit; or (c) The unit has been exposed to rain; or (d) The unit does not operate normally or exhibits a marked change in performance; or (e) The unit has been dropped or the cabinet damaged. 2. Servicing- Do not attempt to service the unit beyond that described in these operating instructions. Refer all other servic- ing to authorized servicing personnel. 3. Replacement parts- When parts need replacing ensure the servicer uses parts specified by the manufacturer or parts that have the same characteristics as the original parts. Unauthorized substitutes may result in fire, electric shock, or other hazards. 4. Safety check- After repairs or service, ask the servicer to perform safety checks to confirm that the unit is in proper working condition. Product information For product information or assistance with product operation: In the U.S.A., refer to Customer Services Directory on back cover. In Canada, contact the Panasonic Canada Inc. Customer Care Cen- tre at 905-624-5505, or visit the website (www.panasonic.ca), or an authorized Servicentre closest to you.

Page 2

RQT7114 3 Before use CLASS 1 LASER PRODUCT (Back of product) CAUTION! DO NOT INSTALL OR PLACE THIS UNIT IN A BOOKCASE, BUILT-IN CABINET OR IN ANOTHER CONFINED SPACE. ENSURE THE UNIT IS WELL VENTILATED. TO PREVENT RISK OF ELECTRIC SHOCK OR FIRE HAZARD DUE TO OVERHEATING, ENSURE THAT CURTAINS AND ANY OTHER MATERIALS DO NOT OBSTRUCT THE VENTILATION VENTS. Marking sign is located on bottom of the unit. WARNING: TO REDUCE THE RISK OF FIRE, ELECTRIC SHOCK OR PRODUCT DAMAGE, DO NOT EXPOSE THIS APPARATUS TO RAIN, MOISTURE, DRIPPING OR SPLASHING AND THAT NO OBJECTS FILLED WITH LIQUIDS, SUCH AS VASES, SHALL BE PLACED ON THE APPARATUS. CAUTION! THIS PRODUCT UTILIZES A LASER. USE OF CONTROLS OR ADJUSTMENTS OR PERFORMANCE OF PROCEDURES OTHER THAN THOSE SPECIFIED HEREIN MAY RESULT IN HAZARDOUS RADIATION EXPOSURE. DO NOT OPEN COVERS AND DO NOT REPAIR YOURSELF. REFER SERVICING TO QUALIFIED PERSONNEL. Listening caution Selecting fine audio equipment such as the unit youve just pur- chased is only the start of your musical enjoyment. Now its time to consider how you can maximize the fun and excitement your equipment offers. This manufacturer and the Electronic Industries Associations Consumer Electronics Group want you to get the most out of your equipment by playing it at a safe level. One that lets the sound come through loud and clear without annoying blaring or distortion-and, most importantly, without affecting your sensitive hearing. We recommend you to avoid prolonged exposure to excessive noise. Sound can be deceiving. Over time your hearing comfort level adapts to higher volumes of sound. So what sounds normal can actually be loud and harmful to your hearing. Guard against this by setting your equipment at a safe level BEFORE your hearing adapts. To establish a safe level: gStart your volume control at a low setting. gSlowly increase the sound until you can hear it comfortably and clearly, and without distortion. Once you have established a comfortable sound level: gSet the dial and leave it there. Taking a minute to do this now will help to prevent hearing damage or loss in the future. After all, we want you listening for a lifetime. ELECTRONICINDUSTRIES -ASSOCIATION- EST. 1924 The lightning flash with arrowhead symbol, within an equilateral triangle, is intended to alert the user to the presence of uninsulated dangerous voltage within the products enclosure that may be of suffi- cient magnitude to constitute a risk of electric shock to persons. CAUTION CAUTION: TO REDUCE THE RISK OF ELECTRIC SHOCK, DO NOT REMOVE SCREWS. NO USER-SERVICEABLE PARTS INSIDE. REFER SERVICING TO QUALIFIED SERVICE PERSONNEL. The exclamation point within an equilateral triangle is intended to alert the user to the presence of important operating and maintenance (servicing) instructions in the literature accompanying the appliance. RISK OF ELECTRIC SHOCK DO NOT OPEN The following mark and symbols are located on bottom of the unit. (Inside of product)