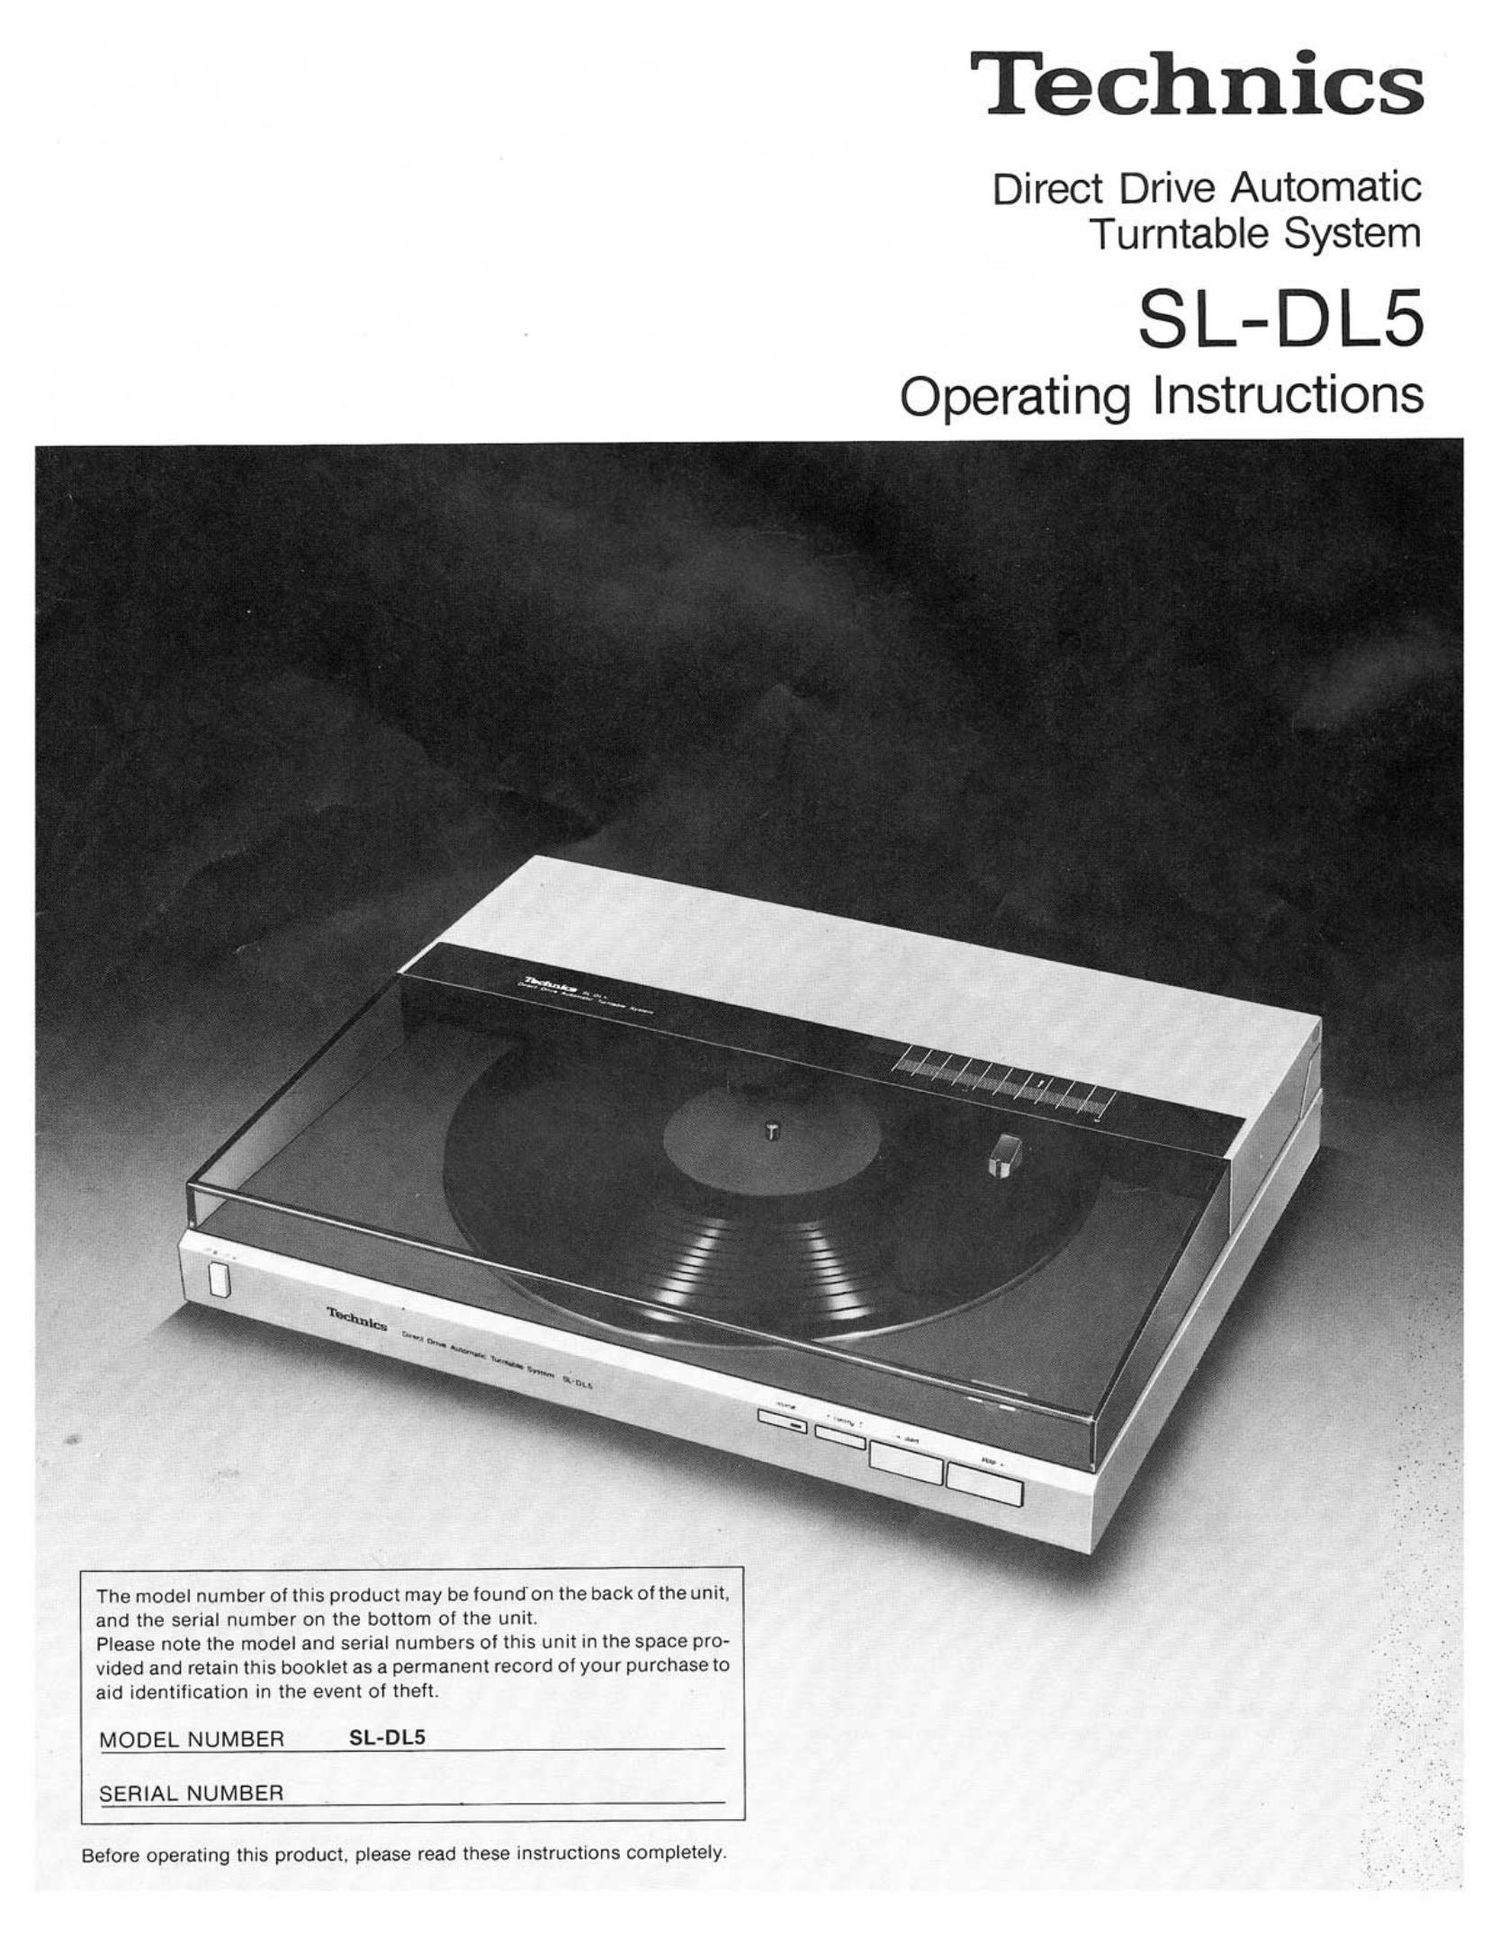
Technics SLDL 5 Owners Manual

This is the 10 pages manual for Technics SLDL 5 Owners Manual.
Read or download the pdf for free. If you want to contribute, please mail your pdfs to info@audioservicemanuals.com.

Page: 1 / 10
left right
Technics SLDL 5 Owners Manual

Extracted text from Technics SLDL 5 Owners Manual (Ocr-read)


Page 1

Technics

Direct Drive Automatic
Turntable System

SL-DL5

Operating Instructions

The model number of this product may be found'on the back of the unit.
and the serial number on the bottom of the unit.

Please note the model and serial numbers of this unit in the space pro-
vided and retain this booklet as a permanent record of your purchase to
aid identification in the event of theft.

MODEL NUMBER SL-DLS

SERIAL NUMBER

Before operating this product. please read these instructions completely.

Page 2

yen/r egg/«('0 . 7h"

Technics. The science of sound. Our name represents
over 100 high quality audio products. in every price
range.

From our revolutionary direct drive turntables to our
highly acclaimed linear phase speakers, Technics
quality and value have become almost legendary among
audio enthusiasts.

Our truly complete selection of turntables (including
belt-drive. direct-drive. and quartz-locked models with
varying degrees ofautomation) now includes an exciting
line of linear tracking turntables with zero tracking error.
Another innovation, direct drive cassette decks, is
available in both slim and micro formats. In fact, with

Technics micro series, you can assemble an entire
system of the highest quality with truly compact
dimensions. And our receivers. which combine new
class A amplification with quartz synthesizer tuning.
have created tremendous excitement among reviewers
and customers alike.

Amps. tuners, headphones, microphones, cartridges.
openreel decks. sound processors-we are proud of all
our high quality equipment and we are constantly
seeking to improve our products, in terms of per-
formance and handling ease. In addition, our confidence
in the reliability of our merchandise (demonstrated by
our warranties) and the reasons for our enormous and
rapid growth become obvious.

Parts identification

(0)

9

6

@669

66

@

WARNING: To reduce the risk of fire or electric shock,
do not expose this appliance to rain or moisture.

-2-

Page 5

Funcfions

0 Upper cabinet (Dust cover)

(Contains tonearm drive mechanism.)
Must be closed during play.

0 0n/oit switch

off: This symbol indicates the stand-by" mode, which means
that when the switch is in this position, the unit is switched
off but not entirely.

on: This symbol indicates on". Push to switch the unit on.
Push again to switch the unit to the stand-by mode.

9 Record groove scale:

This scale is graduated in 1 mm indications.
Useful for judging tonearm position.

0 Tonearm position indicator LED:
When the on/off switch is turned on. the tonearm LED will
light up. LED position corresponds to stylus position on the
record surface.

(OCartridge):

The cartridge shown here is an option.

6 Stop switch:
For stopping play (reiect) and outward cueing.
When you press the stop switch (for less than one second),
the tonearm automatically returns to the start position.
(auto-return)
If you keep the switch depressed (for more than one
second), the tonearm will move outward toward the edge of
the record.
if you press the cueing control to raise the tonearm. and then
press the stop switch intermittently, the arm will move out-
ward in approximately 1 mm steps.

0 Start switch:
For beginning play (auto-start, auto-lead-in) and inward
cueing.
When you press the start switch, the tonearm automatically
moves to the records lead-in groove and starts playing.
(auto-start. auto-Iead-in)
If this switch is pressed during play, the tonearm will return
to the start position and begin playing it over again.
If you keep the switch depressed. the tonearm movesinward
toward the center of the record.
The tonearm will not move when you pressthe start switch it
there is no record on the platter.

0 Cueing control:
For interrupting play
Pressing the cueing control during play causes the tonearm
to rise off the record. To resume play, press the control
again. A muting circuit cuts out noise when the stylus
initially COntacts or leaves the record surface.

0 Repeat switch:

For repeat play

When y0u press the repeat switch. an LED lights up and the
record is played repeatedly from beginning to end.

When you want to stop this cycle. m'erely press the repeat
switch again.

Pressing the stop switch will cause the tonearm to rise and
return to the start position; it will also stop repeat operation.

® Record size detection lever:

Do not touch. This lever operates automatically to detect
record size (30 cm, 17 cm).

@ Record detector

@Turntable mat:
Do not use any turntable mat except the one Supplied.

® Turntable platter

@Stylus-pressure adjustment screw
(See Notes and maintenance" section for details)

® Center spindle

@ 45 rpm adaptor

Turn counterclockwise to raise for use. When not needed,
turn clockwise to lower into platter.

0 Speed selector:
At the auto position. correct speed is selected automatically.
However. speed must be manually selected in the case of 30
cm 45 rpm or 17 cm 33-1/3 rpm discs.