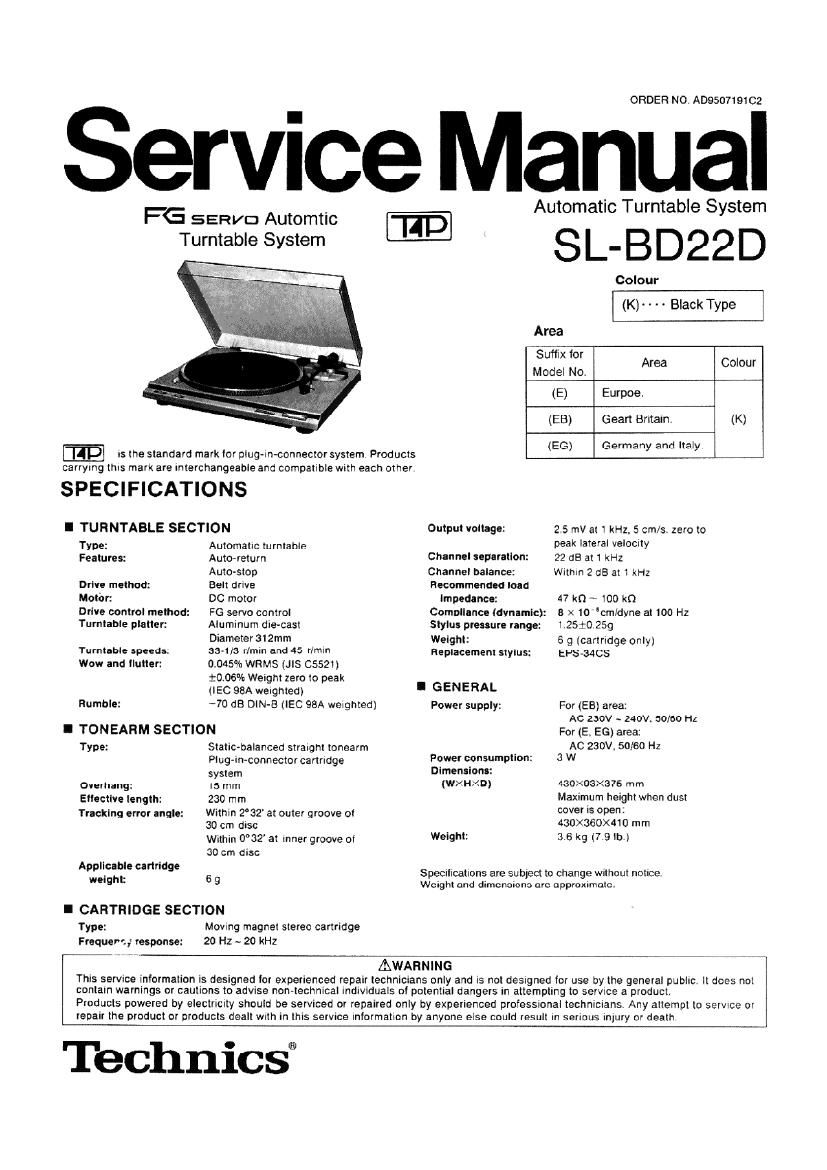
Technics SLBD 22 D Service Manual

This is the 16 pages manual for Technics SLBD 22 D Service Manual.
Read or download the pdf for free. If you want to contribute, please mail your pdfs to info@audioservicemanuals.com.

Page: 1 / 16
left right
Technics SLBD 22 D Service Manual

Extracted text from Technics SLBD 22 D Service Manual (Ocr-read)


Page 1

ORDEFI NO AD950719102

Service Manual

Automatic Turntable System

PG seam: Automtic 1m

Turntable System

@ is the standard mark Ior plugimconnector system. Products
carrying this mark are Interchangeable and compatible With each other

SPECIFICATIONS

I TURNTABLE SECTION
Tyne: Automatic turntable
Features: Autcrreturn
Auto-stop
Drive method: Belt drive
Motor: DC motor
Drive control method: FG servo control
Turntable platter: Aluminum die-cast
Diameter 312mm
Turntable speeds: 33-1/3 r/min and 45 rlmm
Wow and tlulter: 0.045% WRMS (JIS 05521)

30.06% Weight zero to peak
(IEC 98A weighted)
Rumble: 70 dB DIN-B (IEC 98A weighted)

I TONEARM SECTION

Type: Static-balanced straight tonearm
Ptug-in~connectcr cartridge
system

Overhang: 15 mm

Etlecllva length: 230 mm

Tracklng error angle: Within 232' at outer groove at
30 cm disc
Within 0°32 at inner groove ol
30 cm disc

Appllcable cartridge

weighl: 6 g

I CARTRIDGE SECTION
Type: Moving magnet stereo cartridge
Frequent; response: 20 Hz - 20 kHz

This serwce information is designed for experienced repair technicia

Products powered by SIeCIIICIIy should be serviced or repaired only

SL-BD22D

Colour
(K)- - - - Black Type

Area
Suffix tor
rea Colour
Model No. A
(E) Eurpoe.
(EB) Geart Britain. (K)
(EG) Germany and Italy:

Output voltage: 2.5 mV at 1 kHz, 5 cm/s zero to
peak lateral veIOCity
Channel separallon: 22 dB at 1 kHz
Channel balance: within 2 dB at 1 kHz
Recommended load
lmpedanco: 47 k0 ~ lOO kn

Compllance (dynamlc): B x 10 'cmldyne at 100 Hz
stylus presxure range: 1 2510259

Weight: 6 g (cartridge onlyi
Replacement stylus: EF'SA34CS

I GENERAL
Power supply: For (EB) area-

AC 230V ~ 240V. 50/50 Hz
For (E. E6) area:
AC 230V. 50/60 Hz

Power consumptlon: 3 W
Dimenslona:
(waxD) 430x93x375 mm

Maximum height when dust

cover is open

430x360><410 mm
Weight: 36kg (79th)

Specifications are subiect to change without notice
Weight and dimensions are approximate

AWAHNING

ns only and is not designed for use by the general public It does not

contain warnings or cautions to advise non-technical indIVIduals ol potential dangers in attempting to serwce a product

by experienced professonal techniCIans. Any altempl to sen/ice or

repair the product or products dealt with in this service inlormation by anyone else could result in serious iniury or death

Technicsi

Page 2

I CONTENTS

Page Pl9°
SAFETY FHECAUTION ----- - -2 BLOCK DlAGRAM --------------------------------- 11
LOCATION OF CONTROLS . ' - '3 CIRCUIT BOARD AND WIRING
msnsseuetv msmucnons -- 4 - s couuscnon DIAGRAM ------------------------ 11
MEASUREMENTS AND ADJUSTMENTS ----------- 7 EXPLODED VIEW """"" ' 12 I3

TROUBLESHOOTING - -

~~~~~~~~~ 0, 9 REPLACEMENT PARTS LIST - 13 - 5
SOHEMATIC DIAGRAM

.......... 1o PACKING 5

I SAFETY PRECAUT'ON (This safety precaution" is applied only in U.S.A.)

. Before servicing, unplug the power cord to prevent an electric shock.

. When replacing parts, use only manufacturer's recommended components for safety.

. Check the condition of the power cord, Replace if wear or damage is evident.

After servicing, be sure to restore the lead dress, insulation barriers, insulation papers, shields, etc.

. Before returning the serviced equipment to the customer, be sure to make the following insulation resistance test to
prevent the customer from being exposed to a shock hazard.

motion-

0 INSULATION RESISTANCE TEST

1. Unplug the power cord and short the two prongs of the plug With a jumper wire.

2. Turn on the power switch.

3. Mmre the resistance value with ohmmeter between the jumpered AC plug and each exposed metal cabinet part. such as
screwheads, antenna, control shafts. handle brackets. etc. Equipment with antenna terminals should read between 3M"!
and 5.2Mfl to all exposed parts. (Fig, A) Equipment without antenna terminals should read approximately infinity to
all exposed parts. (Fig. 8)

Note: Some exposed parts may be isolated lrom the chassis by design. These will read inlinitv.

Antenna
terminal

Exposed Exposed
metal metal
Di" part
Ohmmatct Ohmmeter
lFid- A) (Fig. 3)
Rasrstance = 3MQ-52MQ Resustance = Approx 00

4. If the measurement is outside the specified limits, there is a posSibilitv of a shock hazard. The equipment should be
repaired and rechecked before it is returned to the customer

ACCES RI E . .

I 50 8 Note: Configuration of AC power supply cord differs according to area.
Turntable mat (1) AC power supply cord (1) Stereo connection cable (1) Ground wire it) 45-rpm adaptor (l)
(SFI'GBQSMDZEM) (MOMS 2K) (5- EG) (SFDHBDZNm) (SJPB7M) (3Fw52i2431)

(RJAO733) ...... (EB)

Page 3

I LOCATION OF CONTROLS

45"er adaptor Strobe lines This unit's strobe illuminator operates at the AC line lrequency
which generally has a 02% fluctuation.
This lluctuation. when present. may make the strobe pattern
appear to change, However, actual platter speed does not

Turntable mat H
change. because the DC motor is notallected by AC power line
' lrequency.

Notes:

000 not try to clean the dust cover
while a disc is playing, because
static electricity might cause the
tonearm to rise.

Tonearm oThe unll IS In the standby condition
when the AC power Suppl cord IS
4 Arm rest connected, Y
The primary oircuit is always "live" as
long as the power cord is connected
Set ° .. Z .. t° stop to an electrical outlet

the play temporarily.

Set to 2 " to resume the play
--0 Stop switch (STOP)
Press to stop the play.

l Pitch control

(PITCH ADJ)
Strobe-illuminated \ Seymgve'ggdor
pilot lamp P "
(The tape on side at cartridge
prevents the stylus assembly lrom
/ shaking loose during shipment)
r
9 control Protector

3 Cu
(CUEING)

Set to Z".

(The strobe-illuminator/pilot lamp wrli light and the
platter will start turning.)

Speed selector
2 (spam

Set to disc's speed. {m ts the standard mark (or the "P-mount" plug-tn
connector systemr Products carrying this mark are interv
changeable and compatible with each other.

\ 5 Move to the desired position.

Place a disc on the turntable mat. k6 39 ° " Y "-

(Play wrll start.)

I Fora 17-cm (7) (large center hole) disc I When play ends
1. The tonearm will automatically return to the arm rest (the
automatic return leature).
2. Rotation will stop.
Disc ,,, r , 7
After use


45»rpm adaptor Attach the stylus protector,

Protector

Turntable mat