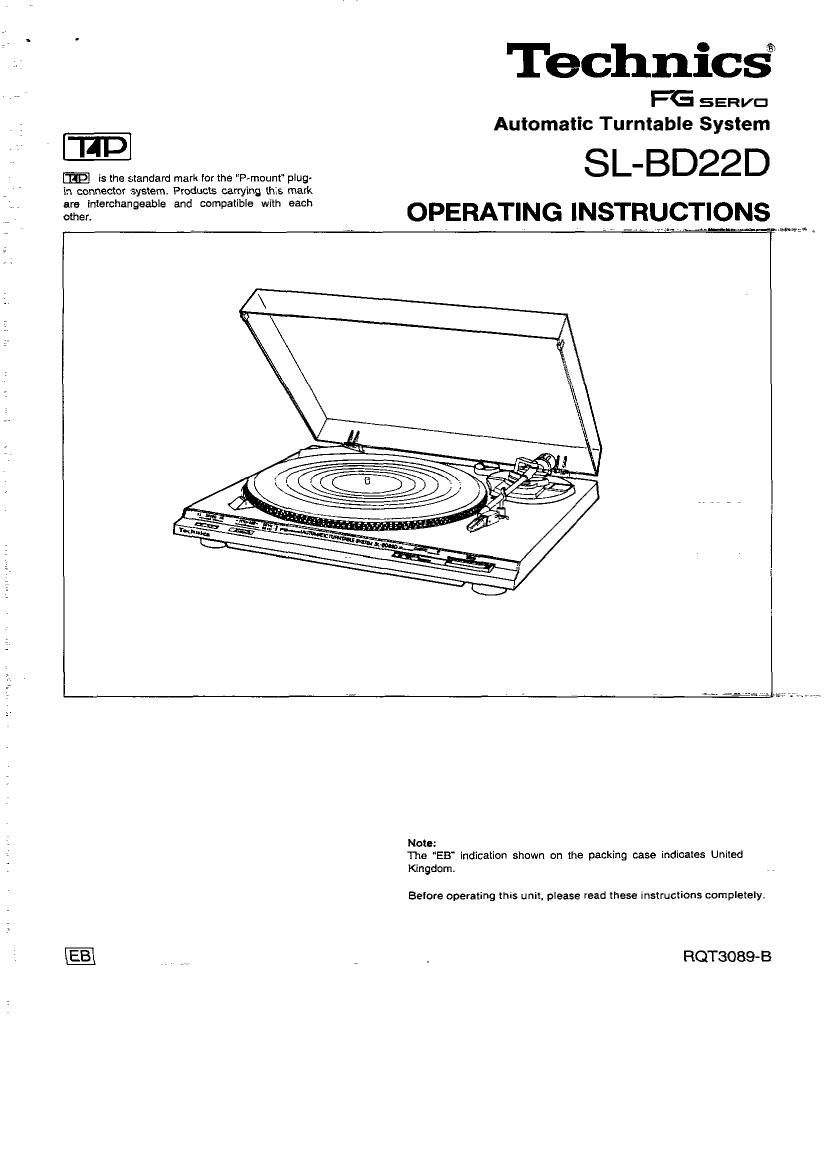
Technics SLBD 22 D Owners Manual

This is the 8 pages manual for Technics SLBD 22 D Owners Manual.
Read or download the pdf for free. If you want to contribute, please mail your pdfs to info@audioservicemanuals.com.

Page: 1 / 8
left right
Technics SLBD 22 D Owners Manual

Extracted text from Technics SLBD 22 D Owners Manual (Ocr-read)


Page 1

11D

m is (he standard mark for the "P-mount plug-
in connector sysiem, Products carrying (his mark
are interchangeable and compatible with each
other.

Technic§
FG 5 ER VD

Automatic Turntable System

SL-BD22D
OPERATING lNSTRgCTIQNS

Note:
The EB indicaiion shown on me packing case indicates United
Kingdom

Belole operating [his unit, please read these instructions completely.

RQT3089-B

Page 2

as my =,., W

Operation

Platter mat

Strobe ""8, This unit's strobe illuminator operates at the AC line lrequency
which generally has a 0.2% fluctuation.

This fluctuation, when present. may make the strobe pattern
appear to change However, actual platter speed does not
change. because the DC motor is not affected by AC power line
frequency. .. . .

45-rpm adaptor 1
O

Notes:

Do not try to clean the dust cover
while I disc is playing, because
static electricity might cause the
tonearm to rise

Toucan . oThe unit is in the stanchy condition
when the AC power suapty cord is
- Arm mt connected.
The primary clrcuil is always live'
aslongnsthepoweroordiscon-
Set to " g" to step nected to an electrical outlet
the play temporarily.

Set to SZ " to resume the play
-0 Stop switch

Pltch control

strobe-Illuminated
pilot lamp

Set to Z.

2 Speed selector

Set to disc's speed.

g Press to stop the play.
_____:J

L 4 Remove the

stylus protectort

(The tape on side of cartridge
prevents the stylus assembly lrom
shaking loose during shipment.) ?

Protector

Move to the deslred posltlon.
(The strobe-illuminator/pilot lamp will light and the
platter will start turning.)

Cartridge

U19} is the standard mark tor the "Pamount" plug-in
connector system. Products carrying this mark are inter-
changeable and compatible with each other.

Place a dlac on the platter mat.

L Set to 2

(Play will start.)

I For a 1T-cm (1") (large center hole) disc I When play ends

l. The tonearm will automatically return to the arm rest (the
automatic ratum teature)
2. Flotation will stop. ., 7V 7,, .. V _..,.

{-Afllnno

45~rpm adaptor Attach the stylus protector.

Protector
Platter mat

Page 5

Adjustment

Adjustment of the automatic-return

position

Make this adjustment it the tonearm doesn't return auto-
matically to the arm rest, or if it returns betore the tune ends.
1. Adlust to the desired automatic-return position.

2. Check to be sure the automatic-return position is correct.


Remove the
rubber cap

Auto-return adjustment screw

mam-Int of the stylus-to-dlec
charm

ce

Replacement

Note: Before replacing the cartridge and stylus. disconnect
the Ac power supply cord.

l Replacement of the cartridge ]

The plug-in type at cartridge is already designed to match this
unit in every respect: weight, correct stylus pressure. stylus tip

position. center olgravity, etc. This means that theres no longer

any need for troublesome connection of lead wires or
adlustment of the stylus pressure.

r I" Remove the screw. @Pull out the

@cartridge _
l a
© Insert the new cartridge by
following the steps in
reverse order. '

This adjustmett is preset at the factory for standard "P-mou nt"
cartridges. This adjustment should not be necessary unless a
nonstandard cartridge or stylus is used.

1. Set the cuean control to Z".

2. Move the tonearm to a position above the disc.

3. Adjust the stylus tip positon.


To lower To raise

Adjustment screw I

[flimaffl of the platter speed

When the platter rotates, the strobe marks form a stripe pattern
according to the rotation speed and the frequency of the power
supply.

The platter speed Is correct when the stripe pattern of the
stroboscope appears to be stationary while the platter is
moving: adjust the speed it the stripes appear to be moving.

Speed Power supply lrequency
45 rpm tor 50 Hz use

334/3 rpm (For European countnes)
45 rpm tor 60 Hz use

33-1/3 rpm (For U.S.A. and CANADA)

ll stripe pattern
seems to move to
the left [platter
speed is too last)

*- i

It stripe pattern
seems to move to
the r:ght (platter
speed Is too slow)

E E a E E E E E E E

Platter speed will Platter speed will

decrease Increase

+ a , a ,
PlTCH ADJ PITCH ADJ

_5_

I! Replacement ot the stylus

ll noise is heard from new discs. the stylus is probably worn.
Replace it with a new one

-Stylus life
vNew stylus.
Preparation:
Refer to the section on Replacement of the cartridge.
the screw and pull out the cartridge.


. approx. 1000 hours
. V . EPS-34CS

remove

Pull out the old stylus.

I Insert the new stylus. along this aloe.
being careful not to touch the stylus tip.

Maintenance

l To clean dust tram the stylus l

Use a soft brush or similar
material to gently remove the
dust.

Thoroughly clean your discs
occasionally withahigh-quali-
ty disc cleaner.

i In arrow direction!

[ Haintenance oi external surlaces

To clean this unit. use a soft. dry cloth.

It the surlaces are extremely dirty. usea sol: cloth. dipped into a
soap-and-water solution or a weak detergent solution.

Wring the cloth well belore wiping the unit.

Wipe once again with a soft, dry cloth.

Never use alcohol, paint thinner. benzine, nor a chemically
treated cloth to clean this unit.

Such chemlcals may damage the finish of your unlt.