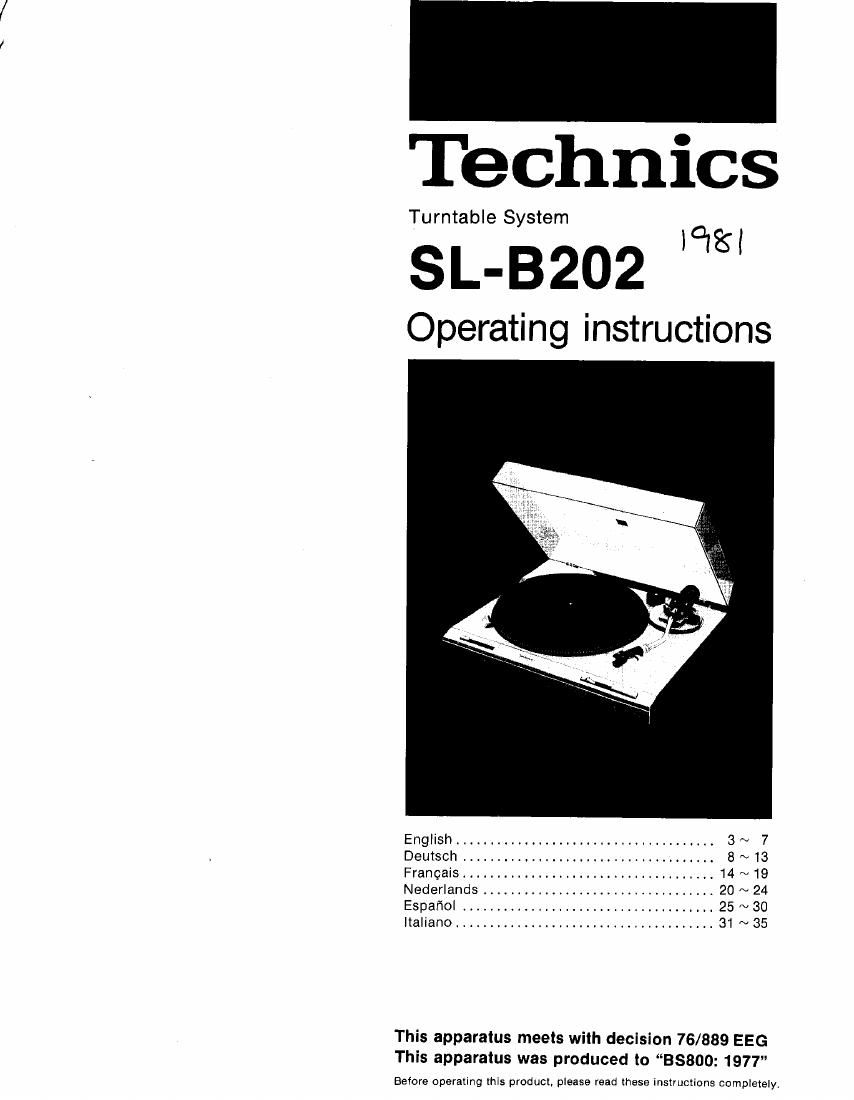
Technics SLB 202 Owners Manual

This is the 8 pages manual for Technics SLB 202 Owners Manual.
Read or download the pdf for free. If you want to contribute, please mail your pdfs to info@audioservicemanuals.com.

Page: 1 / 8
left right
Technics SLB 202 Owners Manual

Extracted text from Technics SLB 202 Owners Manual (Ocr-read)


Page 1

Technics

Turntable System

SL-BZOZ "5"

Operating instructions

English ...................................... 3 ~ 7
Deutsch ..................................... 8 ~ 13
Frangais ..................................... 14 ~ 19
Nederlands .................................. 20 ~ 24
Espafiol ..................................... 25 ~ 30
ltaliano ..................................... 31 ~ 35

This apparatus meets with decision 76/889 EEG
This apparatus was produced to 38800: 1977

Betore operating this product. please read these instructions completely.

Page 2

Thank you for choosing the SL-B202.

For optimum performance and safety, please read these instructions carefully.

Keep page 2 folded out while reading the instructions.

Caution for safe use
of this apparatus
(For UNITED KINGDOM)

Caution
s This apparatus isdouble insulated, safety earth not required.

important

o The wires in this mains lead are coloured In accordance with
the following code:
Blue: Neutral
Brown: Live

As the colours of thewires in the mains lead of thisapparatus
may not correspond with the coloured markings identifying
the terminals in your plug. proceed as follows.

The wire which is coloured BLUE must be connected to the
terminal which is marked with the letter N or coloured
BLACK. The wire which is coloured BROWN must be con-
nected to the terminal which is marked with the letter L or
coloured RED.

This equipment should be disconnected from the mains
when not in use.

Before use

Caution:

Do not plug in theAC power plug before completing assembly.
Attach the dust cover last to make assembly and adjustments
easier.

These instructions apply to units of different color.

I Checklist of parts
Turntable unit ............
Turntable platter .
Turntable mat .,
Dust cover
45-rpm adaptor... ,.
Counterweight ..........
Headsheli/cartridge ......

Assembly

I Installing the turntable platter
1. Place the platter on the center spindle.
2. Holding the belt by the ribbon, fit the belt over the
capstan. Then remove the ribbon. (Fig. 1)
3. Place the turntable mat on the platter.

Note:

After placing the mat on the platter, turn the platter
clockwise about ten full rotations by hand.

This is necessary to assure correct operation ot the
automatic mechanism, .

I Attaching the headshell (Fig.2)

Insertthe headshell plug intothe end ofthetonearm and turn
the locking sleeve clockwise (viewed from the rear) while
holding the headshell horizontal.

I Attaching the counterweight (Fig. 3)

Fit the weight onto the rear end of the tonearm.

I Balancing the tonearm and adjusting stylus

pressure (tracking force)

1. If your cartridge has a detachable stylus protector,
remove it. Be careful not to touch the stylus tip.

2. Release the arm clamp and llftthetonearm awaytrom the
arm test.

3. Turn the counterweight clockwise or counterclockwise
until the tonearm is balanced horizontally so it floats
freely. (Figs. 4 and 5)

Note:

(A): Weight advanced too much. Move backward.
(B): Weight not advanced enough. Move further.
(C): Properly balanced.

While balancing the tonearm, be careful not to let the
stylus contact the turntable mat or base.

4. After balancing the tonearm, clamp the tonearm intothe
arm rest.

5. While holding the counterweight stationary, rotate the
weight ring so that the 0" on the ring scale is lined up
with the center line on the tonearm shaft. (Fig. 6)

This completes tonearm balancing (horizontal zero
balance).

6. Turn the counterweight in the direction of the arrow so

that the weight ring shows the correct stylus pressure
number lined up with the center line. (Fig. 7)
(Follow the cartridge manufacturers recommendation.)
When the counterweight is turned. the weight ring moves
with it. Stylus pressure is indicated by the number on the
scale aligned with the center line.

Note:

Set the stylus pressure to the maximum recommended
value for your cartridge in cases where the record has an
extremely high recording level. or where the unit is
operated in a room at low temperature, or in places in
which the unit is subjected to vibrations.

Adiusting the anti-skating control (Fig. 8)
Set the anti-skating control to the same value as the stylus
pressure.

Note:

When a cartridge with Integral dust brush is used, follow
the cartridge manufacturer's recommendation foradjust-
ing both stylus pressure and anti-skating control.

Attaching the dust cover (Fig. 9)
Hold both sides of the cover and lower it into the hinge
slots. To remove the cover, open it and pull upward.

Note:

Opening or closing the cover during play may cause
vibrations and groove skipping.

if you must open the cover during play, doso verygently.

Page 7

Notes and maintenance

I Do not touch or hold the tonearrn during automatic opera-
tlon.

I Avoid pressing on the platter while It is rotating.
Do not try to hold it stationary.

I Be careful when using differently shaped headshells.
(Fig. 23)
With some headshells. the finger grip may strike the dust
cover during automatic operation. Should this occur. leave
the cover open during play.

I Before detaching or attaching a headsheil. be sure to turn oil
the power on the amplliler or receiver.
Speakers may be damaged it a headshell is attached or
detached when the volume is turned up.

I Carefully remove dust and dirt from records and stylus.
Dust and dirt degrade sound quality and cause excessive
wear of the stylus and grooves.

I Wipe the headshoil terminals from time to time. (Fig. 24)
Dirty terminals can cause noisy reproduction. lf severe,
there may be no sound at all. Use a softdry cloth to clean the
headshell terminals

I Wipe thodust cover and turntable base with asott. dryoloth.
Never use volatile cleaners such as alcohol, benzine or
thinner.

Do not use chemically treated dustcloths. Do not expose the
cover to insecticide spray.

To remove stubborn spots. first pull out the AC plug and
detach the cover.

Then wipe the cover with a soft cloth slightly moistened with
a mild soap and water solution.

Do not wipe the cover during play. or the tonearm may be
attracted toward the cover due to the generation of static
electricity.

I Transporting and shipping the turntable

Pack the unit in the reverse ordertrom unpacking. Use the

original packing material if possible Otherwise, take these

steps:

o Remove the platter and mat and wrap them.

0 Tapeor tie thetonearm to the arm rest so ltcannotsheke
tree.

a Remove the counterweight and wrapit carefully Remove
the headshell with cartridge and wrap it carefully.

. Wrap the turntable base with a blanket or soft paper to
avoid scratches or damage.

I How to remove and install the turntable platter (Fig. 25)
The belt is connected to the capstan and the inner drive rim
of the platter,

Before removing the platter. release the belt from the
capstan.

When reinstalling the platter. lower it over the turntable
shalt and then put the belt onto the capstan.

Note:

Be caretul not to let oil or grease contact the belt.

If grease inadvertently contact the belt. disconnect the
AC power plug first and wipe the belt clean with alcohol.

Suggestions for safety

Before using this unit, he sure to read applicable items oigthe
operating instructions and these saiety suggestions carefully;
and afterwards keep them handy for future reference. Take
special care to follow the warnings Indicated on the unit Itself as
well as in the operating Instructions.

1. Avoid places where there Is water or humidity.

Do not use this unit neara bathtub. washbasin. swimming
pool. or the like. Damp basements should also be avoided.

2. Do not allow water or any foreign object to get inside this
unit.

Do not place small metal objects or anything containing
liquid on or near the unit,

3. Avoid placement at the unit where it will be exposed to the
direct rays of the sun, or where ventilation is inadequate.
Do not place this unit in a bookcase or between cabinets.
unless proper ventilation is provided. or where curtains or
furniture may obstruct the ventilation holes.

4. Place this unit away from heat-emitting appliances.
Never place this unit on or near a radiator. heat register.
stove. or any other heat-emitting equipment (including
amplifiers).

5. Placement
Place the unit on a stable, vibration-free, level shelf or stand.

6. Use of a cart or stand.
when deciding on a cart or stand, be sure to use only with
the cart or stand recommended by the manufacturer.

7. Wall or ceiling installation.

If the unit is to be mounted on a wall orceiling. be sure todo
so only as recommended by the manufacturer.

8. Check the voltage rating of this unit before connecting the
unit to a power source.

Be sure to connect the unit only to the type of powersource
indicated In the operating instructions. or as indicated on
the unit itself.

9. Care of the power cord and plug.

Take care that the cord is not bent sharply (especially near
its connection to the unit or near the plug). that nothing is
placed on it, and that it is not pinched, crushed or frayed.
Never take hold of the plug or cord ii yourhand Is Wet,and
always be sure to grasp the plug body when connecting or
disconnecting it.
10. if the unit will not be used for an extended period of time:
Be sure to disconnect the power cord from the wall outlet,
11. Maintenance
Refer to the operating instructions for details.
12. Never attempt repairs yourself:
(a) If the power cord or plug is damaged.
(b) If a foreign object or liquid falls into the unit.
to) If the unit is exposed to rain.
(d) If the unit does not function normally. or if operation
shows a distinct change in performance.
is) If the unit has been dropped and the Cabinet orchassis
are damaged. . ,etc.
Unplug the power cord and have it checked by a qualified
technician (orthedealertrom whom the unitwas purchased
or the nearest servicenter).
13. Repairs
Except for adjustments explained in the operating instruc-
tions. do not attempt any repairs yourself. Be sure to re-
quest service from a qualified technician (oryourdeaier or
nearest servicenter).