Technics SL 7 Owners Manual

This is the 16 pages manual for Technics SL 7 Owners Manual.
Read or download the pdf for free. If you want to contribute, please mail your pdfs to info@audioservicemanuals.com.

Page: 1 / 16
left right
Technics SL 7 Owners Manual

Extracted text from Technics SL 7 Owners Manual (Ocr-read)


Page 1

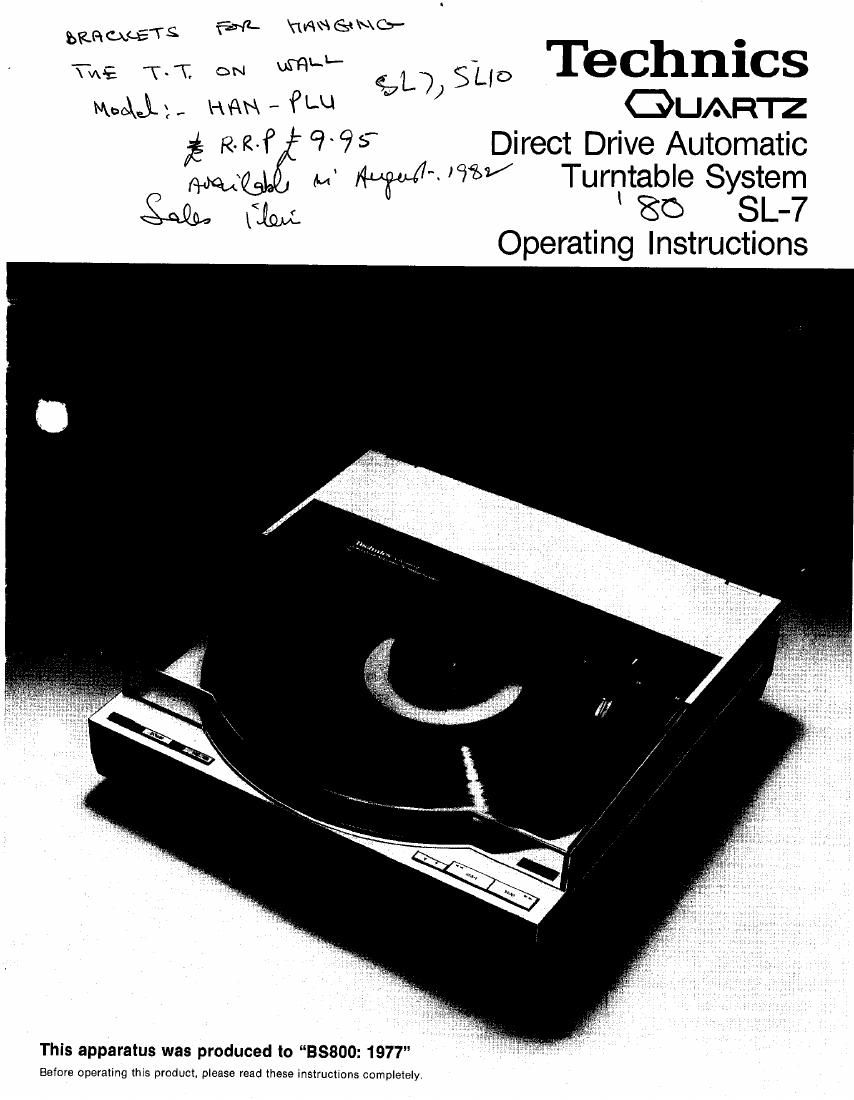
filfi QCETS (5:41. ANSNG-

TWE- TIT, ON fir-J'- (571,7 SgL-io TeChniCS
Mum, Hrm- rw ' GUAR'IZ

R-M 995 Direct Drive Automatic
max M W'~%V Turntable System

£4294 C19»: 86 SL'7
Operating Instructions

This apparatus was produced to BSBOO: 1977"

Before operating this product, please read these instructions completely.

Page 2

Although this unit requires no troublesome assembly or
adjustment procedures, please be sure to read the
sections in this instruction manual about removing
packing material and making connections.

0 Upper cabinet:

Contains tonearm drive mechanism

0 Record groove scale (1 mm pitch):
This scale is graduated in 1 mm indications. By noting the
position of the tonearm LED you can determine the actual
posrtion oi the tonearm in the record grooves.

0 Tonearm LED:
This arrow-shaped LED lights up when the power is turned
on {-i, to show you the position of the tonearm as ittraces
the record grooves. By following the movementofthe tone-
arm LED on the record groove scale, you can easily control
cueing oi the tonearm to the desired point on the record

0 Cartridge

o Stabilizer/stroboscope:
When the upper cabinet is closed. the stabilizer contacts the
record label area to keep the record firmly in place. Around
the circumference of the stabilizer is a stroboscope syn-
chronized with the quartz oscillator reference frequency,
so that you can easily confirm correct rotational speed
(33-1/3 or 45 rpm).

Stop button:

when you press the stop button, an LED (y) lights up
momentarily and the tonearm automatically returns to the
start peeition and stops there.

(Auto-return. auto-stop.)

If you keep the button depressed. the tonearm will move
outward (y) toward the edge of the record. Press harder
and the tonearm will move faster ( r»).

if you press the cuelng button to raise the tonearm, and
then press the stop button intermittently. the arm will move
outward in small steps.

Start button:

When you press the start button. an LED (1) lights up
momentarily and the tonearm automatically moves to the
records lead-in groove and the record starts playing.
(Auto-start. auto-lead-ln.)

If you keep the button depressed. the LED lights up and the
tonearm moves inward (4) toward the center of the record.
Press harder and the tonearm will move faster (4 4 ).

if you press the cueingbutton to raise the tonearm, and then
press the start button intermittently. the arm will move
inward in small steps,

Cueing button:

Press the cueing button to raise or lower the tonearm. This
is useful for temporarily interrupting record play, or for
cueing the tonearm to a different selection on the record.
A muting circuit cuts out undesirable noise produced when
the stylus tip initially contacts the record grooves (1) or
is raised (1),

Rep (repeat) button:

When you press the rep button. an LED lights up and the
record IS played repeatedly from beginning to end

When you want to stop this cycle, merely press the rep
button again. Pressing the stop button will cause the tone-
arrn to rise and return to the start position; it will also stop
repeat operation.

Power switch:

when you press this button (-l, the stroboscope and tone-
arm indicator light up.
When you press it again, everything turns oil.

0 Cabinet lock button:

Press the cabinet lock button to unlock the cabinet. Then
open the top gently. To close the cabinet. gently push it
down until it clicks shut.

Q Dust cover

m Light guide slits:
infrared light passing through these slits is used for opto-
electronic deteciion of record size (30, 25. 17 cm or 12, 10".
7")_

® Center spindle
® 45 rpm adaptor:

This built-in adaptor is used for single-play 45 rpm records.
Press down lightly on the adaptor while turning counter-
clockwise and the adaptor will pop up ready for use. After
use, press down and turn clockwise.

Turntable platter

Lower cabinet:
Contains turntable drive mechanism.

96

Speed select knob:

Turntable speed is chosen automatically according to opto-
electronic detection oi record size while the speed select
knob is in auto-position. There is, therefore, no need to
manually choose turntable speed or record size.

However, in those cases where speed does not correspond
to standard record Size (a 30 cm (12") 45 rpm record. or
17 cm (7") 33-1/3 rpm record, for exampiel. you must
manually select the correct speed by means 01 this knob.

Optical sensor:

This detects light coming through the guide slits in the
platter and thereby detects the size of the record being
played. it also detects whether there is a record on the
platter or not.

Disc size selector:

Set this selector to the size of the record to be played when
playing transparent records, records other than black or
nearly transparent black records as these surfaces do not
reflect the optical sensor beam.

Q Turntable mat
@ Stylus pressure adjustment screw
® Arm lock