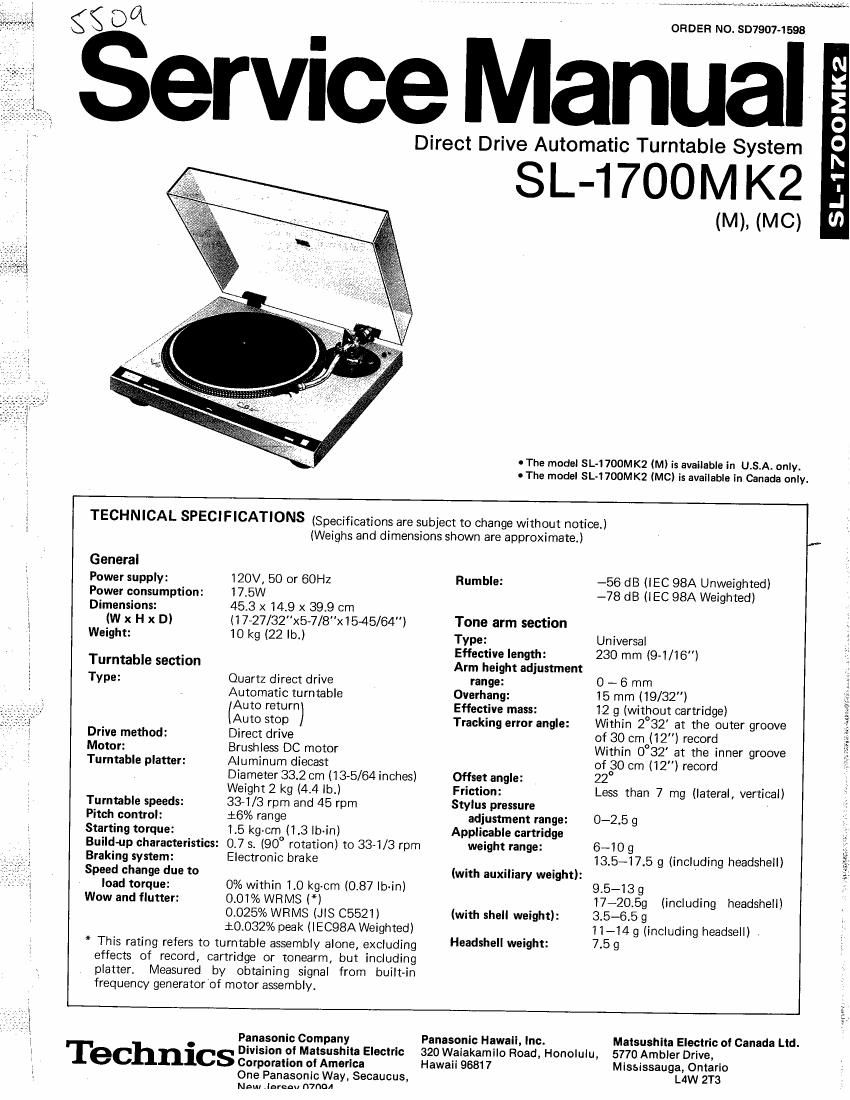
Technics SL 1700 MK2 Service Manual

This is the 18 pages manual for Technics SL 1700 MK2 Service Manual.
Read or download the pdf for free. If you want to contribute, please mail your pdfs to info@audioservicemanuals.com.

Page: 1 / 18
left right
Technics SL 1700 MK2 Service Manual

Extracted text from Technics SL 1700 MK2 Service Manual (Ocr-read)


Page 1

§ervice Man

ORDER NO. SD7907-1598

Direct Drive Automatic Turntable System

SI.- 1700M K2

(M), (MC)

cThe model SL- I700MK2 (M) I! available' In U. S. A. only.

0 The model SL-17ODMK2 (M0) Is available In Canada only.

TECHNICAL SPECIFICATONS (Specifications are subject to change without notice.)
(Weighs and dimensions shown are approximate.)

General
Power supply:
Power consumption:
Dimensions:

(W x H x D)
Weight:

Turntable section
Type:

Drive method:
Motor:
Turntable platter:

Turntable speeds:
Pitch control:
Starting torque:

Build-up characteristics:

Braking system:

Speed change due to
load torque:

Wow and flutter:

120V, 50 or 60Hz

17.5w

45.3 x 14.9 x 39.9 cm
(17727/32x5-7/8"x1545/64")
10 kg (22 lb.)

Quartz direct drive

Automatic turntable

Auto return

(Auto stop )

Direct drive

Brushless DC motor

Aluminum diecast

Diameter 33.2 cm (13-5/64 inches)
Weight 2 kg (4.4 lb.)

331/3 rpm and 45 rpm

16% range

1.5 kg-cm (1.3 lb-in)

0.7 s. (90" rotation) to 33-1/3 rpm
Electronic brake

0% within 1.0 kg-cm (0.87 lb-in)
0.01% WRMS (*)

0.025% WRMS (JlS C5521)

i0. 032% peak (IECQSA Weighted)

* This rating refers to turntable assembly alone, excluding
effects of record, cartridge or tonearm, but including

platter

Measured by obtaining signal from built-in

frequency generator of motor assembly.

Rumble:

Tone arm section

Type:
Effective length:

Arm height adjustment

range:
Overhang:
Effective mass:
Tracking error angle:

Offset angle:

Friction:

Stylus pressure
adjustment range:

Applicable cartridge
weight range:

(with auxiliary weight):

(with shell weight):

Headshell weight:

-56 dB (IEC 98A Unweighted)
-78 dB (lEC 98A Weighted)

Universal
230 mm (9-1/16")

O - 6 mm

15 mm (19/32")

12 9 (without cartridge)

Within 2° 32' at the outer groove
of 30 cm o(12") record

Within 0° 32' at the inner groove
of 30 cm (12") record

22°

Less than 7 mg (lateral, vertical)

0-2.5 9

6-10 g
13.5-17.5 9 (including headsheil)

95-13 9
17-2059
3.5-6.5 9
11-14 9 (including headsell) .
7.5 g

(including headshell)

; . Panasonic Company

3 I I ' h Division 01 Malsushita Electric
. eC nlCS Corporation 01 America

1 One Panasonic Way, Secaucus,
Nam lnrqnu fl7flflfi

Panasonic Hawaii, inc.
320 Waiakamilo Road, Honolulu,

Hawaii 96817

Malsushlta Electric 01 Canada Ltd.

5770 Ambler Drive,
Mississauga, Ontario
L4W 2T3

N
a:
E
o
o
'2
.'I
m

;

. c,

Page 2

SL-17OOMK2 '

I CONTENTS


TECHNICAL GUIDE. ..............
TROUBLE SHOOTING OF ARM DRIVE CIRCUIT .
DISASSEMBLY PROCEDURE ....... . . . . .

ADJUSTMENTS (Electrical) .
ADJUSTMENT POINTS. . . .
ADJUSTMENTS (Tone Arm) . . . . . . .
BLOCK DIAGRAM (Drive Circ tl ...........

i
_i
i
i
I

Pitch Central Circuit) ............... .
CONTROL CIRCUIT BOARD. . . . . .
DRIVE CIRCUIT BOARD. ...............

l LOCATION OF CONTROLS

Hinge

LOCATION OF CONTROLS ................. . . . .

BLOCK DIAGRAM (Control Circuit, Arm Control Circuit and

SCHEMATIC DIAGRAM 1 (Control Circuit Board) . . . . :18 ,;2o

REFERENCE VOLTAGE AND WAVEFORM AT EACH IC . , . 21
SCHEMATIC DIAGRAM 2 (Drive Circuit Board) ...... 22~ 23
TONE ARM DRIVE CIRCUIT BOARD . . .24~25
SCHEMATIC DIAGRAM 3 (Tone Arm Drive Circuit Board). .26
REPLACEMENT PARTS LIST (Electric Parts) ........ 27~ 28
EXPLODED VIEW (Main Basel ................ 29~3O
REPLACEMENT PARTS LIST (Main Base and Bottom Base Parts) .

EXPLODED VIEW (Bottom Base) .......

EXPLODED VIEW (Tone Arm and Arm Base) ........ 34 ~35

REPLACEMENT PARTS LIST (Tone Arm and Arm Base Parts)
.................................... 36

Arm-height adjustment ring

Balance weight

. Auto return switch

1 Turntable base

Turntable mat -


:_ Turntable platter

Arm clamp

Center spindle

Strobeviiluminator

Stop switch

£ i Stylus-Pressure ring

Arm lock knob


Anti skating control

Arm rest

Tone arm

Locking nut

Headshell

I Power switch_

(33 ram.)-
Speed selector switch-I:
(45 rpm.)-

Pitch Indicator

r
l

llluminator switch

Illuminator

Pitch control

Page 8

SL-17OOMK2 " M L ' '

How to install the drive circuit board assembly
The circuit board assembly can be detached by removing the 4

setscrews (D shown in Photo. 1. When installing it onto the Turntable- j
bottom base assembly after adjustment and repair, follow the pro- 5
cedure mentioned below. Center spindle
1. Temporarily tighten the 4 setscrews (D. @-

(Refer to Photo 1.)

2. Adjust so that the center spindle is aligned to the center of the
turntable provided with equal clearances ® as in Fig. 11.

3. Completely tighten the 4 setscrews (D, taking care not to allow Cabinet-
deflection of the center spindle.

[Fig. 6]

l ADJUSTMENTS (Electrical)

Notes: 0 Make the following adjustments after replacing parts such as IC's, transistors, diodes, etc.

0 Condition of the set 0 Instruments to be used
1. Power switch ..... ON 1. Oscilloscope fl
2. Pitch control ..... Center position 2. Frequency counter

3. Speed selector switch. . . .33 r.p.m.

Adjustment ::?:;Ctlon 9;]:tsstment Adjustment Method
gdgtixtstrent Frequency counter 1. Pitch control switch to center position.
A control $036 + --> TP27 VR301 .
(PITCH) - -> GROUND 2. Adjust VR301 for 262.08 kHz £0.05 kHz of frequency.
. Adjustment Frequency counter 1. Adjust pitch control switch for 269.94 kHz of frequency.
: of pitch
. +
B control LED _ : ggngND VR425 2. Adjust VR425 so that the LED (pitch indicator plus 3%)
: (GAIN) lights up.
STOP SIGNAL
Adjust VR201 for complete stop
Braking within 120°~270° after stop
C adjustment - VR201 270° Turmab'e signal initiated.
(BRAKE) (turntable becomes free a few
1 120° seconds after stop.)