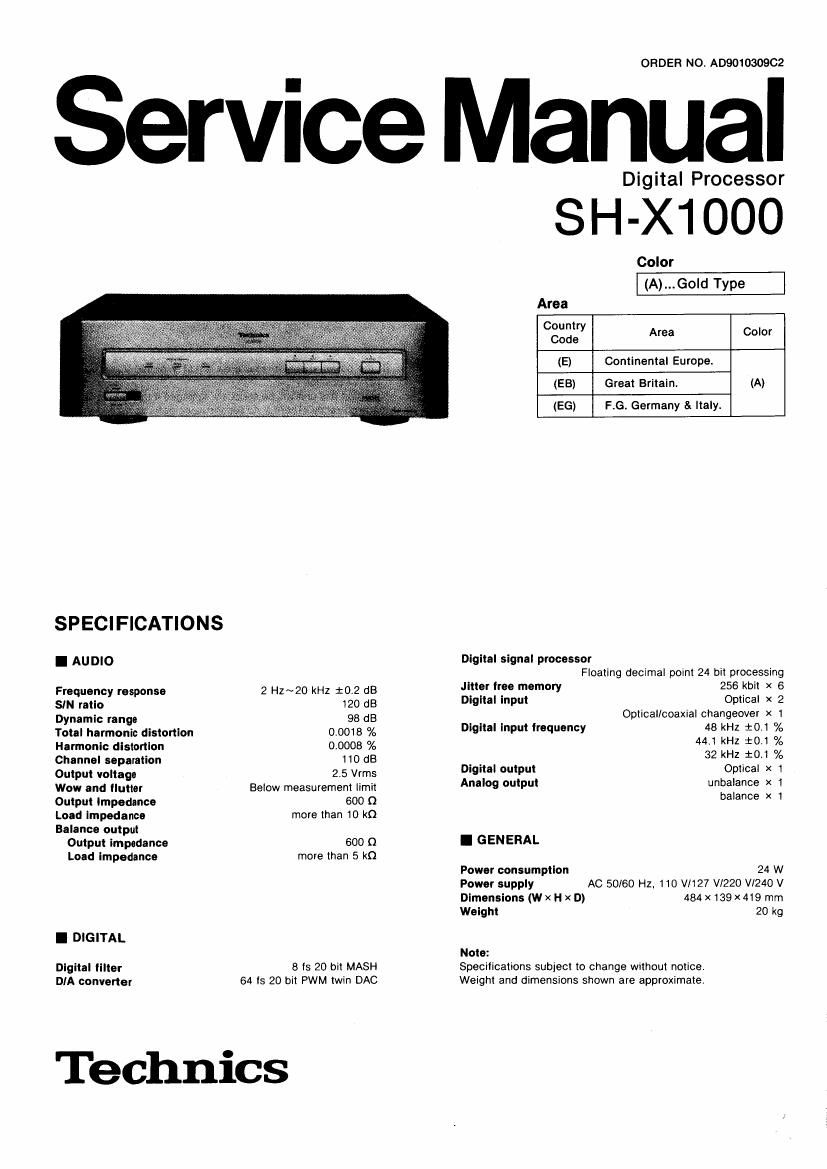
Technics SHX 1000 Service Manual

This is the 32 pages manual for Technics SHX 1000 Service Manual.
Read or download the pdf for free. If you want to contribute, please mail your pdfs to info@audioservicemanuals.com.

Page: 1 / 32
left right
Technics SHX 1000 Service Manual

Extracted text from Technics SHX 1000 Service Manual (Ocr-read)


Page 1

ORDER NO. AD901030902

Service Manual

SPECIFICATIONS

I AUDIO

Frequency response
SIN ratio
Dynamic range
Total harmonic distortion
Harmonic dlstortlon
Channel separation
Output voltage
Wow and llutter
Output Impedance
Load Impedance
Balance output
Output impedance
Load impedance

I DIGITAL

Digital lllter
DIA converter

2 HZ~20 kHz 102 dB
120 dB

98 dB

0.0018 %

0.0008 %

110 dB

25 Vrms

Below measurement limit
600 0

more than 10 kn

600 0
more than 5 k0

8 f5 20 bit MASH
64 Is 20 bit PWM twin DAC

Technics

Digital Processor

SH-X1000

Color
(A)...Gold Type
Area
08:2:y Area Color
(E) Continental Europe.
(EB) Great Britain. (A)
(EG) F.G. Germany & Italy.

Digital signal processor
Floating decimal point 24 bit processing
256 kbit x 6
Optical x 2
Optical/coaxial changeover x 1
48 kHz $01 %
44.1 kHz :01 %
32 kHz :01 °/o

Jitter tree memory
Digital input

Dlgltal input frequency

Digital output Optical x 1

Analog output unbalance x 1
balance x 1

I GENERAL

Power consumption 24 w

Power supply AC 50I60 Hz, 110 V/127 V1220 V/240 V
Dimensions (W X H x D) 484 x 139 x 49 mm
Weight 20 kg

Note:
Specifications subject to change without notice.
Weight and dimensions shown are approximate,

Page 2

SH-X1000

I CONTENTS

BEFORE USE ......................
TROUBLESHOOTING GUIDE
ACCESSORY
CONNECTIONS .
FRONT PANEL CONTROLS AND FUNCTIONS
OPERATIONS..................................... ........
DESCRIPTION OF TECHNICAL FEATURE
DISASSEMBLY INSTRUCTIONS .
TERMINAL FUNCTION OF ICS
BLOCK DIAGRAM ..................


I BEFORE USE

Be sure to disconnect the mains cord before adjusting the
voltage selector.

Use a flat-tip (-) screwdriver to set the voltage selector (on the
rear panel) to the voltage setting for the area in which the unit will
be used.


Page

SCHEMATIC DIAGRAM... ...................... 23~34
TERMINAL GUIDE OF IC' , TRANSISTORS AND

DIODES .................. 34

PRINTED CIRCUIT BOARDS . 35~40

WIRING CONNECTION DIAGRA
REPLACEMENT PARTS LIST
EXPLODED VIEW .....
REPLACEMENT PARTS LIST.
RESISTORS 81 CAPACITORS.
PACKING .............. ........

41
42~44
. 45, 4G

. 48, 49

(It the power supply in your area is 117 V or 120 V. set to the
127 V position.)

Note that this unit will be seriously damaged it this setting is not
made correctly. (There is no voltage selector for some countries;
the correct voltage is already set.)

This unit employs a lithium battery tor back-up oi the memory if a
power tailure occurs, but this battery will no longer provide that
back-up it it becomes weak. It battery replacement is necessary,
consult with the store where the unit was purchased, or any store
where Technics or Panasonic products are sold. or an authorized
Service Center. This battery must only be replaced by suitable
qualified service personnel.

ITROUBLESHOOTING GUIDE

WARNING

LITHIUM BATTERIES. POSSIBLE EXPLOSION DANGER.
CHANGE OF BATTERIES MUST ONLY BE DONE BY
QUALIFIED PERSONNEL.

Before requesting service for this unit. check the chart below for a possible cause ot the problem you are experiencing, Some simple checks
or a minor adjustment on your part may eliminate the problem and restore proper operation

If you are in doubt about some of the check points. or it the remedies indicated in the chart do not solve the problem, refer to the directory cl
Authorized Service Centers (enclosed With this unit) to locate a convenient service center. or consult your Technics dealer for instructions

L Problem i

Probable cause(s)

Suggested remedy -|

Problems noted at all times

power is switched ON.

No sound is heard when the The power cord plug is not completely inserted, i IContirm that the power cord plug is connected

completely.

speaker systems, etc.

Connections are incomplete or incorrect to the - Check to be sure that all connection wires are

correctly connected.

connected.

The optical fiber cable is not completely

I Insert until there is a snap.

A digital output ON/OFF changeover button is on v Turn ON.
the connected equipment, and it is OFF,

I ACCESSORY

Stereo connection cable ............................... 1
(SJPDta)

Page 4

SH-X1000 SH-X1000

I FRONT PANEL CONTROLS AND FUNCTIONS

0 Power switch and indicator (power)

Q Remote-control signal receptor
If you use this unit with a separately purchased compact
disc playeriTechnics: SL-ZtOOO) the signal can be received
with the remote control that comes with that equipment
and the input source can be changed.

9 Sampling frequency indicator
(sampling lrequency)
It detects the sampling lrequency ol the input digital signal
and illuminates accordingly, This indicator will illuminate if a
digital signal is received, regardless of whether the digital
equipment is performing or not.
0 32 kHz: DAT 32 kHz mode, etc.
- 44.1 kHz: CD, DAT (when playing back software tape)
0 48 kHz: DAT 48 kHz mode, etc.

® Input selectors and Indicators
(CD, aux 1, aux 2)
These selectors are used to select the sound source to be
heard.
The indicator will illuminate when the selection is made.

0 Jitter tree button and indicator
(jitter tree)
Changes between jitter tree mode and PLL mode.
The indicator illuminates in the jitter tree mode.

Refer to the Description of Technical Features" (see
pages 9, 10) for details about the jitter free mode and PLL
mode.

.OPERATIONS

2

'Iechnics
i1 loll/l

O
jitter free

3

Set the power switch of the equipment used
to ON.

Note:
Alter use, be sure to switch OFF the power.

Set the power of this unit to ON.
(The indicator will illuminate)

Select the input source.

(The selected source indicator Will illuminate.)

00: Press this button to listen to compact discs.

aux 1: Press this button to listen to sound from equipment
connected to the AUX 1" terminals of this unit.

aux 2: Press this button to listen to sound from equipment
connected to the AUX 2" terminals oi this unit.

Follow the instructions of the equipment
being used to begin play.

you, change over to the PLL mode.
L

\
Changeover with the jitter tree button.

0
jitter free

(:l

Each time the button is pressed it switches
between the jitter tree mode (indicator illuminates)
and PLL mode (indicator goes out).

Note:

The position of the mode matching the input sources is kept in
memory for each source even after the power is switched
OFF.

When the frequency deviation of the input source is large.
this unit automatically changes to the PLL mode.

in the jitter lree mode with the WIDE/NARROW changeover
switch on the rear in the WIDE position, there is a time delay
of approximately 0.4 sec between the input source signal
and the output signal (sound heard by the ears).

Consequently, when enjoying video and sound lrom a video
disc player with large frequency devsation, there is a time
discrepancy between the sound and video. It this bothers