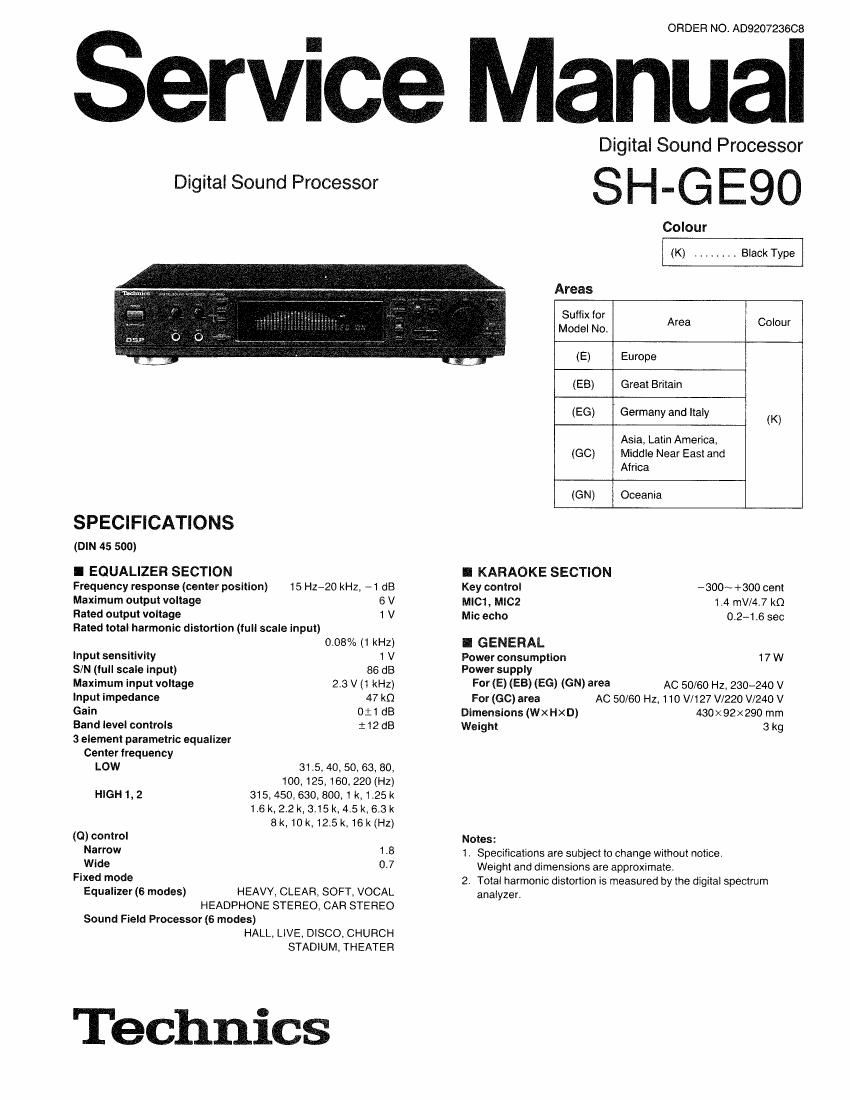
Technics SHGE 90 Service Manual

This is the 20 pages manual for Technics SHGE 90 Service Manual.
Read or download the pdf for free. If you want to contribute, please mail your pdfs to info@audioservicemanuals.com.

Page: 1 / 20
left right
Technics SHGE 90 Service Manual

Extracted text from Technics SHGE 90 Service Manual (Ocr-read)


Page 1

ORDER NO. A0920723668

Service Manual

Digital Sound Processor

SPECIFICATIONS

(um 45 500)

I EQUALIZER SECTION
Frequency response (center position) 15 Hz-20 kHz, 71 dB
Maximum output voltage 6 V
Rated output voltage 1 V
Rated total harmonic distortion (full scale input)

0.08% (1 kHz)

input sensitivity 1 V
S/N (tuii scale input) 86 dB
Maximum input voltage 2.3 V (1 kHz)
input impedance 47 k0
Gain 0:1 dB
Band level controls .t 12 dB
3 element parametric equalizer
Center frequency
LOW 31.5, 40, 50, 63, 30v
100, 125, 160, 220 (Hz)
HIGH1,2 815,450.630.80001k,1.25k

1,6 k,2.2k,3.15k,4.5 k,6.3k
8k,10k.12.5k,16k(Hz)

(0) control
Narrow 1.8
Wide 0.7
Fixed mode

Equalizer (6 modes) HEAVY, CLEAR, SOFTV VOCAL
HEADPHONE STEREO, CAR STEREO
Sound Field Processor (6 modes)

HALL, LIVE, DISCO, CHURCH

STADIUM, THEATER

Technics

Dimensions (WXHXD)
Weight 3 kg

Digital Sound Processor

SH-G E90

Colour
(K) ........ Black Type
Areas
Suffix for
Model No. Area Colour
(E) Europe

(EB) Great Britain

(EG) Germany and Italy

(K)
Asia Latin America,
(GO) Middle Near East and
Africa
(GN) Oceania
I KARAOKE SECTION
Key control -300~ + 300 cent
MICI, MICZ 1.4 mV/4.7 k0
Mic echo 0.2-1.6 sec
I GENERAL
Power consumption 17 W

Power supply

For (E) (EB) (EG) (GN) area Ac 50/60 Hz, 230-240 v
For (60) area AC 50/60 Hz, 1 1o W127 V/220 V/240 v
430x92><290 mm

Notes:

1. Specifications are subject to change without notice.
Weight and dimensions are approximate.

2. Total harmonic distortion is measured by the digital spectrum
analyzer.

Page 2

SH-GEQO

I CONTENTS

Page Page
OACCESSORIES ......................................... 2 ODESCRIPTION OF FL PANEL ............................ 20
CLOCATION OF CONTROLS ............... 2,3 OFUNCTION OF IC TERMINALS t 21, 22
OCONNECTIONS ............ . . 4 OBLOCK DIAGRAM ............ . . . 23. 24
ODISASSEMBLY INSTRUCTIONS ............. 5-7 OREPLACEMENT PARTS LIST . . . 25-28. 30
OSCHEMATIC DIAGRAM ..................... 8714 OCABINET PARTS LOCATION ......................... 29
OPRINTED CIRCUIT BOARD DIAGRAM 15-18 OPACKAGING ......................................... 30
OWIRING CONNECTION DIAGRAM 19
l ACCESSORIES

OStereo connection cables ............ 2 .AC power supply cord ............... 1 OPower plug adaptor ................. 1
: (E) (EG) I (GC)

: (EG)

: (GN)

: (GC)

Note: The configuration of the AC power supply cord differs according to area,

I LOCATION OF CONTROLS

1 2

3

4 5

5H can

- Mn-Va. m4

USP

Control section

CD Power STANDBY d)/ON switch
(POWER 1 STANDBY d) A 0N)
This switch switches ON and OFF the secondary circuit power
only. The unit is in the standby" condition when this switch is
set to the STANDBY 0) position. Regardless of the switch
setting. the primary circuit is always live" as long as the
power cord is connected to an electrical outlet.
Note:
For this unit, even it this switch is switched to the STANDBY"
position, there is still a slight power consumption of about
2.7 watts: this is in order to assure the retention of the most
recent" memory and the preset-memory functions.

Power-through" function

Discs, radio broadcasts. etc. can be heard even if the
power of this unit is switched to STANDBY.

Note. however. that the power plug should be left con-
nected to the AC outlet.

Microphone volume controls (VOL1. VOL2)

Voice mute button (VOICE MUTE)
This button is used to change KARAOKE" (using micro»
phone With an accompaniment).

C4) Key control button (KEY CON)
This button is used to adjust key level when performing
KARAOKE".

Echo button (ECHO)
This button is used to adjust the reverberation sound when in
performing KARAOKE".

Display section

Memory button (MEMO)
This button is used to store an original equalization curve or
Simulated listening envrronments

User mode select button (USER MODE)
This button is used to select the user mode of equalization
curve or simulated listening environments.

Fixed mode select button (FIXED MODE)
This button is used to select the fixed mode of equalization
curve or simulated listening environments.

Equalizer frequency indicator (EQ FREQ)
® Effect/key control indicator (EFFECT/KEY)

Page 5

I DISASSEMBLY INSTRUCTIONS

SH-GE90

SH-GE90

ATTENTION SERVICER

Some chassis components may have sharp edges. Be careful when disassembling and servicing.

Cabinet

oRemove the 6 screws (o~6).

Ref; N°' Removal of the Cabinet Ref.2No. Removal of the Front Panel Assy
Procedure Procedure
1 162

\
CN901 0N602

1. Remove the 2 flat cables (CN602, CN901).

Front panel ass'y

2. Remove the 3 screws (o~9).
3. Remove the front panel assy in the direction of arrow.

"9'5" Removal of the FL P.C.B.
Procedure
1-)2->3
Jog
control
knob Nut
1. Pull out the jog control knob.
2. Remove the nut.
3. Remove the 6 screws (o~e).
4. Remove the FL P.C.B. in the direction of arrow.
Ref. No. Power switchNolume P.C.B. and MIC
4 Jack P.C.B.
Procedure
1 2 4 F
fl) _) ks Screwdriver ront panel ass y

Knobs

Power switch button

1, Remove the power switch button by pushing it from behind the
front panel assy.
2. Pull out the2 knobs.

Power switch/Volume P.C.B,

MIC jack P.C.B.

3. Remove the 3 screws (ONO)-
4. Remove the earth spring.

1. Remove the 4 screws (0N0)-
2. Remove the operation P.C.B. in the direction of arrow.

MEN Removal of the Operation P.C.B. ReféNo Removal Of the karaoke P.C.B.
Procedure Procedure
1->2~>3-+5 1->2->3-*5
Operation P.CB.

Karaoke P.C.B.

ORemove the 3 screws (0"0);

1, Remove the 9 screws (o~e).
2. Remove the 1 flat cable (CN701 ).

Ref. No. Removal of the Main P.C.B. Ref. No. Removal ofthe Power Supply
7 8 P.C.B.
Procedure Procedure
192a7 1-)8

1. Remove the 1 flat cable (CN701).
2. Remove the 3 screws (o~0).

Ref. No.
9

How to check the Power SwitchNolume P.C.B. MIC Jack P.C.B. and Operation P.C.B.

Procedure
1 -> 2+ 4-)

54>6~>9

1. Reinstall the FL P.C.B. to the main P.C.B.

2. Install the operation P.C.B. and karaoke P.C.B. to the FL
P.CB.

3. Connect the flat cables of the power switch/volume P.C.B,
to the connectors (CN602 and CNQOl) on the main P.C.B.

4. Place the MIC Jack P.C.B., power switch/volume PCB.
and operation P.C.B. as shown right to check their foil
patterns.

Flat cables


Main P.C.B.

MlC jack P.C.B.

Power swrtch/
Volume P.C.B.

Operation P.C.B.