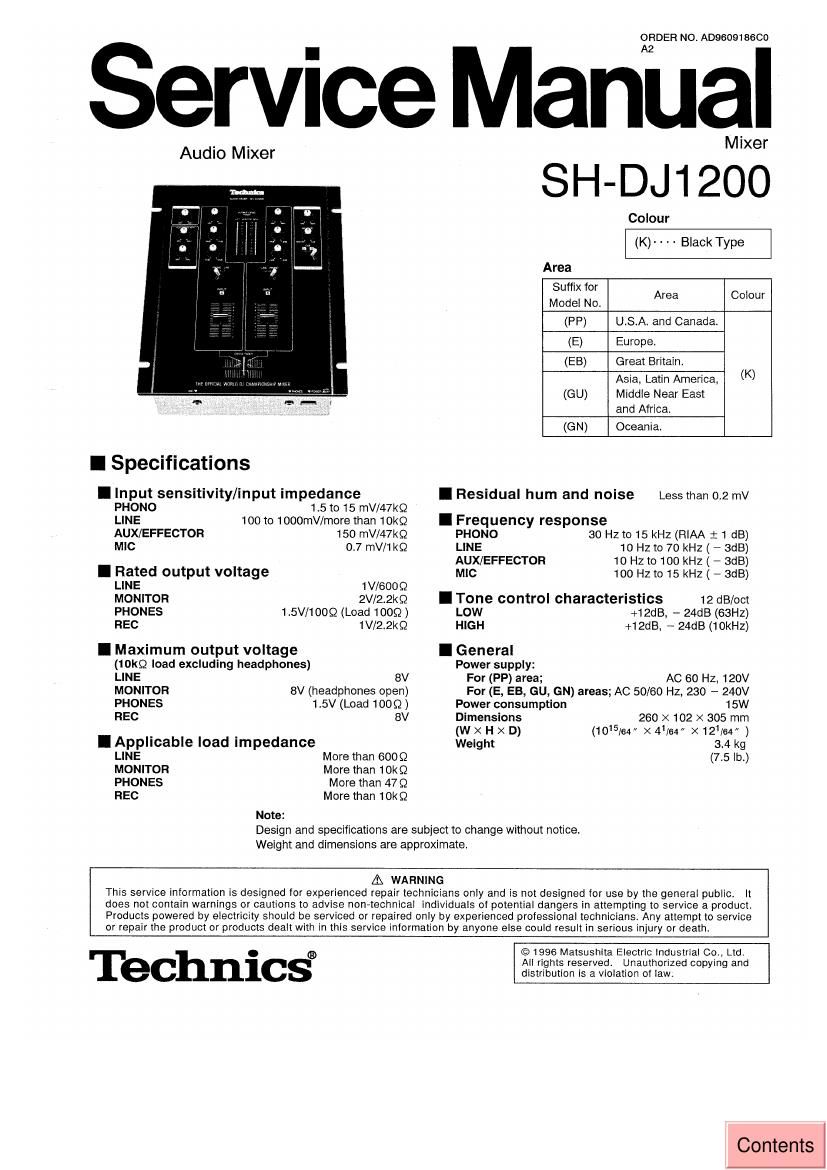
Technics SHDJ 1200 Service Manual

This is the 35 pages manual for Technics SHDJ 1200 Service Manual.
Read or download the pdf for free. If you want to contribute, please mail your pdfs to info@audioservicemanuals.com.

Page: 1 / 35
left right
Technics SHDJ 1200 Service Manual

Extracted text from Technics SHDJ 1200 Service Manual (Ocr-read)


Page 1

ORDER NO A09609186C0

Service Manual

Mixer

SH-DJIZOO

Colour
(K)- - , - Black Type

Audio Mixer

Area
Suffix for
I
Model No. Area Co our
(PP) U.S.A. and Canada.
(E) Europe,

(EB) Great Britain.
Asia, Latin America, (K)
(GU) Middle Near East
and Africa.

(GN) Oceania.

I Specifications

I Input sensitivity/input impedance I Residual hum and noise Less than 0.2 mV

PHONO 1.5 to 15 mV/47kQ

LINE 100 to 1000mV/more than 10kQ I Frequency response

AUX/EFFECTOR 150 mV/47kQ PHONO 30 Hz to 15 kHz (RIAA 1' 1 dB)

MIC 0.7 mV/1kQ LINE 10 Hz to 70 kHz ( - 3dB)

AUX/EFFECTOR 10 Hz to 100 kHz ( _ 3dB)

I Rated output voltage MC 100 Hz to 15 kHz ( , 3dB)

LINE 1V/GOOQ

MONITOR 2V/2.2kQ I Tone control characteristics 12 dB/oct

PHONES 1.5V/100S2 (Load 1009) LOW +12dB, - 24dB (63HZ)

REC 1V/2.2kQ HIGH +12dB, s 24GB (1 OkHz)
I Maximum output voltage I General

(10kg load excluding headphones) Power supply:

LINE 8V For (PP) area; AC 60 HZ. 120V

MONITOR 8V (headphones open) For (E, EB, GU, GN) areas; AC 50/80 Hz, 230 - 240V

PHONES 1.5V (Load 100 :2) Power consumption 15W

REC 8V Dimensions 260 X 102 x 305 mm

(W X H X D) (105/64 x 41/64" X121/64" )

I Applicable load impedance Weight 3.4 kg

LINE More than 6009 (7.5 lb.)

MONITOR More than 10KQ

PHONES More than 47 Q

REC More than 10kg

Note:

Design and specifications are subject to change without notice.
Weight and dimensions are approximate.

A WARNING
This service information is designed for experienced repair technicians only and is not designed for use by the general public. It
does not contain warnings or cautions to advise non-technical individuals of potential dangers in attempting to service a product,
Products powered by electricrty should be serviced or repaired only by experienced professional technicians. Any attempt to service
or repair the product or products dealt with in this service information by anyone else could result in serious injury or death.

Technicsf

©1996 Matsushita Electric industrial Co., Ltd.
All rights reserved. Unauthorized copying and
distribution is a violation of law.

Contents

Page 2

SH -DJ1 200

l Contents

Page Page
Safety Precaution -------------------------- ~- 2 Operation Checks and Component
Accessories ~~~~~~ 2 Replacement Procedures ~~~~~~~~~~~~~~~ 12 ~ 15
Caution for AC Ma 3 Lead 3 Schematic Diagram . 16 - 21
Features -~ 4 Block Diagram ~~~~~~~~~~ 22
Connections 7 Printed Circuit Boards 23 ~ 27
Name of the Parts. 9 Terminal Guide of lCs Trans tors and Diodes ~~~~~~~~ 27
Proper Use of the SH-DJt 200 ~~~~~~~~~~~~~~~~~~~~~~~~~~~~~~~~~~ 9 Wiring Connection Diagram ------------------ 28
Audio Mixer Slide Volume Control Replacement Parts List 29 30, 32, 33, 35

Replacement instructions
Troubleshooting Guide ~~~~~~~~~~~~~~

~10 Cabinet Parts Location .
Packaglng ...............

31

I Safety Precaution (This Safety Precaution is applied only in USA.)

1. Before servicing. unplug the power cord to prevent an electric shock.

2. When replacing pans, use only manufacturers recommended components for saiety.

8. Check the condition of the power cord. Replace ii wear or damage is evident.

4. After servicing, be sure to restore the lead dress. insulation barriers. insulation papers, shields. etc.

5, Before returning the serviced equipment to the customer. be sure to make the following insulation resistance test to prevent the customer {ram
being exposed to a shock hazard.

O INSULATION RESISTANCE TEST

1. Unplug the power cord and short the two prongs of the plug with a jumper wire.

2, Turn on the power switch.

3. Measure the resistance value with ohmmeter between the jumpered AC plug and each exposed metal cabinet part. such as screwheads antenna.
control shafts. handle brackets, etc. Equipment with antenna terminals should read between 3 M9 and 5.2 M9. to all exposed parts. (Fig. A)
Equipment without antenna terminals should read approximately infinity to all exposed pans. (Fig. 5)

Note: Some exposed parts may be isolated from the chassis by design. These will read infinity.

Antenna

terminal \4 l-
,i ,0

Exposed / Exposed /
metal part metal part

Ohmneter Ohmmeter
(Fig.A) (Fig. Bi

Resistance = 3 M9 - 5.2 MQ Resistance = Approx. no

4. If the measurement is outside the specified limits. there Is a possibility oi a shock hazard. The equipment should be repaired and rechecked before
it is returned to the customer.

l Accessories
OAC power cord 0 Power plug adaptor
(PP) area: (SJA172) tttttt 1 pct (E. GU) areas: (FiJA0019~2K) ...... 1pc. (GU) area: (SJP5213-2) ...... inc.
{1/
O Sticker
(GN) area: (RJA0035-K) ...... 1pc. (RFEooaz)

Page 12

SH-DJ1 200

I Operation Checks and Main Component Replacement Procedures

1. This section describes procedures for checking the operation of the major printed circuit
boards and replacing the main components.

2. For reassembly after operation checks or replacement, reverse the respective procedures.
Special reassembly procedures are described only when required.

3. Illustrated screws are equivalent to actual size.

4. [ ] indicates parts No.

- Output P.C.B. / ln ut A P.C.B. / In ut B P.C.B. / Tone control A P.C.B.
Checking for the P.C.B. (/ Tone control B PPCB. / Monitor .C.B.)

-0x4

ED ?

Remove the front cover.


Remove the rear panel.

can i ?

@m ooo (Black)

[XTBSS+BJ F21]

_]2_