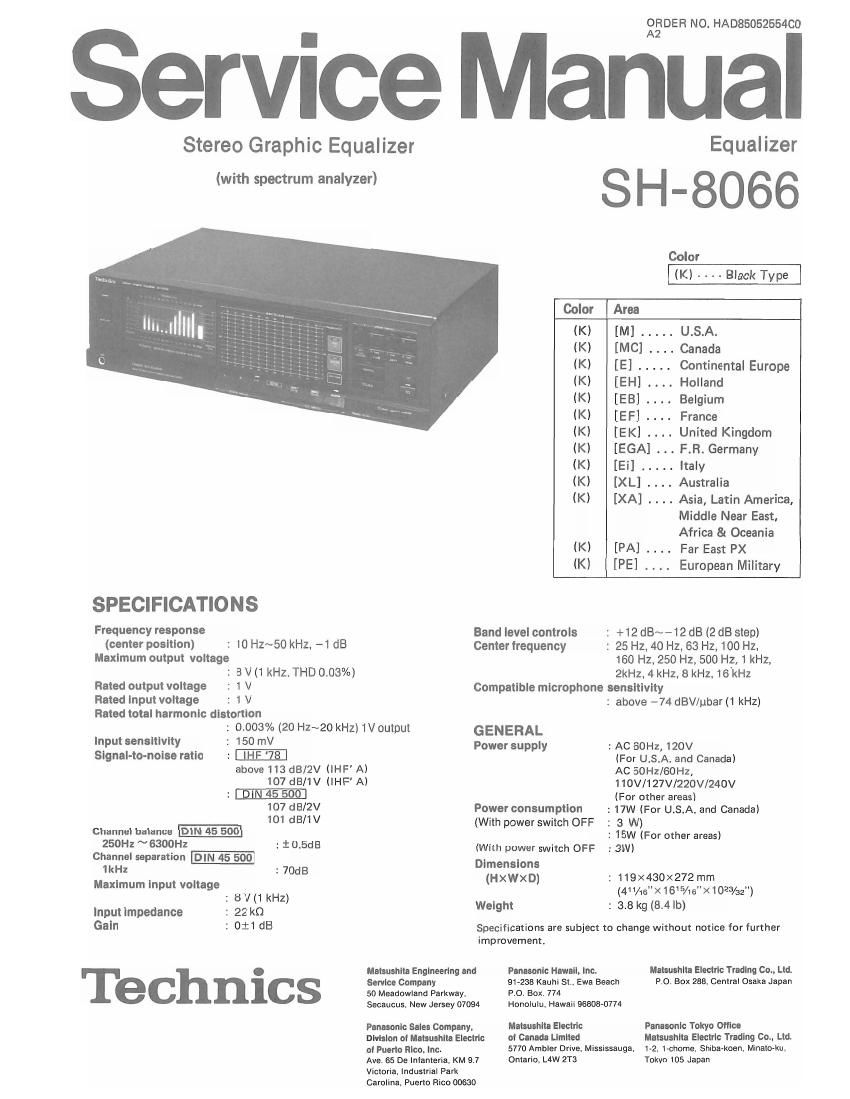
Technics SH 8066 Service Manual

This is the 24 pages manual for Technics SH 8066 Service Manual.
Read or download the pdf for free. If you want to contribute, please mail your pdfs to info@audioservicemanuals.com.

Page: 1 / 24
left right
Technics SH 8066 Service Manual

Extracted text from Technics SH 8066 Service Manual (Ocr-read)


Page 2

H-8066
I MICROPHONE FOR FIELD MEASUREMENT

SH-8066 for [M], [MC], [PA] and [PE] areas includes a microphone for field measurement. (Specification of the microphone
is described under.)

As SH-8066 for other areas does not include the microphone, use a sold separately microphone for field measurement,
Recommeded microphone : RP<3800E (sold separately)

0 Specifications of the microphone included in SH-8066 for [M] , [MC] [PA] and [PE] areas:

oType: Electret condenser type IEquivalent noise: Less than 34 dB SPL
nFrequency response: 16 Hz~20,000 Hz 0Power supply: 1.5 V (Battery UM-a or F16><1)

20 Hz~16,000 Hz :2 dB OBaitery life: Approx. 2,000 hours (continuous)
- Directivity: Omni-directional OWeight: Approx. 125 9 (without battery)
OSensItlvity: -72 dB 00utput cord: 4 m of single-core shielded

(0 dB=1 V/p bar,1,000 Hz) 4 mm O.D. wire with
IOutput impedance: 6000 (1.000 H2. unbalanced) phone-type plug
IMaximum input sound OStand screw: PF 1/2

pressure: More than 1 10 dB SPL

(O dB:2X10" pbar.1.000 Hz)


I CONTENTS

Page
SAFETY PRECAUTION. . . . . . ............ TECHNICAL INFORMATION . . . . . . . . 12
LOCATION OF CONTROLS ..... . . . . . FUNCTION OF IC'S . . . . . . ........................ 13
REAR PANEL AND CONNECTION ..... CIRCUIT BOARDS AND WIRING CONNECTION DIAGRAM.
BLOCK DIAGRAM OF FUNCTION. BLOCK DIAGRAM .................. . . . . . ........ 21
DISPLAY . . . . . . . . - - - - SCHEMATIC DIAGRAM. . . . .
OPERATION. ........... . . . . . RESISTORS Br CAPACITORS.
DISASSEMBLY INSTRUCTIONS ..... . . ........ 9 EXPLODED VIEW .........

REPLACEMENT PARTS LIST ....... ...... . ..... . . . 36

- SAFETY PRECAUTION (This safety precaution" is applied only in U.S.A.)

. Before servicing, unplug the power cord to prevent an electric shock.

. When replacing parts, use only manufacturer's recommended components for safety.

. Check the condition of the power cord. Replace if wear or damage is evident.

. After servicing, be sure to restore the lead dress, insulation barriers. insulation papers, shields. etc.

. Before returning the serviced equipment to the customer, be sure to make the following insulation resistance test to
prevent the customer from being exposed to a shock hazard.

mwa-l

o INSULATION RESISTANCE TEST

1. Unplug the power cord and short the two prongs of the plug with a jumper wire.

2. Turn on the power switch.

3. Measure the resistance value with ohmmeter between the jumpered AC plug and each exposed metal cabinet part, such as
screwheads antenna, control shafts, handle brackets, etc. Equipment with antenna terminals should read between 3M0
and 5.2Mn to all exposed parts. (Fig. A) Equipment without antenna terminals should read approximately infinity to
all exposed parts. (Fig. B)

Note: Some exposed parts may be isolated from the chassis by design. These will read infinity.

Antenna
termlnal \

Exposed Exoosed ,
metal metal
93" part
Onmmeter Ohmmeter
(Fig-A) (Fig. 3)
Resistance=3MQ-5.2MQ Resistance=Approx co

4. If the measurement is outside the specified limits, there is a possibility of a shock hazard. The equipment should be
repaired and rechecked before it is returned to the customer.

-2-