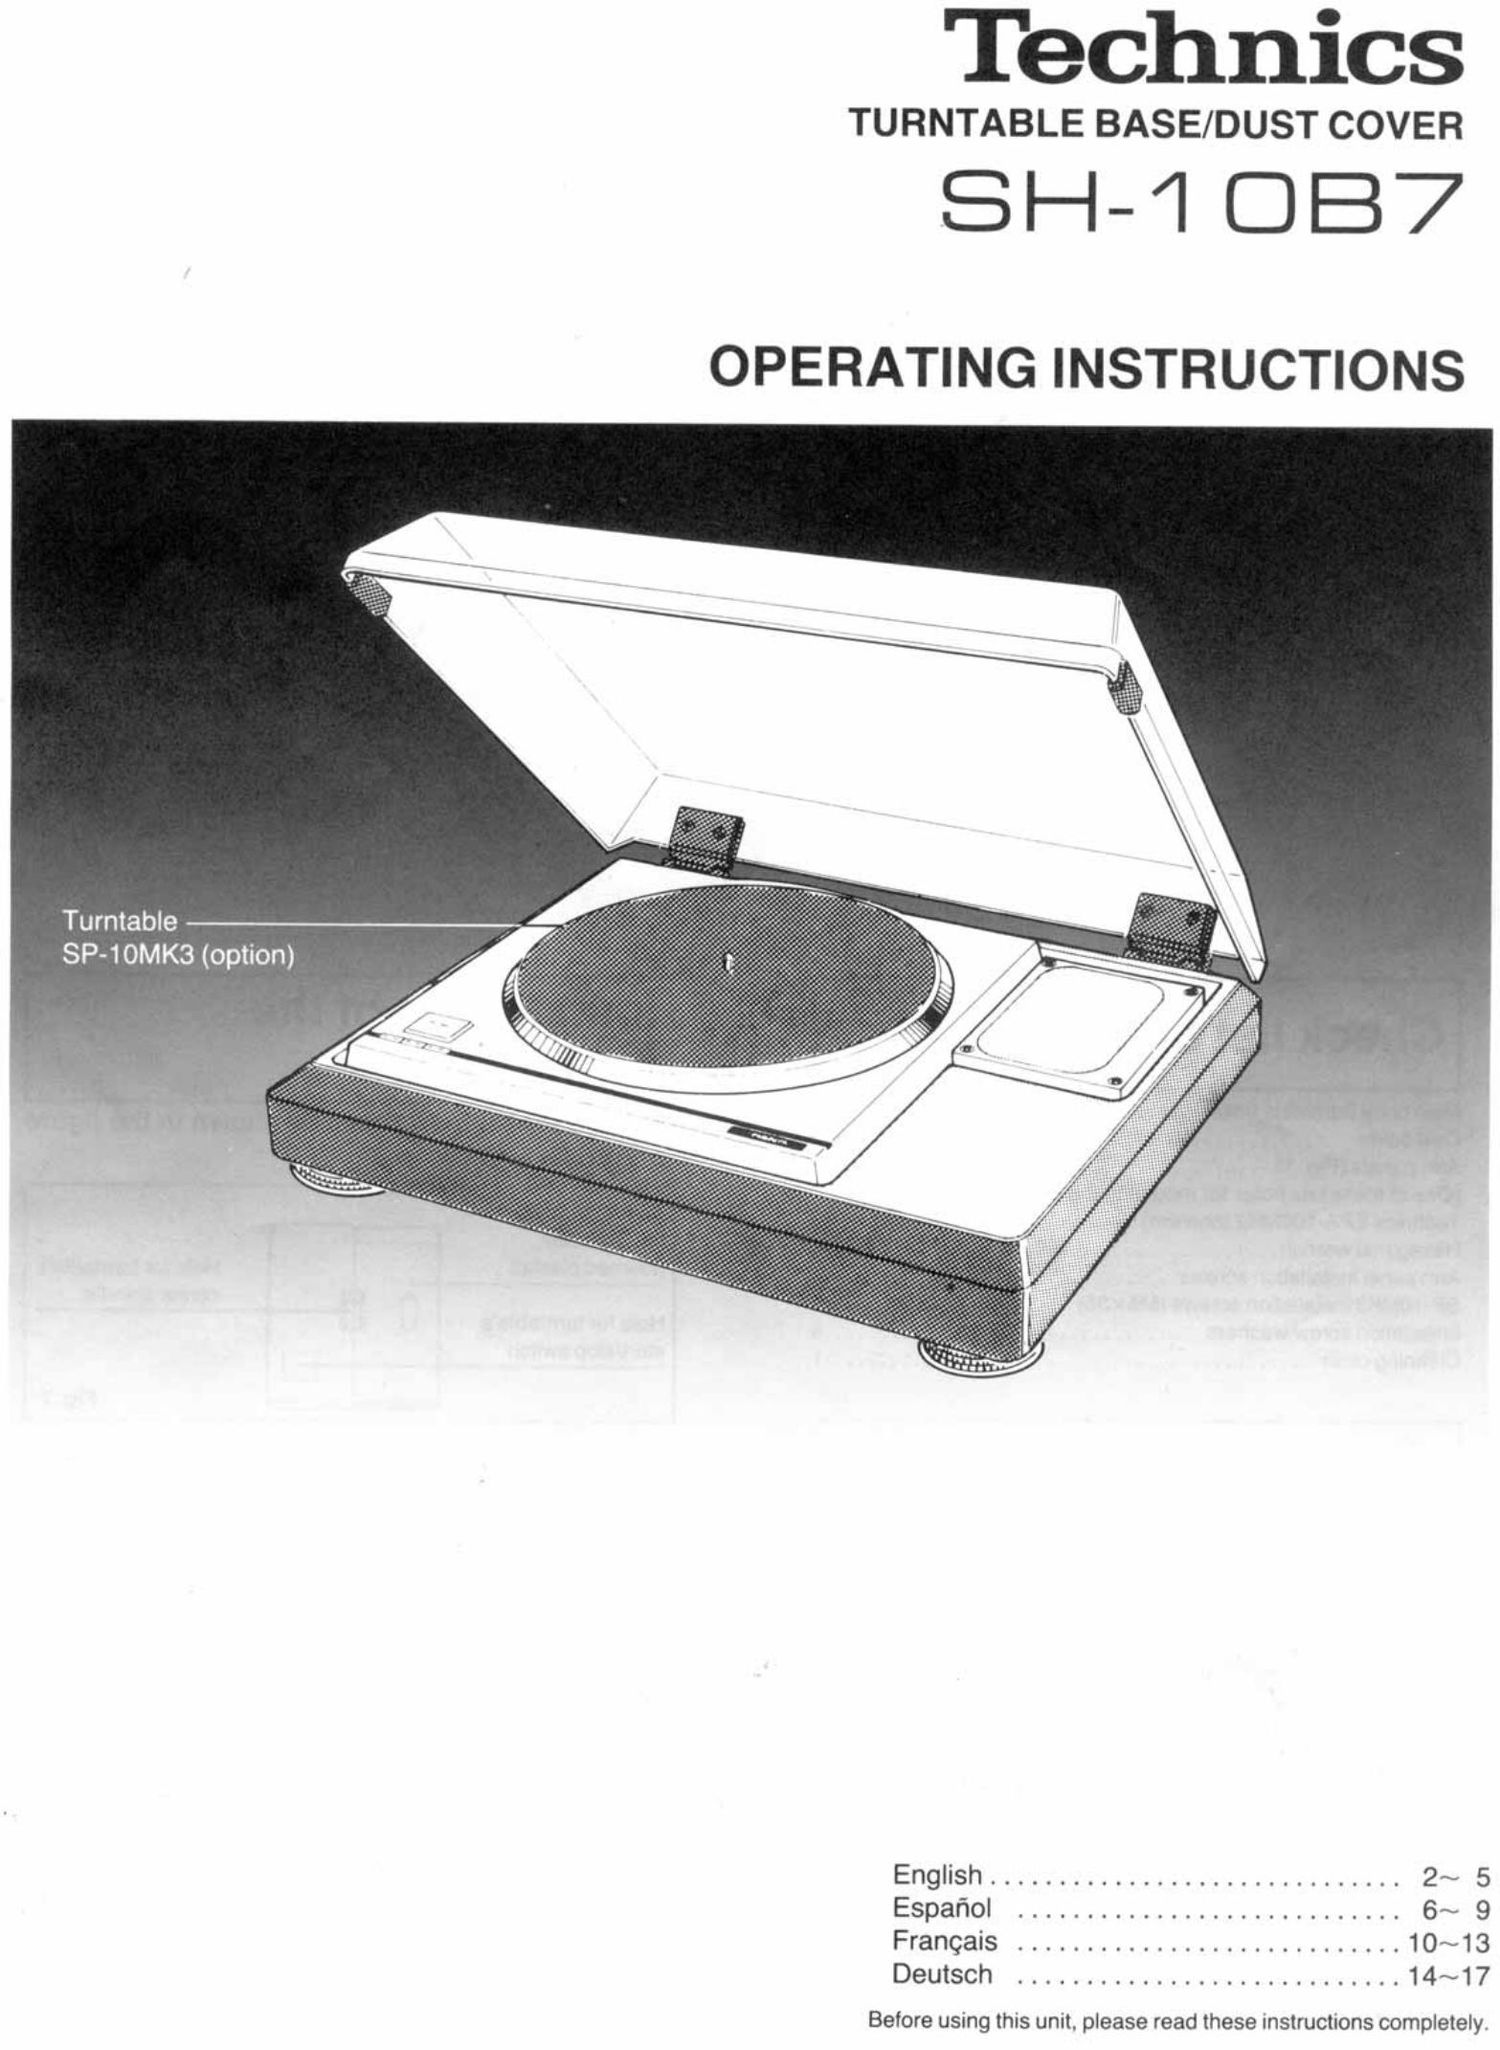
Technics SH 10 B 7 Owners Manual

This is the 5 pages manual for Technics SH 10 B 7 Owners Manual.
Read or download the pdf for free. If you want to contribute, please mail your pdfs to info@audioservicemanuals.com.

Page: 1 / 5
left right
Technics SH 10 B 7 Owners Manual

Extracted text from Technics SH 10 B 7 Owners Manual (Ocr-read)


Page 1

Technics

TURNTABLE BASE/DUST COVER

SH-| DB7

OPERATING INSTRUCTIONS

English .............................. 2~ 5
Espanol ............................ 6~ 9
Franqais ............................ 10~13
Deutsch ............................ 14~17

Before using this unit. please read these instructions completely.

Page 2

i ( VJ .
(/7001! . ///w/()u - 701?

Thank you for buying the SH-lOB? Technics turntable

base.

For optimum performance trom this unit and for

continuing enjoyment. please carefully read the oper-
ating instructions of the unit together with those of the
SP-lOMKS or SP-10MK2(A) direct-drive turntable.

Parts identification

Dust cover

Insulator/leg

Check list of parts

Main body (turntable base) .................... . ........... 1
Dust cover .............................................. 1
Arm panels (Fig. 1) ...................................... 2
(One of these has holes for mounting the optional

Technics EPA-100MK2 tonearm)

Hexagonal wrench ........................................ 1
Arm panel installation screws .............................. 4
SP-t 0MK3 installation screws (M5 x 35) .................... 5
Installation screw washers ................................ 5

Cleaning cloth

Note:

The support frame for the base (foamed plastic material
used for packing) should be saved for use when installing
the SP-fOMK3 or SP-tOMK2(A) turntable. (Refer to Fig. 2.)

fi-
1 v

L_i __~A , ,.

Optional Technics
EPA- 100MK2 tonearm

Fly. 1

Hinge

Turntable base

Installation of the
turntable

0 Place the support frame as shown in the tlgure
(Fig. 2).

Support frame for
the SH-1087 i ,1
(foamed plastic) Hole for tumtables
center spindle
Hole for tumtables r E
start/stop switch . l
-42.14: 9- 2

9 Turn the turntable upside-down and place it on
the support frame for the base (Fig. 3).

Note:
Be sure to remove the turntable's platter before turning the
turntable upside-down.

Bottom of turntable

6

Fig. 3

Facing you

The turntable [SP-10MK3 or SP-tOMK2(A)) and this unit (SH-
1087) each weigh more than 10 kg. so speCial care should be
taken not to let them drop.