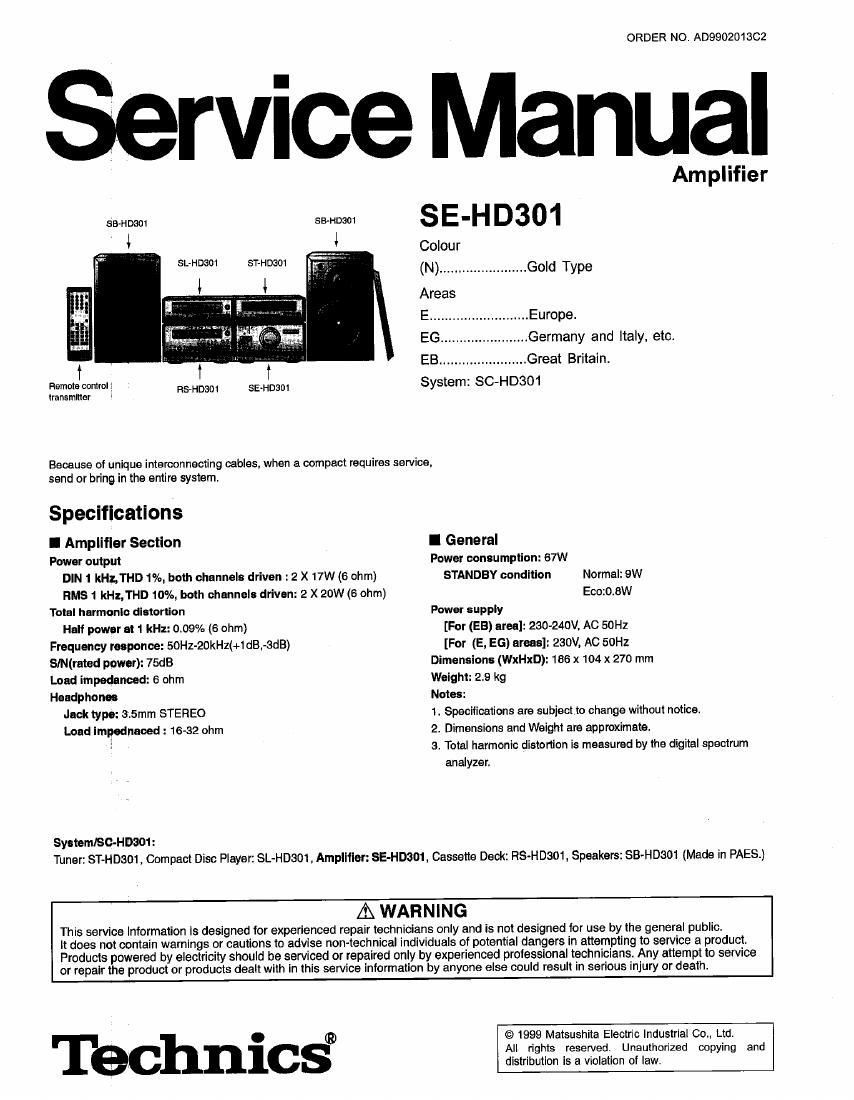
Technics SEHD 301 Service Manual

This is the 28 pages manual for Technics SEHD 301 Service Manual.
Read or download the pdf for free. If you want to contribute, please mail your pdfs to info@audioservicemanuals.com.

Page: 1 / 28
left right
Technics SEHD 301 Service Manual

Extracted text from Technics SEHD 301 Service Manual (Ocr-read)


Page 1

ORDER NO. AD990201302

rvice Manual

Amplifier

SB-HDSDt sa-Hoaoi S E 'H D 3 o 1

; Colour
(N)... .............. Gold Type
Areas
E.. Europe.
EG.. ...Germany and Italy, etc.
EB... ..Great Britain.
Remote control; Fis-HDsm 5541mm System: SC-HD301

transmitter

Because of unique interconnecting cables, when a compact requires service,
send or bring in the entire system.

Specifications
l Amplitler Section I General
Power output Power consumption: 67W
DIN 1 kHTHD 1%. both channels driven : 2 X 17W (6 ohm) STANDBY condition Normal: 9W
HMS 1 kHz,THD 10%, both channels driven: 2 X 20W (6 ohm) Eco:0.8W
Total harmonic distortion Power supply
Half power at 1 kHz: 009% (6 ohm) [For (EB) area]: 230v240V. AC SDHz
Frequency vesponce: 50Hz-20kHz(+1dB.-3dB) [For (E, E6) areas]: 230V. AC 50Hz
SIN(ratod power): 75dB Dimensions (WxHxD): 156 x 104 x 270 mm
Load impedanced: 6 ohm Weight: 2.9 kg
Headphones Notes:
Jack typo: 3.5mm STEREO 1. Specifications are subject to change without notice.
Load Impadnaced : 16-32 ohm 2. Dimensions and Weight are approximate.
: 3. Total harmonic distortion is measured by the digital spectrum
analyzer.
SystemISG-HDBM:

Tuner: ST-HDam, Compact Disc Player: SL-HD301 , Amplifier: SEJHD301, Cassette Deck: RS-HDaOt, Speakers: SB»HDSO1 (Made in PAES.)

A WARNING

This service Information is designed for experienced repair technicians only and is not designed for use by the general public.

it does not contain warnings or cautions to advise non-technical individuals 01 potenfiat dangers in attempting to service a product.
Products powered by electricity should be serviced or repaired only by experienced protessional technicians. Any attempt to service
or repair the product or products dealt with in this service information by anyone else could result in serious injury or death.

© 1999 Matsushita Electric Industrial 00., Ltd.

0 ®
All rights resented. Unauthorized copying and
distribution is a violation of law.

Page 2

CONTENTS

Page
1 ACGGSSOTNS """""""""""""" 7.2. Schematic Diagram Notes -------------------------------------------- 13
2 Before Repair and Adjustmen s schemaic Diagram ............. .14
3 Caution tor AC Maln Lead ----- 3 9 Printed Circuit Board DI ram ~17
4 Operating Instructions ------------------------------------------------------------ 4 10 Block Diagram ..................................................................... 20
5 Operation Checks and Component Replacement Procedurass 11 Wiring Connection Diagram 21

6 Power Source ON/OFF and Signal Check~ 12 Replacement Parts List 22
7 Schematic Diagram Notes ---------------------- 13 Cabinet Parts Location- -25
7.1. Type Illustration of ICs, Transistors and Diodes ~~~~~~~~~~~~ 12 14 Packaging ----------------------------------------------------------------------------- 26

1 Accessories

, AC power supply cord ............. 1 pc. - Remote control transmitter .. 1 pc. ~ Speaker cords ........................ 2 p05.

For (EB) area: ForlE, EG) areas: (RAK-HDA07WH) (REE0499)

(RJAOUsa-ZX) (RJAODl 9-X)

3 :_~
«\n': _> k *E

- Remote control batteries . 2 pcs. , AM loop antenna set (RSA0021)

[(R6/LR6lAA, UM-3)] AM loop antenna ...................... 1 pc. Antenna holder 1 pc.

Note: These are available on sales route. Antenna holder with stand ....... 1 pc. Screw 1 pc.

\ til
\1 if

. FM indoorantenna . » Antenna plug adaptor ............... 1 pc.

(RSAOOO?) For (EB) area only:

(SJPSOOQ)

2 Before Repair and Adjustment

1.Tum off the power supply. Using a 109 , 10W resistor, connect both ends of power supply capacitors (0102-105, 127) in order
to discharge the voltage.

2. Before turning the power supply on, after completion of repair. slowly apply the primary voltage by using a power supply voltage
controller to make sure that the consumed current at 50/60 Hz in NO SIGNAL mode should be shown below with respect to
supply voltage 230 V/240 V.

Area (E) (E6) (E5)
Power supply voltagi AC 230V AC 240V
Consumed current 50 Hz 50 Hz | 30-140 mA 50 Hz I 30-140 mA

Page 12

6 Power Source ONIOFF and Signal Check

To operate this unit SE-HDso1 normally, it is necessary for 3.Connect the speakers to speaker terminal. (As shown in
connecting with the unit sT-HDSM. Fig. 1)

When operating the unit SE-HD301, be sure to connect the 4. Tum on the power of the Amplifier (SE-H0301).

unit ST-HD301 With Included connection cable. 5. Press iNPUT SELECTOR to select the external source
1.Connect with the Tuner (ST-HD301). (As shown in Fig. 1) (EXT/MD) of the Amplifier (SE-H0301).

2. Connect the AC mains lead to Amplifier (SE-H0301) (AS 6. Input a sound signal to external input terminal of Tuner (ST-
ShOWn In F'Q- 1) HD301), and confirm to be outputted from the speaker.

TUNER (ST-H0301)
I- -
EITEI <9 © 3
M '54 \EXTERNAL
INPUT TERMINAL

\SPEAKER

AC IN-~@ TERMINAL

i

AMPLIFIER (SE-HD301)
Fig. 1

7 Schematic Diagram Notes

7.1. Type Illustration of ICs, Transistors and Diodes
M5218AFPE3 HSN35H1 ZSB621AORSTA 2503940AQSTA
3 28A1309ATA
,v, 5 2363311ATA
,llTs/ UN4115TA
I /, E E
4 EC 5 C B C B
ZSD2374PQAU ZSD2144STA 1N54OZBF MA165TA
HL1N4003N02 ca
Ca
' C lh d
& gsnade 3M / 3 ° ° MA4051MTA
//'\./ fl/ MA4062MTA
a 00/ / A/ A A
, Ec
h E Anode Made Anode
MA4075MTA SLRGZSVC
C: W MA4110MTA
a e MA4150MTA Am
// MA4160MTA cmae
A MA4240MTA ,,
Anode A-{Qfiim

12