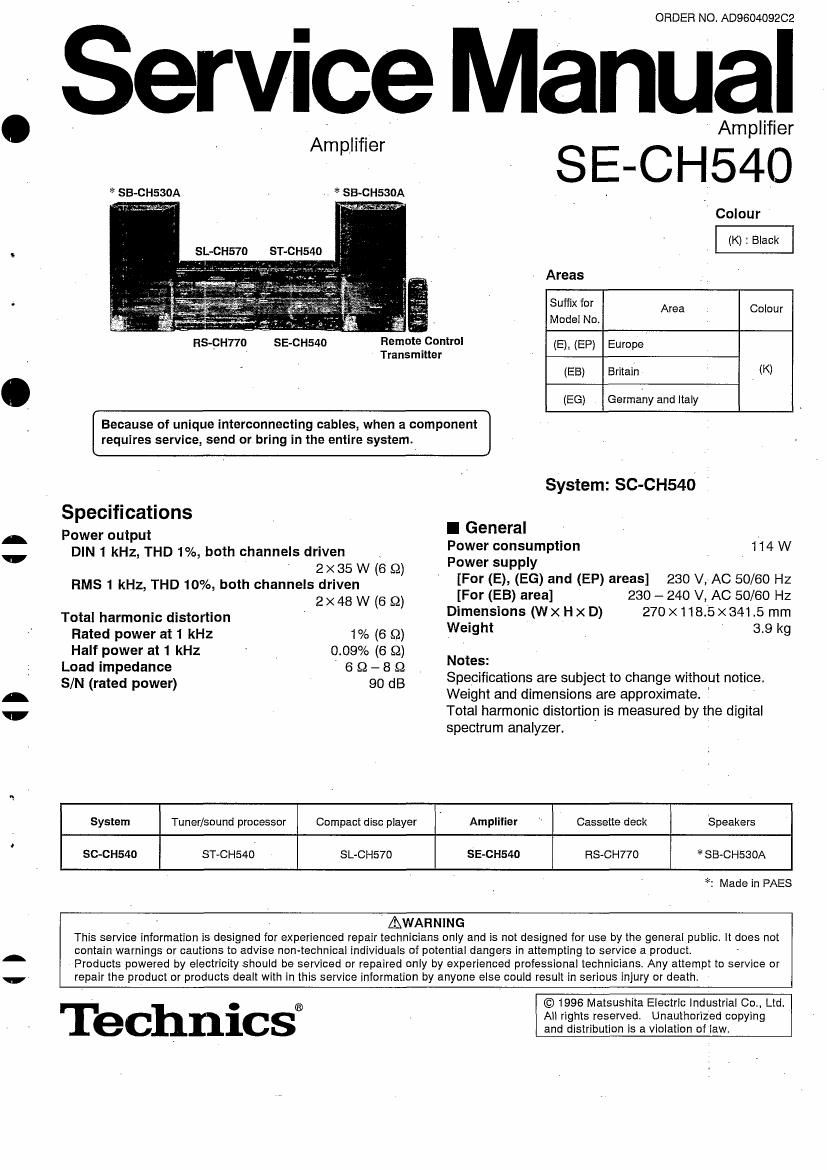
Technics SECH 540 Service Manual

This is the 20 pages manual for Technics SECH 540 Service Manual.
Read or download the pdf for free. If you want to contribute, please mail your pdfs to info@audioservicemanuals.com.

Page: 1 / 20
left right
Technics SECH 540 Service Manual

Extracted text from Technics SECH 540 Service Manual (Ocr-read)


Page 1

H

ORDER NO AD960409202

Service Manual

Amplifier
Am plifier
S E - C H 5 4 O
* SB-CH530A . * SB-CHsaoA _ '
Colour
(K) : Black
sL-CH570 ST-CH540
Areas
Suffix for Area Colour
Model No.
ns-cHT/o SE-CH540 RemoteContrul (E), (EP) Eumpe'
' Transmitter ,
(EB) Britain (K)
(EG) Germany and Italy
Because of unique interconnecting cables, when a component
requires service, send or bring in the entire system.
System: SC-CH54O
Specifications
Power output I General _
Power consumptIon 114 W

DIN 1 kHz, THD 1%, both channels driven _
' 2X35 W (6 .Q)
RMS 1 kHz, THD 10%, both channels driven

2 x 48 w (6 £2)

Total harmonic distortion '
Rated power at 1 kHz 1% (6 9.)
Half power at 1 kHz 0.09% (6 9)
Load impedance ' 6 £2 - 8 £2
S/N (rated power) 90 dB

Power supply
[For (E), (E6) and (EP) areas] 230 V, AC 50/60 Hz
[For (EB) area] 230 - 240 V, AC 50/60 Hz
Dimensions (WxHxD) 270x118.5><341.5 mm
Weight 3.9 kg

Notes:

Specifications are subject to change without notice.
Weight and dimensions are approximate. '
Total harmonic distortion is measured. by the digital
spectrum analyzer. '

System Tuner/sound processor Compact disc player Amplifier Cassette deck Speakers
SG-CH540 ST-CH54O SL-CH57O SE-CH540 HS-CH77O * SB-CHSGOA
*: Madein PAES
AWAHNING

This service information is designed for experienced repair technicians only and is not designed for use by the general public. It does not
contain warnings or cautions to advise non-technical individuals of potential dangers in attempting to service a product. -

Products powered by electricity should be serviced or repaired only by experienced professional technicians. Any attempt to service or
repair the product or products dealt with in this service information by anyone else could result in serious injury or death.

Technicsi

© 1996 Matsushita Electric Industrial 00.. Ltd.
All rights reserved. Unauthorized copying
and distribution is a violation of law,

Page 2

SE-CH54O

I Contents

Before Repair
Protection Circuntry
Accessories ......
Caution of AC Mains Lead
Location of Controls
Installation ............
Flat Cable Connection
Antenna Connections.
External Unit Connection
Optional Antenna Connections
Connection of AC Power Supply Cord .....

'U
m
to
07

Operation Check and -

Main Component Replacement Procedures
Power Source ON/OFF of This Unit
Schematic Diagram ......................
Printed Circuit Board Diagram
Wiring Connection Diagram
Block Diagram ..........
Replacement Parts List
Cabinet Parts Location
Packaging ................

mmmmhewommm

I Before Repair

(1) Turn off the power supply. Using a 10 S2. 10 W resistor, connect both ends of power supply capacitors (C701, C702) in order to discharge the voltage.
(2) Before turning the power supply on, after completion of repair, slowly apply the primary voltage by using a power supply voltage controller to make
sure that the consumed current at 50/60 Hz in NO SIGNAL mode should be shown below with respect to supply voltage 230 V/24O V.

Power supply voltage AC 230 V AC 240 V

Consumed current 50 Hz 60 ~ 200 mA 50 - goo mA

ll Protection Circuitry

The protection circuitry may have operated if either of the following conditions is noticed:
is No sound is heard when the power is switched ON.
>I The functions of this circuitry is to prevent circuitry damage if, for example, the positive and negative speaker connection wires are.shorted', or it
speaker systems with an impedance less than the indicated rated impedance of this unit are used.
If this occurs, follow the procedure outlined below:
1. Switch OFF the power.
2, Determine the cause of the problem and correct it.
3. Switch ON the power once again.
Note: .
When the protection circuitry functions, the unit will not operate unless the power is first switched OFF and then ON again.

I Accessories

0 AC power supply cord I Flat cable 0 Remote control transmitter

(E). (EG) and (EP) areas:(RJA0019-2K) .1 Long (nexocci) ........................................ 1 (RAK-CH204WH) ....................................... 1
(EB) area: (RJAOO49-K)......,....................... 1 Medium (REX0660). 1

Short (REXOGOB) ..

(E), (EG) and (EP)

0 Batteries ' AM (LW/MW) loop antenna ' Antenna holder
(UM~4. "AAA", R03) ........ L .......................... 2 (RSA0012) ................................................ 1 (RMN0244) ................................................. 1
Note: These are available on sales route,

,9 Qt. tit

0 Mounting screw 0 FM indoor antenna O Speaker cords
(XTN3+12AFZ) ......................................... 1 (RSAOOO7) 1 (REE0499) ................................................. 2
a? E
0 Power plug adaptor
for (EB) area only (SJPQOOS) .................... 1

l l

Page 4

VSE-CH54O

13mm. 1mm :4 A


$55M

Stacking the components

Horizontal stacking m

® CD player

(in) Tuner/sound processor
© Cassette deck

© Amplifier

Vertical stacking E

® Tuner/sound processor
@ Amplifier

© CD player

@ Cassette deck

I Flat Cable (included) Connections

Before marking connections:
Make sure the white line on the cable is

on the right side:
Connector

Whiteline

To unplug cables:
Hold the connector from both ends.


[In Do not in! connecting or discon-

necting the flat cables while the
power is switched to ON.

Tuner/sound processor

CD player

(short) (middle) (long)

mmmzemrmsmmmmmmmmmmmi

w.

.After connection:

Fold and press the cable as flat to the back

of the unites possible. (To minimize noise

pickup while listening an MW/LW broadcast) 0'