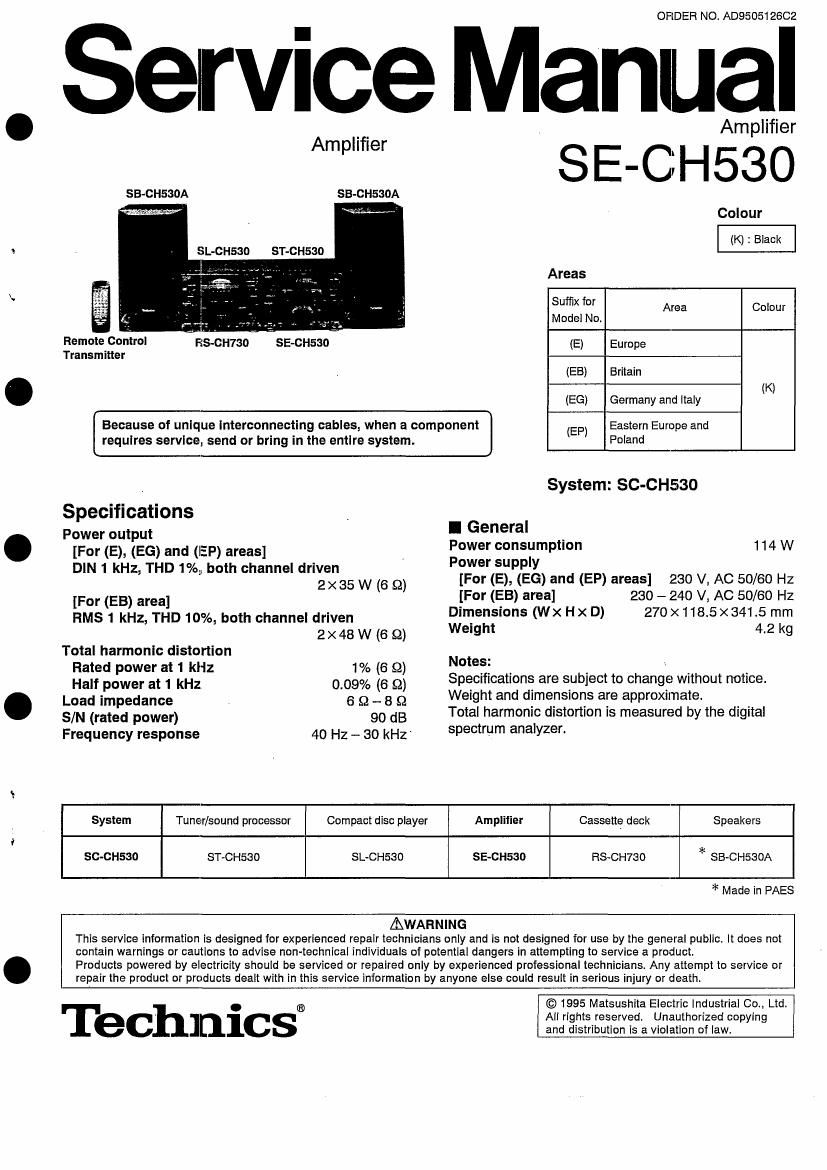
Technics SECH 530 Service Manual

This is the 27 pages manual for Technics SECH 530 Service Manual.
Read or download the pdf for free. If you want to contribute, please mail your pdfs to info@audioservicemanuals.com.

Page: 1 / 27
left right
Technics SECH 530 Service Manual

Extracted text from Technics SECH 530 Service Manual (Ocr-read)


Page 1

ORDER NO. AD950512602

Service Manual

Amplifier
Amplifier l
- , 5
SB-CH530A SB-CH530A
Colour
(K) : Black
sL-cnsso ST-CHsso
Areas
Suffix for Area Colour
Model No.
Remote Control F.S-CH730 SE~CH530 (E) Europe
Transmitter
(EB) Britain
(K)
(EG) Germany and Italy
Because of unique lnterconnecting cables, when a component (EP) Eastern Europe and
requires service, send or bring in the entire system. Poland
. System: SC-CH530
Specifications
Power output I General _
{For (E): (E6) and (Ep) areas] Power consumptlon 114 w
Power supply

DlN 1 kHz, THD 1%, both channel driven

2 x 35 w (6 o)
[For (EB) area]
RMS 1 kHz, THD 10%, both channel driven
2 x 48 w (6 52)
Total harmonic distortion
Rated power at 1 kHz 1% (6 £2)
Half power at 1 kHz 0.09% (6 9)
Load impedance 6 Q - 8 9

SIM (rated power) V 90 dB
Frequency response

40 Hz- 30 kHz

[For (E), (E6) and (EP) areas] 230 V, AC 50/60 Hz

[For (EB) area] 230 - 240 V, AC 50/60 Hz
Dimensions (WX H x D) 270 x1185 X 341.5 mm
Weight 4.2 kg
Notes:

Specifications are subject to change without notice.
Weight and dimensions are approximate.

Total harmonic distortion is measured by the digital
spectrum analyzer.

System Tuner/sound processor Compact disc player Amplitier Cassette deck Speakers
SC-CHSSO ST-CHSGO SL-CH530 SE-GH530 RS-CH730 * SB~CH530A
* Made in PAES
[WARNING

This service information is designed for experienced repair technicians only and is not designed for use by the general public. It does not
contain warnings or cautions to advise non-technical individuals of potential dangers in attempting to service a product.

Products powered by electricity should be serviced or repaired only by experienced professional technicians. Any attempt to service or
repair the product or products dealt with in this service information by anyone else could result in serious injury or death.

Techinics®

© 1995 Matsushita Electric industrial Co.. Ltd.
All rights reserved. Unauthorized copying
and distribution is a violation of law.

Page 2

SE-CH530 |
I Contents

Before Repair....
Protection Circuitry
Accessories .......
Caution of AC Mains Lead.
Stacking the Component
Connections ................
Optional Antenna Connections .
External Unit Connection
Location of Controls
Operation Check and
Main Component Replacement Procedures

Page

l Before Repair

Page
Power Source ON/OFF ofThis Unit
Schematic Diagram .....
Printed Circuit Board Diagram
Wiring Connection Diagram
Block Diagram ...........
Replacement Parts List
Cabinet Parts Location.
Packaging .................

11~13
, 14~16
18

. 1B~20
21

(1) Turn offthe power supply. Using a 10 £2. 10 W resistor. connect both ends of power supply capacitors (0701, 0702) in order to discharge the voltage.
(2) Before turning the power supply on. after completion of repair, slowly apply the primary voltage by using a power supply voltage controller to make
sure that the consumed current at 50/60 Hz in NO SIGNAL mode should be shown below with respect to supply voltage 230 V/240 V.

Power supply voltage AC 230 V

AC 240 V

Consumed current 50 Hz 60 ~ 200 mA

60 ~ 200 mA

l Protection Circuitry

The protection circuitry may have operated if either of the following conditions is noticed:

* No sound is heard when the power is switched ON.
>l< Sound stops during a performance.

The functions of this circuitry Is to prevent circuitry damage if, for example. the positive and negative speaker connection wires are shorted". or if
speaker systems with an impedance less than the indicated rated impedance of this unit are used.

If this occurs, follow the procedure outlined below:
1. Switch OFF the power.
2. Determine the cause of the problem and correct it.
3. Switch ON the power once again.

Note:

When the protection circuitry functions. the unit will not operate unless the power is first switched OFF and then ON again.

I Accessories

0AC power supply cord
(E), (E6) and (EF) areas 2 (RJA0019-2K) .. 1
(EB) area: (VJA0733) .................................. 1

0 Flat cable
Long (REX0661)

(E). (E6) and (EP)

0 Batteries
(UM-4. AAA". R03) ................................... 2
Note: These are available on sales route.

9

0 Mounting screw
(XTN3+12AFZ) .......... ................ 1

0 FM indoor antenna

er %

0 Power plug adaptor
tor (EB) area only (SJP9009)


Medium (REXOGSO)
Short (REXOSOB) ......

.................................. 1

0 AM (LWIMW) loop antenna
(RSAOD12) ................

Q;

(RSA0007) ................................................. 1

O Remote control transmitter
1 (RAK-CH144WH) .
. 1

fit

O Antenna holder
1 (RMN0244) ................................................. 1

ii:

0 Speaker cords
(REEO499) ................................................. 2

Page 3

l Caution for AC Mains Lead

[ (EB) area code model only]

For your safety, please read the following text carefully.

This appliance is supplied with a moulded three pin mains
plug for your safety and convenience.

A 5-ampere fuse is fitted in this plug.

Should the fuse need to be replaced please ensure that the
replacement fuse has a rating of 5-ampere and that it is
approved by ASTA or BSI to B81362.

Check for the ASTA mark ® or the BSI mark @ on the
body of the fuse.

If the plug contains a removable fuse cover you must en-
sure that it is refitted when the fuse is replaced.

If you lose the fuse cover the plug must not be used until a
replacement cover is obtained.

A replacement fuse cover can be purchased from your lo
cal dealer.

CAUTION!

IF THE FITI'ED MOULDED PLUG IS UNSUITABLE
FOR THE SOCKET OUTLET IN YOUR HOME THEN
THE FUSE SHOULD BE REMOVED AND THE PLUG
CUT OFF AND DISFOSED OF SAFETY.

THERE IS A DANGER OF SEVERE ELECTRICAL
SHOCK IF THE CUT OFF PLUG IS INSERTED INTO
ANY 13-AMPERE SOCKET.

iSE-CH53O

The wire which is coloured BROWN must be connected to
the terminal in the plug which is marked with the letter L or
coloured RED.

Under no circumstances should either of these wires be
connected to the earth terminal of the three pin plug,
marked with the letter E or the Earth Symbol J:- .

Before use
Removal the connector cover as follows.

1

cover

' How to replace the fuse

1. Remove the fuse cover with a screwdriver.

If a new plug is to be fitted please observe the wiring code
as shown below.
If in any doubt please consult a qualified electrician.

IMPORTANT
The wires in this mains lead are coloured in accordance
with the following code:

Blue: Neutral

Brown: Live
As the colours of the wires in the mains lead of this appli~
ance may not correspond with the coloured markings iden-
tifying the terminals in your plug, proceed as follows:
The wire which is coloured BLUE must be connected to the
terminal in the plug which is marked with the letter N or
coloured BLACK.

This apparatus was produced to BS 800.