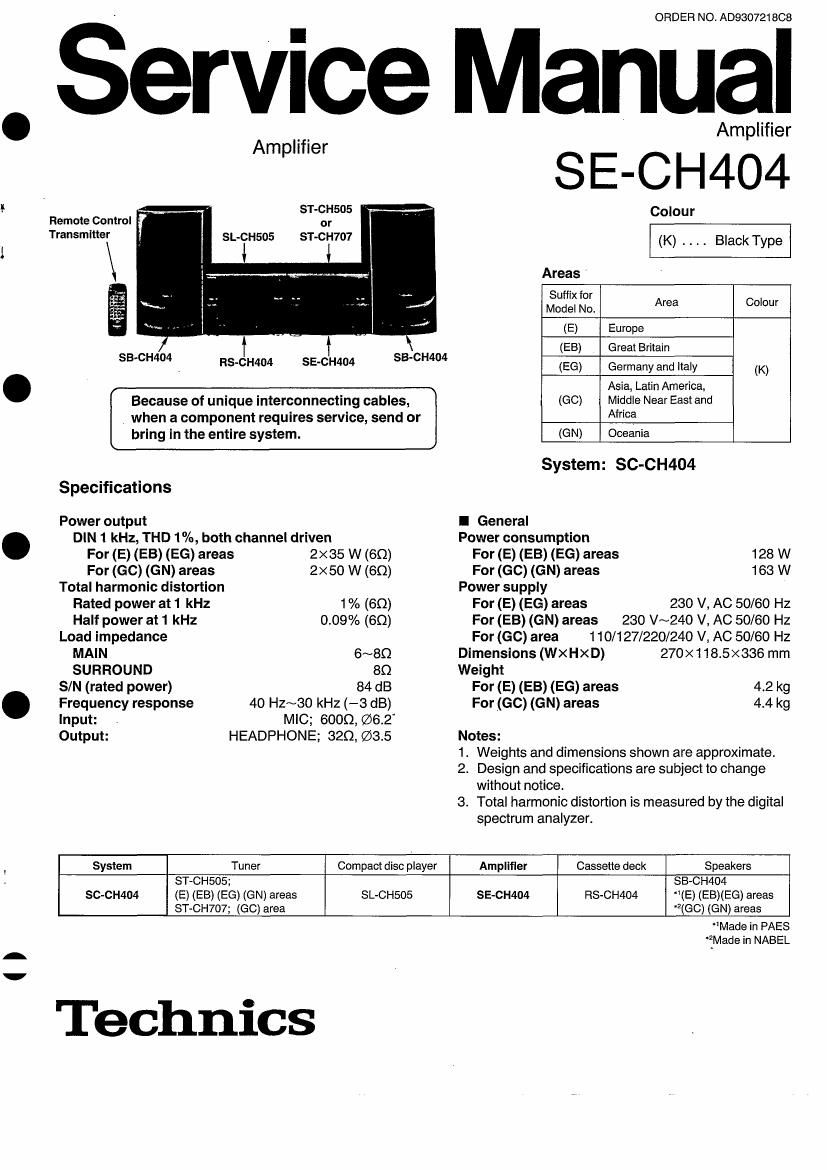
Technics SECH 404 Service Manual

This is the 17 pages manual for Technics SECH 404 Service Manual.
Read or download the pdf for free. If you want to contribute, please mail your pdfs to info@audioservicemanuals.com.

Page: 1 / 17
left right
Technics SECH 404 Service Manual

Extracted text from Technics SECH 404 Service Manual (Ocr-read)


Page 1

ORDER NO. A0930721BCB

SerVice Manual

Amplifier
Amplifier
S E - C H 40 4
Remote Control ST 3:505 Colour
Transmitter SL-CH505 ST-cH1o7 (K) _ _ . _ Black Type
Areas
5:33:10; Area Colour
(E) Europe
(EB) Great Britain
SBC'MM . RS'CH404 SE'CI'MM SBICHAM (EG) Germany and ltaly (K)
Asia, Latin America,
Because of unique interconnecting cables, (GC) Middle Near East and
when a component requires service, send or Africa
bring in the entire system. (GN) Oceania
System: SC-CH404
Specifications
Power output I General
DIN 1 kHz, THD 1%, both channel driven Power consumption
For (E) (EB) (EG) areas 2x35 W (6!!) For (E) (EB) (EG) areas 128 W
For (GC) (GN) areas 2x50 W (60) For (GC) (GN) areas 163 W
Total harmonic distortion Power supply
Rated power at 1 kHz 1% (60) For (E) (E6) areas 230 V, AC 50/60 Hz
Half power at 1 kHz 009% (60) For (EB) (GN) areas 230 V~240 V, AC 50/60 Hz
Load impedance For (GC) area 110/127/220/240 V, AC 50/60 Hz
MAIN 6~80 Dimensions (WXHXD) 270x118.5><336 mm
SURROUND 80 Weight
S/N (rated power) 84 dB For (E) (EB) (EG) areas 4.2 kg
Frequency response 40 Hz~30 kHz (-3 dB) For (GC) (GN) areas 4.4 kg
lnput: MIC; 6000, @62
Output: HEADPHONE; 320, $3.5 Notes:
1. Weights and dimensions shown are approximate.
2. Design and specifications are subject to change
without notice.
3. Total harmonic distortion is measured by the digital
spectrum analyzer.
System Tuner Compact disc player Amplifier Cassette deck Speakers
ST-CH505; SB-CH404
SC-CH404 (E) (EB) (EG) (GN) areas SL-CHSOS SE-CH404 RS-CH404 (E) (EB)(EG) areas
ST»CH707; (GC) area 2(GC) (GN) areas

Technics

Made in PAES
fMade in NABEL

Page 2

SE-CH404


I Contents
Page
IBEFORE REPAIR ........................................ 2
oPROTECTION ClRCUITRY ...................... 2
IBEFOFIE USE FOR ((30) AHEA .................. 2
iCAUTlON FOR AC MAINS LEAD . . 3
OACCESSORIES ................ . . . 3
oSTAKlNG THE COMPONENTS .......................... 5
OCONNECTIONS ...................................... 6~9
oLOCATION OF CONTROLS ............................ 10
OPOWER ON/OFF FOR POWER
AMPLIFIER SE-CH404 .................................. 10

I Before Repair

Page
ODISASSEMBLY INSTRUCTIONS . 11~14
.BLOCK DIAGRAM ............... . . .. 15
'SCHEMATIC DIAGRAM ............... 16-4 8
.PRINTED CIRCUIT BOARD DIAGAM . 19~21
OWIRING CONNECTION DIAGRAM . . . . 21
IREPLACEMENT PARTS LIST 22~25
OCABINET PARTS LOCATION .....
' OPACKAGING ...................

(1) Turn off the power supply. Using a 100, 10 W resistor, connect both ends of power supply capacitors (C701 , 0702) in order to discharge the

voltag e.

(2) Before turning the power supply on, after completion of repair. slowly apply the primary voltage by using a power supply voltage controller to make
sure that the consumed current at 50/60 Hz in NO SIGNAL mode is mode should be shown below with respect to supply voltage 110 V/127 V/

220 V/24O V.
Power supply voltage AC 1 10~127 V AC 220~240 V AC 230 V AC 240 V
Consumed current 50 Hz 150~270 mA 50~160VmA 50~130 mA for (E8) 50~130 mA, for (GN) 60~14o mA

I Protection Circuitry

The protection circuitry may have operated it either of the following conditions is noticed:

No sound is heard when the power is switched ON.
'Sound stops during a performance.

The functions of this circuitry is to prevent circuitry damage if, for example, the positive and negative speaker connection wires are shorted". or it
speaker systems with an impedance less than the indicated rated impedance of this unit are used.

If this occurs, follow the procedure outlined below:
1. Switch OFF the power.
2. Determine the cause of the problem and correct it.
3. Switch ON the power once again.

Note:

When the protection circuitry functions, the unit will not operate unless the power is first switched OFF and then ON again.

I Before Use for (G0) Area

Be sure to disconnect the mains oord before adjusting the voltage
selector.

Use a minus (-) screwdriver to set the voltage selector (on the
bottom of the tuner amplifier) to the voltage setting for the area in
which the unit will be used

(If the power supply in your area is 117 V or 120 V, set to the
127 V" position.)

Note that this unit will be seriously damaged it this setting is not
made correctly. (There is no voltage selector for some countries;
the correct voltage is already set.)

THIS TUNER/RECEIVER IS CAPABLE OF RECEIVING THE NEW AM STEREO BROADCASTS FROM THE AM BAND
RADIO STATIONS. HOWEVER LIKE MANY TUNERS AND RECEIVERS CURRENTLY AVAILABLE ON THE MARKET
IT WILL REPRODUCE THIS AM STEREO SIGNAL ONLY IN AM MONO, WHICH, IN EFFECT, IS OF NO LESSER
QUALITY THAN YOUR EXISTING AM MONO TUNER/RECEIVER.

II

II

II