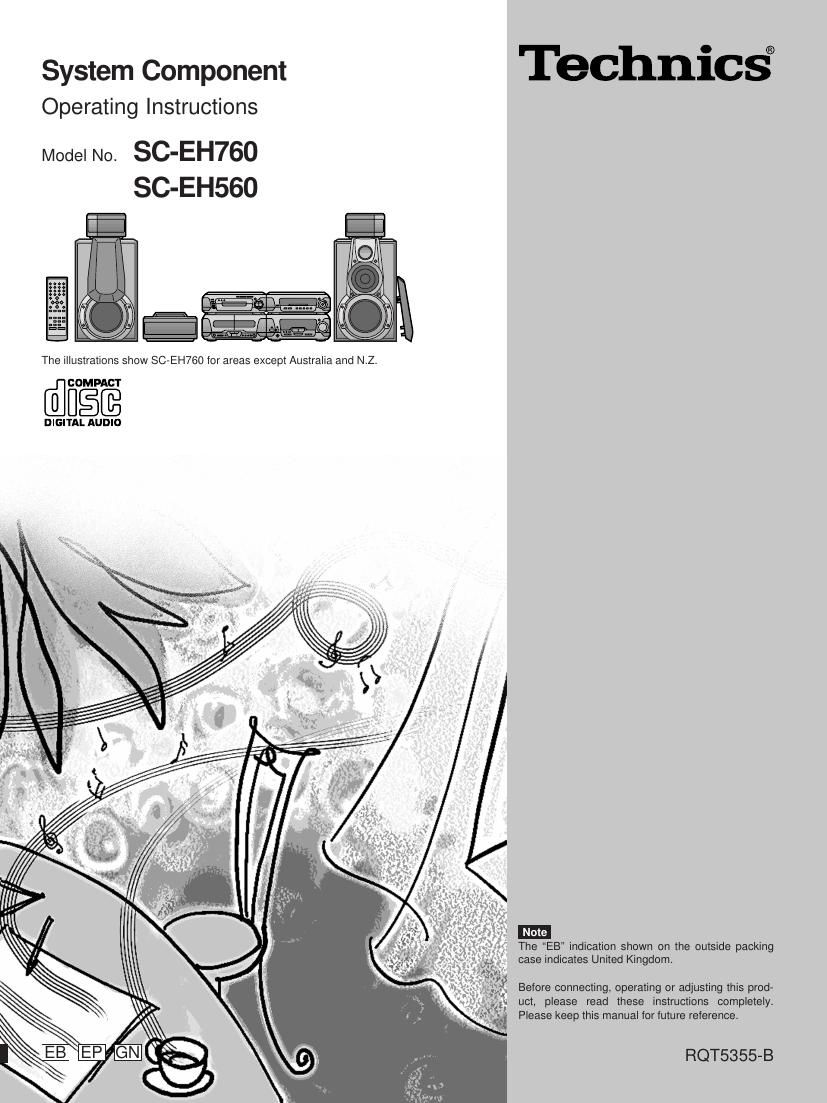
Technics SCEH 560 Owners Manual

This is the 44 pages manual for Technics SCEH 560 Owners Manual.
Read or download the pdf for free. If you want to contribute, please mail your pdfs to info@audioservicemanuals.com.

Page: 1 / 44
left right
Technics SCEH 560 Owners Manual

Extracted text from Technics SCEH 560 Owners Manual (Ocr-read)


Page 1

2 RQT5355 CD changer or CD player (Back of product) System Sound processor Tuner amplifier CD changer CD player Cassette deck Front Speaker Center Surround SC-EH760 SH-EH760 SA-EH760 SL-EH760 - RS-EH760 SB-EH760 SB-PC75 SB-PS75 SC-EH560 SH-EH560 SA-EH560 - SL-EH560 RS-EH760 SB-EH560 - - Dear customer Thank you for purchasing this product. For optimum performance and safety, please read these instruc- tions carefully. These operating instructions are applicable to the following systems. These operating instructions, however, fundamentally explain the operation of system SC-EH760. [SC-EH760]: indicates a function which can be enjoyed with SC-EH760 only. [SC-EH560] : indicates a function which can be enjoyed with SC-EH560 only. DANGER INVISIBLE LASER RADIATION WHEN OPEN. AVOID DIRECT EXPOSURE TO BEAM. ADVARSEL USYNLIG LASERSTRÅLING VED ÅBN NG, NÅR SIKKERHEDSAFBRYDERE ER UDE AF FUNKTION UNDGÅ UDSÆTTELSE FOR STRÅLING VARO! AVATTAESSA JA SUOJALUKITUS OHITETTAESSA OLET ALTTIINA NÄKYMÄTÖNTÄ LASERSÄTE LYLLE. ÄLÄ KATSO SÄTEESEEN. VARNING OSYNLIG LASERSTRÅLNING NÄR DENNA DEL ÄR ÖPPNAD OCH SPÄRREN ÄR URKOPPLAD. BETRAKTA EJ STRÅLEN. ADVARSEL USYNLIG LASERSTRÅLING NÅR DEKSEL ÅPNES OG SIKKERHEDSLÅS BRYTES. UNNGÅ EKSPONER NG FOR STRÅLEN. VORSICHT UNSICHTBARE LASERSTRAHLUNG, WENN ABDECKUNG GEÖFFNET. NICHT DEM STRAHL AUSSETZEN. (Indersiden at apparatet) (Tuotteen sisällä) (Apparatens insida) (Produktets innside) (Im Inneren des Gerätes) (Inside of product) CLASS 1 LASER PRODUCT CAUTION!THIS PRODUCT UTILIZES A LASER. USE OF CONTROLS OR ADJUSTMENTS OR PERFORM- ANCE OF PROCEDURES OTHER THAN THOSE SPECI- FIED HEREIN MAY RESULT IN HAZARDOUS RADIATION EXPOSURE. DO NOT OPEN COVERS AND DO NOT REPAIR YOURSELF. REFER SERVICING TO QUALIFIED PERSONNEL. CAUTION! DO NOT INSTALL OR PLACE THIS UNIT IN A BOOK- CASE, BUILT IN CABINET OR IN ANOTHER CONFINED SPACE. ENSURE THE UNIT IS WELL VENTILATED. EN- SURE THAT CURTAINS AND ANY OTHER MATERIALS DO NOT OBSTRUCT THE VENTILATION TO PREVENT RISK OF ELECTRIC SHOCK OR FIRE HAZARD DUE TO OVERHEATING. Supplied accessories Please check and identify the supplied accessories. ¸ AC mains lead . . . . . . . . . . . . . . . . . . . . . . . . . . . . . 1 pc. For United Kingdom For Australia and N.Z. (VJA0733) (RJA0035-X) For others (RJA0019-X) ¸ Remote control transmitter . . . . . . . . . . . . . . . . . . . 1 pc. [SC-EH760] [SC-EH560] (RAK-EHA28WH) (RAK-EHA29WH) ¸ Remote control batteries . . . . . . . . . . . . . . . . . . . 2 pcs. ¸ FM indoor antenna . . . . . . . . . . . . . . . . . . . . . . . . . . 1 pc. For Australia and N.Z. For others (RSA0007) (RSA0006) ¸ AM loop antenna set (RSA0022-J) . . . . . . . . . . . . . 1 set ¸ Speaker cords . . . . . . . . . . . . . . . . . . . . . . . . . . . . 6 pcs. [SC-EH760][SC-EH560] (REE0984) (REE0985) (REE0393) (REE0499) (Blue 0Black) (Gray 0Black) (Red 0Black) (Red 0Black) ¸ Antenna plug adaptor (SJP9009) . . . . . . . . . . . . . . 1 pc. (Only for United Kingdom) Use numbers indicated in parentheses when asking for replacement parts.

Page 2

3 Before use RQT5355 Safety precautions Placement Set the system up on an even surface away from direct sunlight, high temperatures, high humidity, and excessive vibration. These conditions can damage the cabinet and other components, thereby shortening the units service life. Place it at least 15 cm away from wall surfaces to avoid distortion and unwanted acoustical effects. Do not place heavy items on the unit. Voltage Do not use high voltage power sources. This can overload the unit and cause a fire. Do not use a DC power source. Check the source carefully when setting the unit up on a ship or other place where DC is used. AC mains lead protection Ensure the AC mains lead is connected correctly and not dam- aged. Poor connection and lead damage can cause fire or electric shock. Do not pull, bend, or place heavy items on the lead. Grasp the plug firmly when unplugging the lead. Pulling the AC mains lead can cause electric shock. Do not handle the plug with wet hands. This can cause electric shock. Foreign matter Do not let metal objects fall inside the unit. This can cause electric shock or malfunction. Do not let liquids get into the unit. This can cause electric shock or malfunction. If this occurs, immediately disconnect the unit from the power supply and contact your dealer. Do not spray insecticides onto or into the unit. They contain flam- mable gases which can ignite if sprayed into the unit. Service Do not attempt to repair this unit by yourself. If sound is interrupted,\ indicators fail to light, smoke appears, or any other problem that is no\ t covered in these instructions occurs, disconnect the AC mains lead and contact your dealer or an authorized service center. Electric shock or damage to the unit can occur if the unit is repaired, disas- sembled or reconstructed by unqualified persons. Extend operating life by disconnecting the unit from the power source if it is not to be used for a long time. Table of contents Before use Safety precautions . . . . . . . . . . . . . . . . . . . . . . . 3 Caution for AC Mains Lead . . . . . . . . . . . . . . . . . 4 Installation . . . . . . . . . . . . . . . . . . . . . . . . . . . . . . 5 Basic connections . . . . . . . . . . . . . . . . . . . . . . . . 6 Optional antenna connections . . . . . . . . . . . . . . 7 Front panel controls . . . . . . . . . . . . . . . . . . . . . . 8 The remote control . . . . . . . . . . . . . . . . . . . . . . . 10 Setting the time . . . . . . . . . . . . . . . . . . . . . . . . . . 11 Turning DEMO off . . . . . . . . . . . . . . . . . . . . . . . . 11 Saving power in the standby mode . . . . . . . . . . 11 Basic operations CDs . . . . . . . . . . . . . . . . . . . . . . . . . . . . . . . . . . . . \ 12 The radio: manual tuning . . . . . . . . . . . . . . . . . . 16 The radio: preset tuning . . . . . . . . . . . . . . . . . . 17 Cassette tapes . . . . . . . . . . . . . . . . . . . . . . . . . . . 18 Changing sound field and quality Changing sound field and quality . . . . . . . . . . . 20Using the manual equalizer . . . . . . . . . . . . . . . . . . . . . . . . . . . . 20 Using the acoustic image equalizer (3D AI EQ) . . . . . . . . . . . . 21 Boosting the super woofer . . . . . . . . . . . . . . . . . 21 Enjoying surround sound . . . . . . . . . . . . . . . . . . 22 6CH DISCRETE INPUT [SC-EH760]. . . . . . . . . . . . . . . . . . . . . 24 DOLBY PRO LOGIC [SC-EH760]. . . . . . . . . . . . . . . . . . . . . . . . 25 VIRTUAL DOLBY SURROUND [SC-EH560]. . . . . . . . . . . . . . . 26 SUPER SURROUND [SC-EH760]. . . . . . . . . . . . . . . . . . . . . . . 26 SIMULATED STEREO . . . . . . . . . . . . . . . . . . . . . . . . . . . . . . . 26 Surround effects . . . . . . . . . . . . . . . . . . . . . . . . . 27 CENTER FOCUS [SC-EH760]. . . . . . . . . . . . . . . . . . . . . . . . . . 27 VIRTUAL REAR SURROUND [SC-EH760]. . . . . . . . . . . . . . . . 27 MULTI REAR SURROUND [SC-EH760]. . . . . . . . . . . . . . . . . . . 27 3D ENHANCED SURROUND [SC-EH760]. . . . . . . . . . . . . . . . . 27 CENTER EFFECT [SC-EH560]. . . . . . . . . . . . . . . . . . . . . . . . . . 28 SURROUND EFFECT [SC-EH560]. . . . . . . . . . . . . . . . . . . . . . . 28 SEAT POSITION . . . . . . . . . . . . . . . . . . . . . . . . . . . . . . . . . . . 29 Recording operations Before recording (Deck 2 only) . . . . . . . . . . . . . 30 Recording CDs . . . . . . . . . . . . . . . . . . . . . . . . . . 32 Recording the radio . . . . . . . . . . . . . . . . . . . . . . 33 Tape-to-tape recording . . . . . . . . . . . . . . . . . . . . 33 Timer operations Using the timers . . . . . . . . . . . . . . . . . . . . . . . . . 34 Convenient functions Changing the sound range display . . . . . . . . . . 37 Muting the volume . . . . . . . . . . . . . . . . . . . . . . . . 37 Using headphones (not included) . . . . . . . . . . . 37 External unit connections . . . . . . . . . . . . . . . . . 38 Using other equipment . . . . . . . . . . . . . . . . . . . . 39 Enjoy karaoke with CDs and cassettes (for Australia and N.Z. only) . . . . . . . . . . . . . . 40 Reference Technical specifications . . . . . . . . . . . . . . . . . . . 41 Troubleshooting guide . . . . . . . . . . . . . . . . . . . . 42 Maintenance . . . . . . . . . . . . . . . . . . . . . . . . . . . . . 43

Page 19

Changing sound field and quality RQT5355 20 SC-EH760 SC-EH760 SC-EH760 SC-EH560 SC-EH560 SC-EH560 EQ B EQ 1 1 3 2 1 2 2 MULTI CONTROL 1 2 2 3 3D AI EQ/ M.EQ BAND A HEA V C EAR HA AI-EQ M EQ A FLAT HEAVY CLEAR AI-EQ M.EQ HALL 13 MULTI JOG EQ MULTI JOG MULTI JOG MULTI JOG FLATHEAVYCLEAR HALL AI-EQ M.EQ LOW MID HIGH FLAT HEAVY CLEAR HALL AI-EQ M.EQ 1 2 FLAT HEAVY CLEAR HALL AI-EQ M.EQ a C FLAT HEAVY CLEAR HALL AI-EQ M.EQ FLAT HEAVY CLEAR HALL AI-EQ M.EQ b c d »A Changing sound field and quality Changes to sound field and quality have no effect on recordings. [SC-EH760] Turn [MULTI JOG] to select a setting. [SC-EH560] Press [EQ] to select a setting. Each time you turn [MULTI JOG] (SC-EH760) or press [EQ] (SC-EH560): HEAVY: Adds punch to rock. CLEAR: Clarifies higher sounds. HALL: Expands sound to make you feel like you were in a hall. AI-EQ: Adjust sound with the acoustic image equalizer(á page 21). M.EQ: Create your own effects ( á see below). FLAT: Canceled (no effect is added). On the remote control Press [EQ]. Note Turn off the effect if sound quality reduces when using HALL or 3D AI EQ with a source. »B Using the manual equalizer Create your own sound quality effects. 1 [SC-EH760] Turn [MULTI JOG] to select M.EQ. [SC-EH560] Press [EQ] to select M.EQ. 2 Press [3D AI EQ/M.EQ BAND] to se- lect the band. Each time you press the button: LOW >MID >HIGH ^ } 3 Use [", ! , # , $ ] to make the re- quired curve. 1 Select the frequency you want to use as the peak with [ ", !]. 2 Adjust the level of the peak with [ #, $ ]. ³ Adjacent frequencies are adjusted at the same time to maintain a smooth curve. ³When you have adjusted the curve, you can move the peak of the curve by pressing [ ", !] (a ). Repeat steps 2 and 3 to adjust the three bands. The original display is restored on the display panel in about 5 seconds. To cancel Turn [MULTI JOG] (SC-EH760) or press [EQ] (SC-EH560) to select FLAT. Note ³The changes you make are stored and automatically recalled the next time you select M.EQ. ³After making a curve in one band, any adjustments in another band make a curve that is a combination of the two. [C] To flatten the curves in all three bandsSet the frequencies b in LOW, c in MID, and d in HIGH to flat. (On the tuner amplifier) (On the sound processor) (On the tuner amplifier) (On the sound processor) (On the sound processor)

Page 31

Recording operations RQT5355 32 DISC1-“5EDIT @ @ SC-EH760 SC-EH560 SC-EH760 SC-EH560 EDIT EDIT ë NR 2 RECEDIT 2 3 1 @ HREC PAUSE A B ë NR 2 REC 2 3 1 EDIT @ 3 Recording CDs Preparation:³Do the preparatory steps (á page 31). ³Insert the CD(s) you want to record (á page 12). ³[SC-EH760] Press [DISC 1] -“ [DISC 5] on the CD changer to select the disc where you want to start recording, then press [º] to stop the disc. »A Normal recording 1 Press ["] (reverse side) or [!] (forward side) then [º] to set the tape direction. 2 Press [´ REC PAUSE]. The deck goes into the recording standby mode and the indi- cator " or ! starts flashing. 3 Press [!] on the CD changer or CD player. Recording starts automatically. 4 seconds after the CD(s) finishes, the deck goes into the recording standby mode. To stop recording EITHER Press [º] on the CD changer or CD player. The deck goes into the recording standby mode 4 seconds later. OR Press [º] on the deck. Recording stops immediately but the CD continues to play. To record programmed tracksProgram tracks before step 1 (á page 14). »B One touch CD editing This function makes it easier for you to record from discs. ³When recording, if a track is cut off in the middle at the end of the front side, it is recorded from the beginning on the reverse side. ³At the end of the reverse side recording stops and the current track will be interrupted. After pressing ["] or [!] then [º] on the cassette deck to set the tape direction, Press [EDIT].Recording starts. In the meantime, CD EDIT will scroll across the display from right to left. After edit-recording has finishedThe cassette deck automatically stops. To stop editingPress [º] on the CD changer or CD player. The cassette deck also stops. EDIT OUT is displayed. To edit programmed tracksProgram the tracks (á page 14) and press [EDIT].