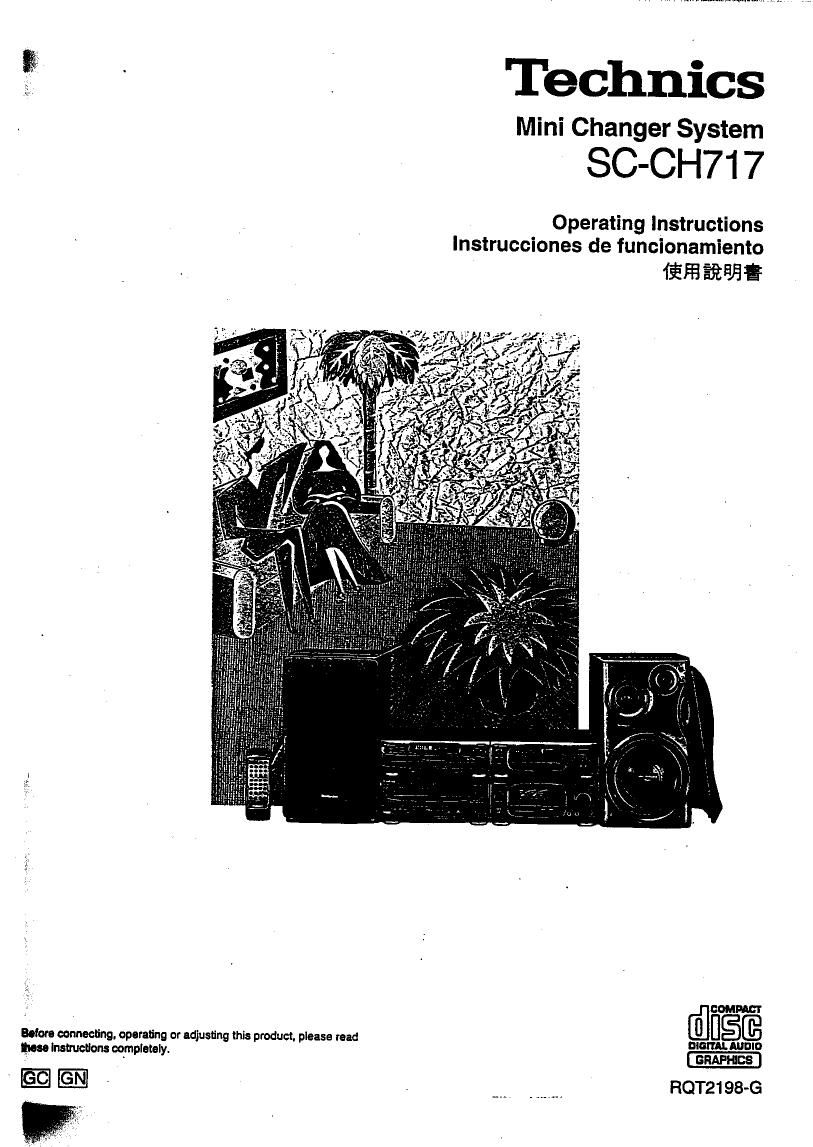
Technics SC CH717 Owners Manual

This is the 89 pages manual for Technics SC CH717 Owners Manual.
Read or download the pdf for free. If you want to contribute, please mail your pdfs to info@audioservicemanuals.com.

Page: 1 / 89
left right
Technics SC CH717 Owners Manual

Extracted text from Technics SC CH717 Owners Manual (Ocr-read)


Page 1

Butare connecting. operating or adjusting this product. please read
gnu Instructions completely.

--@1-

Technics
Mini Changer System

SC-CH71 7

Operating Instructions
Instrucciones de funcionamiento

fifififiififi

COMM

DIGITAL Ammo
GRAPHICS

RQT21 98-G

Page 2

Dear custo'mer

Thank you for purdxasing this product.
For optimum performance and safety,
pleaseread these instructions carefully.

These operating instructions are applicable

to the following systemsr
System SC-CH717
Amplifier SE-C_H117
Tuner/sound
processor . ST:CH707
Compact disc
changer SL-CHS15
Cassette deck RSCHSOS
Speakers SB-CH717

According to the area, the tuner/sound pre-
cessor is ST-CH505.

Table of contents

Suggesficnsiorsaieiy ...........,.. 5
Beioreuse 5
Suppliedeccessones........ 8
Locafionolcontrols 1o
.insiaiiaiion ........ . 16
Connections 18
Concerning the mum-control
section...........'............. 28
Concemingthe remote control....... :12
Seuingiheilme............ ....... 34
Memorypreselfing 36
Listening to radio broadcasts . . . . . . 42
Llsieningtocompectdisos .. 45
Listening 1o tapes . . . .. . . . . s4
Convenienifunctlons ............. 76
Making a recording from radio
broadcests.................... so
Recording from compact discs . . . . . 85
TIpe-io-iape recording ..........108
Changingihotono
Usingiheiimer...........


Enjoying the microphone mixing ..... 146
Changing the display . . . . . . . ....... 152
Using an external unit ....... . . . . . . . 154
Quick reference of remote control
operaflons....... ...... .158

Concerning compact discs . 1 152
Moinienance........ .......... .164
Concerning cassette tapes ..... 166
Troubleshooting guide '.. . ..... 168
Technical specificeiions ...... . . . . . . 174

E

Page 19

. ~42Wfita

u

This feature allows you to set broadcast fre-
quencies into the memory. You can then
easily retrieve any of those broadcast fre-
quenciee by pressing > or 1 on the tuner]
sound processor.

Automatic memory presetting

The frequencies of the selected broadcast
stations are automatically preset (in se-
quence from lower to higher frequencies)

into the memory: channels" 1 to 39 are

available for the presettlng of FM stations,
channels" 21 to 39 are available for MW
stations and channels" 31 to 39 are avail-
able for LW stations.

1 Switch on the power on the em-
pilfler.

~ 2 Press TUNER/BAND to select

FM. ,
Each time you press TUNER/BAND.
FM". MW. "LW" will appear in order.

Press and hold A or V until the
display shows the frequency

, from which you went to begin
automatic memory presetting.
Press A or V momentarily to stop
changing frequencies when the dis-
played trequency approaches the low-
est frequency. Press A or V a few
times until the lowest frequency is
reached.

4 Press and hold SET and the au-
tomatic memory presettlng will
begin.

Keep SET depressed until MEMO indi-
cator starts flashing. then release the
button.

Alter completing the memory presetting.
MEMO indicator will go out and the display
will show the fest preset frequency.

(To be continued)

Q0 I
Dmuc ee 0

.Ilslll I
H1 8750- .31:

Lights when an FM stereo broadcast ls being
received.

Se enclende cuando se reclbs una emision en
estéreo por FM.

liflk FM iflfllflfififl.

Lights when you precisely tune in a broadcast station.
Se enciende cuando se sintonizs con preclsldn tine emlsora (
radiodifusidn. -

Iiflfiiflfitamflfififi.

Page 35

my %

a, MB 6

(cdontlnue)

To find the beginning of a program

UPS: tape program sensor)

Press (TPS) r» or <4 (TPS) while
the tape ls playing.
It the lorward side (i>) is playing:
: The tape will play lrom the
beginning at the next tune.
E : The tape will rewind to the
beginning of the present
tune. Then the tune will play
again.

it the reverse side (<1) of the tape is playing:
The reverse operation should take place.

TPS (Tape Program Sensor) Is the function
that searches tor the silent passage in a
tape program. So, It may sometimes tell to
operate correctly in the following situations:
IWhen there is no blank space between
tape programs (lor example, when you are
playing a tape recorded lrom a micro-
phone)
OWhen ' the ' interval between programs
(blank space) is less than 4 seconds
UWhen there ie a particular low-level pes-
aage or client passage In the middle at a
program (for example, classical music)
0When the program is less than 10 sec-
'onds, or when It Is less than 10 seconds
from the beginning oi the program to the
beginning oi the next program
IWhen a tape has been recorded with lade-
ins (the iunction that increases the volume
level gradually at the beginning of a pro-
gram) and lade~outs (the function that de-
creases tha volume level gradually at the
end oi a program)

For your reference:
Each decks' play direction is stored in the
system's memory.

(To be continued)

Page 55

You can use normal, chrome and metal
tapes tor recording.

The recording level and the noise reduction
effect of the original (playback) tape will be
recorded on the new tape Just as they were
in the original recording.

Press INT on the tuner/sound processor to
select "TAPE".

Check that the tape's erasure prevention
tabs (see page 166) are Intact. and then
insert the cassette into deck 2.

The leader tape must be wound up before
hand. (See page 84.)

1 Load cassettes.
For playback: Into deck 1
For recording: Into deck 2

insert both cassette with the starting
side lacing ln tront.

2 Press CLOSE to close each
decke cassette holder.

Select the desired reverse

mode.

:2 : Single-sided recording

(:2) : Two~elded recording
(forward side-never aide)
In use the tape length loaded
In deck 2 is longer than a tape
In deck 1, deck 1 repeats the
playback until deck 2 corn-
plates the two-sided record-
ing. (8 times max.)

00 : Two-sided recording
(forward side->reverse side)

4 Press CORT to activate the
CORT function.
(See pageaz.)

You can record without uslng the
CCfiTtunctlon.

(To be contlnued)

Page 61

(Contlnued)

About the pre-programmed
simulated listening environment:
a

E] DISCO
Use to create powerful bass sounds round in
discos.

E LlVE
Use primarily torvocal pieces to add gloss to
the vocals.

El HALL

Use to impart a deep bass and spread which
will make you feel as it you were in a large
concert hall.

To cancel the SPACE mode:
Press ON/FLAT to select FLAT.

For your reference:

You can record with desired slmulated Ils.
lening environments. To playback such re-
eordings. press ONIFLAT to select FLAT.

When lletenlng to the radio broad-
ceet:

Alter presslng MODE (on steps 1 end 2).
proceed to the next step wllhin 10 seconds.
It not. the dlsplay wllI return to the tun-
Ing/preset mode. In mle case. press MODE
twice, and pruceed to the next step.

Durlng CD edit recording. you cannot alter
the SPACE mode.

(To be conllnued)

=
O O B are:
°° =
O can -= o
W'FLAT
:r
you-I um
I" Tl W
[Ilmsco " - 4' ....-' "j
RI 553"" : --':
"new
.LlVE L JT' M: __":
L J. lE "- : - -~
I_ n m
EJHALL L 1' n 1"
H9". L 2" --