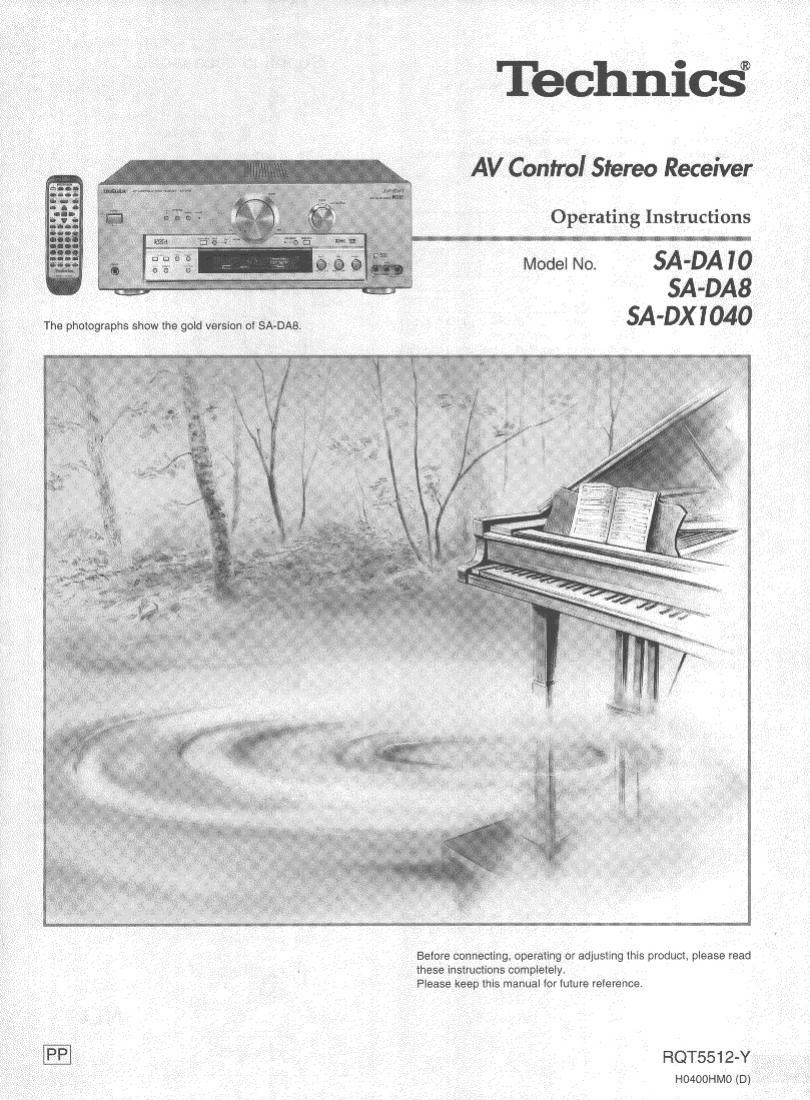
Technics SADX 1040 Owners Manual

This is the 96 pages manual for Technics SADX 1040 Owners Manual.
Read or download the pdf for free. If you want to contribute, please mail your pdfs to info@audioservicemanuals.com.

Page: 1 / 96
left right
Technics SADX 1040 Owners Manual

Extracted text from Technics SADX 1040 Owners Manual (Ocr-read)


Page 1

Tbchnicd"

AV Control Stereo Receiver

Operating Instructions

Model No. SA-DA IO
$A-DA8
SA-DX 1040

Before connecting. opereling or adjusting lhls product. please read
these instructions completely.
Please keep lhls manual for lulure reference.

RQT5512-Y

H0400HMO (D)

Page 2

2

ROTSSI 2

Dear customer

Thank you for purchasing this product.

For optimum performance and safety, please read these
instructions carefully.

These operating Instructions are applicable to models
SA-DAl O, SA-DAB and SA-DX1040, however, are intended
primarily for model SA-DAI 0.

User memo:

DATE OF PURCHASE
DEALER NAME
DEALER ADDRESS

TELEPHONE NUMBER

The model number and serial number of this product can be
found on either the back or the bottom of the unit.

Please note them in the space provided below and keep for
future reference.

MODEL NUMBER

SERIAL NUMBER

a ,. A; _.-A_..__ ._,__ _ ..,_. , _,. _

l .
; Listening caution

c Q

Selecting fine audio equipment such as the unit you've just
purchased is only the start of your musical enjoyment. Now it's
time to consider how you can maximize the fun and excitement
your equipment offers. This manufacturer and the Electronic
Industries Association's Consumer Electronics Group want you to
get the most out of your equipment by playing it at a safe level.
One that lets the sound come through loud and clear without
annoying blaring or distortion-and, most importantly, without
affecting your sensitive hearing.

We recommend you to avoid prolonged exposure to excessive
noise,

Sound can be deceiving. Over time your hearing comfort level"

adapts to higher volumes of sound. So what sounds normal" can

actually be loud and harmful to your hearing.

Guard against this by setting your equipment at a safe level

BEFORE your hearing adapts.

To establish a safe level:

0 Start your volume control at a low setting.

0 Slowly increase the sound until you can hear it comfortably and
clearly, and without distortion,

Once you have established a comfortable sound level:
0 Set the dial and leave it there.

Taking a minute to do this now will help to prevent hearing
damage or loss in the future. After all, we want you listening for a
lifetime.

Supplied accessories

Please check and identify the supplied
accessories.

DAC power supply cord ........................................................ 1 pc,

(RJAOOGS-A)

[:1 AM loop antenna set
0 AM loop antenna ........
U AM loop antenna holder .
I Screw ..

(RSA0012)
El FM indoor antenna ............................................................. 1 pc.

%

(RSAOOOG)

Cl Batteries ,

Cl Remote control

1 pc.

Gold model (EUR51984)
Black model (EUR51985)

(EUR647133)

Use numbers indicated in parentheses when asking for
replacement parts.

(Only for U.S.A.)

To order accessories contact 1-800-332-5365 or web site
(hnp://www.panasonlc.com).

CAUTION

Do not place anything on top of this unit or block the heat
radiation vents in any way. In particular, do not place tape
decks or CD/DVD players on this unit as heat radiated from it
can damage your software.

N0

Page 12

Connections

Connec 9 audio equipment


Stereo connection cable (not included) Optical tiber cable (not included)
White (L) -- _- [
Red (R) - El El
Turntable (not included) , v 4 n .
<12
OUTPUT GND @-
f V 7 7 OUTPUT DIGITAL OUT
5: D o o =.
Only forturntable ' DIGrlAL ulvwgt
with ground W i '-' '-'
terminal. "7" CD player (or CD changer)
W ~74 (not included)
Fx L \7
\ / ~ I
/\ , REC (IN) PLAY (OUT)
.\ / m .

Cl

- |_z

It you want to connect a graphic equalizer, connect it to the TAPE terminals (I. page 24)

Tape deck (not included)

Connecting AC power supply cord and other informatio

\\ SWITCHED AC outlet
Power to the outlet is controlled
by the power switch of this unit.
Audio equipment rated up to
MAX 80 W can be connected
heret

Cooling fan
The cooling fan operates at
high power output levels

onlyi AC power supply cord

(included)

Connect this cord only after
all other cables and cords
are connected,

The included AC power supply

m cord is for use with this unit
Conserving power -_.:. only.

The unit consumes 1 W even when i. is turned oil with [POWER Household AC outlet 2° fiéntuse t wrth other
(b/IL To save power when the unit Is not to be used for a long (AC 120 V/60 Hz) q p '
time, unplug it from the household AC outlet
If the unit is left unplugged for longer than a law weeks, all
12 settings will reven to the factory settings Do the settings again it
this occurs

ROTESI 2

Page 13

tenna connections

AM loop antenna |

I Fit the AM loop antenna holder (included) onto the rear panel oi this unit and then attach the AM loop i
antenna to it (lacing in the direction of best reception),

0 Keep the antenna cord away lrorn tape decks, DVD players, and other cards

FM antenna
Fix the other end of the antenna where reception is best

FM indoor antenna
(included)


Adhesive tape

When mounting the antenna
to a column, wall or rack

1

I l

éjjjfl

Screw
(included)

(not included)

wmu

l
l

l

I

wCJ l
" /

le


AM loop antenna
(included)

IONS

wee

Connect

(aflfi;

[m
l

To connect an outdoor antenna

FM outdoor antenna

0 Disconnect the FM indoor antenna.

0 The antenna should be installed by a competent technician.

0 Twist the coaxial cables shield braid firmly and connect it to the
GNU terminal,


FM outdoor antenna
(not included)

75 n coaxial cable
(not included)

vac-J
cn j

mm W /

nva
L4

20 mm (as/32')
)o-p

G

l
I
l
l
l
l

3 Shield braid

V

10 mm (3/8)

L

fie

; ' Core wire
L _

AM outdoor antenna

0 Run a piece of vinyl wire horizontally across a window or other
convenient location.

0 Leave the loop antenna connected.

U Disconnect the antenna when the unit is not in use Do not use
the antenna during an electrical storm

_=.
)- 5-12 m -l
(16-40 it)
Vinyl-covered wire
(not included)

l
I
l
l

ROTSS I 2

Page 78

12
Qt)

i
l
l
l
; ~ l
I 4 MEMORV .
l
I
I
i
l
l

(b

fl 5
E l
i I I_I I '
l I_ I I I l
l !
1' i
l r
l I
, .
l

I
l

l
1 i
t l
I l
l }
f i
l I

i

5
l I
l. l
l :
l I
! .

l

l
30 L h J7 ,k-.. I 7 _,.M~, 4_7___ '41

[ Ecoute de la radio J

Présyntonisation

La mise en mémoire de stations radio permet Ieur rappel de faqon
simple at rapide.

Un total de 30 stations PM et AM peuvent étre présyntonisées.

Important
Si une nouvelle station est mise en mémoire, cela a pour etlet de
supprimer la station qui se trouvait préalablement a cette adresse.

I Mise en mémoire automatique

Avec cette ionction, I'appareil repére automatiquement les stations
et precede a leur mise en mémoire,

1 Syntoniser la plus basse fréquence
dans la bande FM.

(It Voir pages 28-29.)

2 Appuyer et maintenir une pression
sur [MEMORY].

La mise en mémoire automatique débute.
Toutes les stations repérées sur la bande FM sont
mémorisées sous les numéros dadresses mémoire 1 a 30,

3 Syntoniser la plus basse fréquence
dans la bande AM.

(It Voir pages 28-29,)

4 Appuyer et maintenir une pression
sur [MEMORY].

La mise en mémoire automatique débute,

Toutes les stations repérées sur la bande AM sont
mémorisées sous les numéros dadresses mémoire 21 a 30.
(Toute station FM déja mémorisée sous l'une de ces
adresses mémoire sera remplacée.)

Pendant la mise en mémoire automatique, Iindicateur
mémoire clignote.

Lorsquune station est mise en mémoire
Lindicateur de mémoire et Ie numéro dadresse mémoire
sont atlichés pendant 1 seconde environ.(l)

La mise en mémoire terminée
La lréquence de la derniere station mise en mémoire
apparait sur l'affichage.

ma '

Dans le cas on Ie signal de transmission est trop puissant ou trop
faible, la mise en mémoire automatique des stations peut ne pas
se laire correctement, Dans un tel cas, laire la mise en mémoire
manuellement (It Voir page 31).