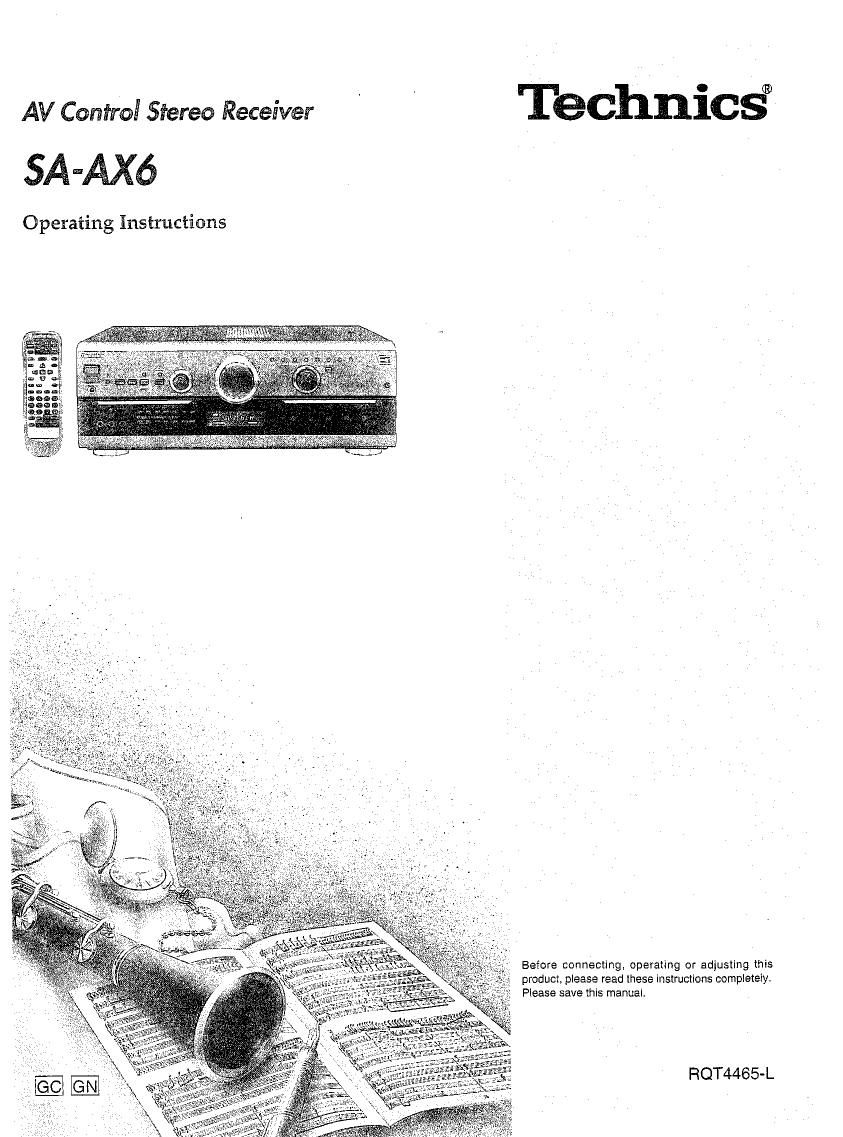
Technics SAAX 6 Owners Manual

This is the 36 pages manual for Technics SAAX 6 Owners Manual.
Read or download the pdf for free. If you want to contribute, please mail your pdfs to info@audioservicemanuals.com.

Page: 1 / 36
left right
Technics SAAX 6 Owners Manual

Extracted text from Technics SAAX 6 Owners Manual (Ocr-read)


Page 1

AV Confmi Sfereo Receiver I I 9(31111icgB
5A Me

Operating instructions

Before connecting, operating or adiusting this
product, please read these instructiOns compleely.
Please save this manuale

RQT4465-L

Page 2

Supplied accessories

Please check and identify
the supplied accessories.

E AC power supply cord (1)

(For Australia and NZ.)

(For others)

E] Power plug adaptor (1)

@

(For areas except Australia and NZ.)

'. ..... vnoonnno ......................... .un. ......... u... ............ . ......... A

C} AM loop antenna set .
0 AM loop antenna (1) r
- AM loop antenna holder (1)
0 Screw (1)

r

E FM indoor antenna (1)

(EUR646469)

Dear Customer

Thank you for purchasing this product.

For optimum performance and safety, please read
these instructions carefully.

(For areas except Australia and N1.)

CAUTEON:

The AC voltage is different according to the
area.

Be sure to set the proper voltage in your area
before use.

(For details, please refer to the page 9.)

Table of contents

Suggestions for safety .............................................................
Concerning the remote control
Front panel controls...
Equipment connections.
Antenna connections.
Speaker connections


Basic operations .......
To open the front cover
To adjust the tone quality
To adjust the sound balanc
To mute the sound level .....
To listen through headphones
To compensate when the volume is low..l
When using the VCR 2 terminals (front side
To adjust the high and low balance of the front speakers.
To adjust the output range of the subwoofer.

Listening to radio broadcasts.
Sequential tuning
Direct tuning ......
Preset tuning. .

Enjoying sound with DOLBY PRO LOGIC
Setting the center mode and adjusting speaker output level.
Adjusting the delay time.
Enjoying SURROUND or 3 STEREO

Enjoying sound with SFC .........
Adjusting field of sound .................

Enjoying sound with 6 channel dIscrete

Making a recording.....................
Recording on a tape deck
Recording on a VCR.

Timer function.....

Troubleshooting guide...
Technical specifications
Maintenance ......................

Page 4

St
=
0:
i-
J!
a

insert thelbatteries in the correct
polarities (G), e).

Remote control signal sensor

Transmission
window

éaeua

nuance
sauna:

unann-
a

E 00000

/3y\ Avoid any obstacles

i_.-.i

About 7 meters in tront
of the signal sensor.
(The actual range will
depend on the angle at
which the remote control

is used.)

Concerning the remote control

aThoroughly clean the battery compartment before inserting new
batteries.

9 Do not mix old and new batteries, or batteries of different types
(carbon and alkaline, etc.).

e if you will not use the remote control for a long period of time,
remove the batteries and store them in a cool, dark place.

a Do not use rechargeable type batteries.

0 Do not attempt to recharge alkaline or carbon batteries.

0 Always remove old, weak or worn-out batteries promptly and dis~
pose of them properly.

it Never subject batteries to excessive heat or flame; do not attempt
to disassemble them; and be sure they are not short-circuited.

a if the leaking electrolyte comes into contact with skin or clothes,
flush with water immediately.

When you need to replace these batteries
Use two RG/LFiG, AA, UM-S batteries.

Be sure the transmission window and the signal sensor are free
from dust. Excessive dust might eliect performance.

The operation may not be correct it direct sunlight or other strong
light source strikes the signal sensor of this unit. if there Is a prob-
lem. place the unit away from the light source.