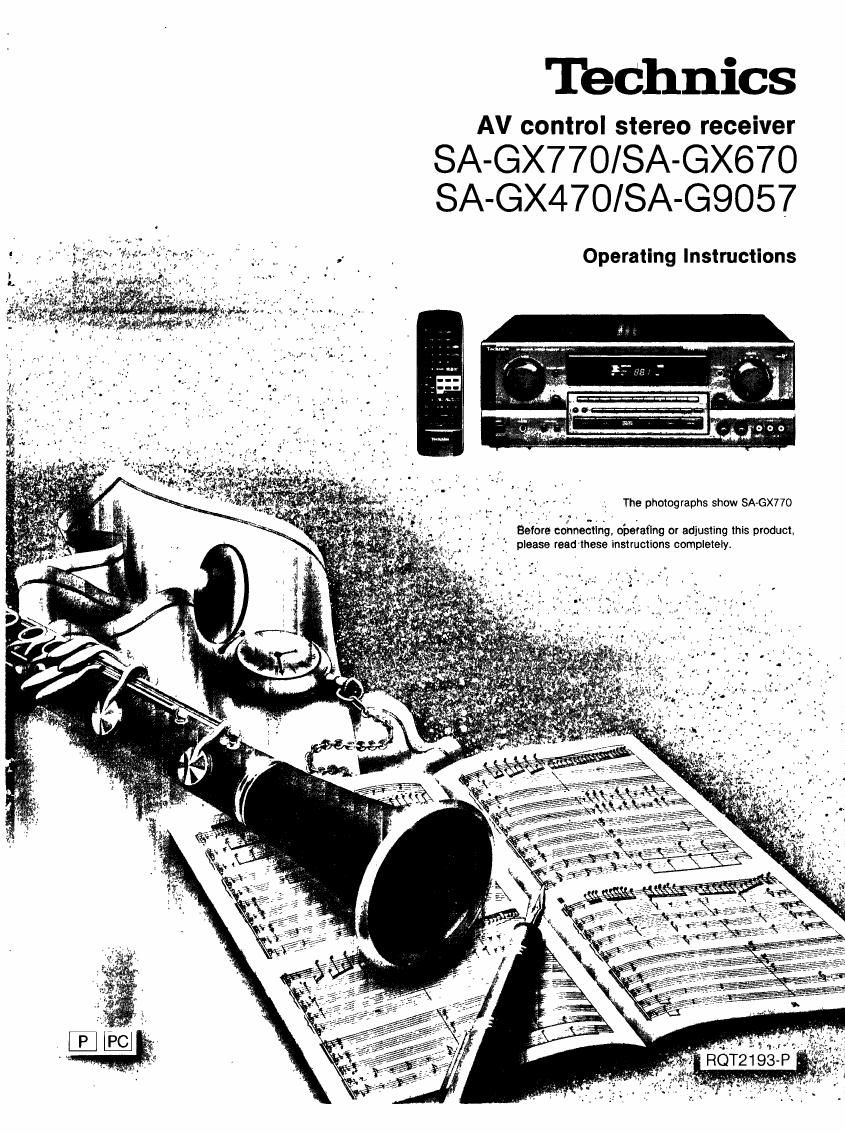
Technics SA GX770 Owners Manual

This is the 28 pages manual for Technics SA GX770 Owners Manual.
Read or download the pdf for free. If you want to contribute, please mail your pdfs to info@audioservicemanuals.com.

Page: 1 / 28
left right
Technics SA GX770 Owners Manual

Extracted text from Technics SA GX770 Owners Manual (Ocr-read)


Page 1

'Ibchnics

AV control stereo receiver
SA-GX770/SA-GX67O
SA-GX470/SA-G9057

Operating Instructions

The photographs show SA-GX770

'; NV _
Betore connecting, operating or adjusting this product.
ff please read-these instructions completely.

Page 2

Dear Customer

Thank you for purchasing this Technics product.
For optimum performance and salety, please read
these instructions carefully.

These operating instructions are applicable to models SA-
GX770, SA-GX670 SA»GX470 and SA-GSOS7.

These operating instructions. however, are intended primarily
for model SA-GX770.


Before use
Precautions . 4
Accessorles . . . . 5
Front panel controls .............................. 6
Connections
Equipment connections .......................... 8
Antennaconnections................r..y ......... 10
Speaker connections ............................. 12
Listening
Basic operatlons ..... ................... 14
To listen to a desired audio source while watching a
video ................................................. 15
Toadjustthetonequellty... .......15
To mute the sound level . . 15
To adjust the sound balance 15

To emphasize low-frequency sound
To listen through headphones . .
If sound output stops durlng use
..........
Listening to radio broadcasts
Direct access tuning .................
Sequential tuning. .
Preset tuning .....

Page 7

For SA-GX470/SA-G905 7

112. Name Ref. page
(D Power swltch (POWER) 14
® Tunlng control (TUNING) 18
® Bend select button (BAND) 16
6) FM mode select button (FM MODE) 16
@ Dlrect tuning button

(DIRECT TUNlNG) 16'
© Numerlc buttons (1 -0) 16,19,20

® Remote control elgnal receptor -

DOLBY PRO LOGIC SURROUND

ONIOFF button (SURROUND) 21,22,23
© DOLBY PRO LOGIC 3 STEREO

ONIOFF button (3 STEREO) 21,22,23
® Test slgnal ONIOFF button (TEST) 22
® Center level adjust button

(CENTER LEVEL) 22
® Display _

® Rear level adjust button
(REAR LEVEL) 22

No. Name Ref. page
® Center mode select button

(CENTER MODE) 21
(13 Memory button (MEMORY) 19
® Treble control (TREBLE) 15
® Bass control (BASS) 15
Headphone Jack (PHONES) 15

Speaker select buttons (SPEAKERS) 14

® Input select buttons 14
@ TapeIDcc monltor button

(TAPE/DOC W) 14,24
(3 Mutlng button (MUTING) 15
@ Balance control (BALANCE) 15
(3 Volume control (VOLUME) 14

Page 8

Connecting audio equipment

Stereo connection cable (not included)

White (L)
Red (R) H

(not included)

CD changer (or CD player)

' i======l=i
'3 curt n-nm-i

Only tor turntable
with ground terminal

. .2
i-_i1:r
OUTPUT
|_

Note tor SA-GXWO

Do not place books, etc., on top ol this unit so that the heat

radiation vents remain unblocked

Tape deck or digital compact cassette
deck (DOC) (not included)

l

L

REC (IN) °z© (o) ©88
D izliztzfi
PLAY(OUT) Dl-l-l-I :1: coats: l l I l-
i_.J L_l

AC OUTLETS

Antenna terminals
See pages 10-11.


Sub wooler
terminals
See page 13.

OUTPUT

E] Speaker terminals [33
See pages l2-13

Tumteble
(not included)

t
I_i -
REMOTE This unit
a CONTROL El
our IE
rte it
E M Power cords
5/ (not included)
i
1
connection : Tape deck
cable tor . our (not included)
remote control l REMOTE
: IN CONTROL

(not included)

asuors §

CD changer
(or CD player)
(not included)

IE REMOTE CONTROL our" terminal
Connect the connection cable for remote control to a
Technics tape deck and/or CD changer (or CD player) which
has the appropriate remote control terminal as shown at the
Ielt.
If a tape deck Is not being used. the CD changer (or CD
player) can be connected directly (dotted line).

For a tape deck and/or CD changer (or CD player) with a
remote control sensor. this connection is not necessary.

swncnerr Ac outlet(s)
Power to these outlets is controlled by the power switch ct
this unit. Audio equipment rated up to the indicated power
ratings can be connected here.

For proper remote-control operation

For SAAGX770/SA»GXG70
Connect the power cords oi the tape deck and CD changer
(or CD player) to these outlets as shown at the left.

For $A»GX470/SA~G9057
Because there is only one AC outlet, connect the power cord
of the CD changer (or CD player) to the AC outlet of the tape
deck.