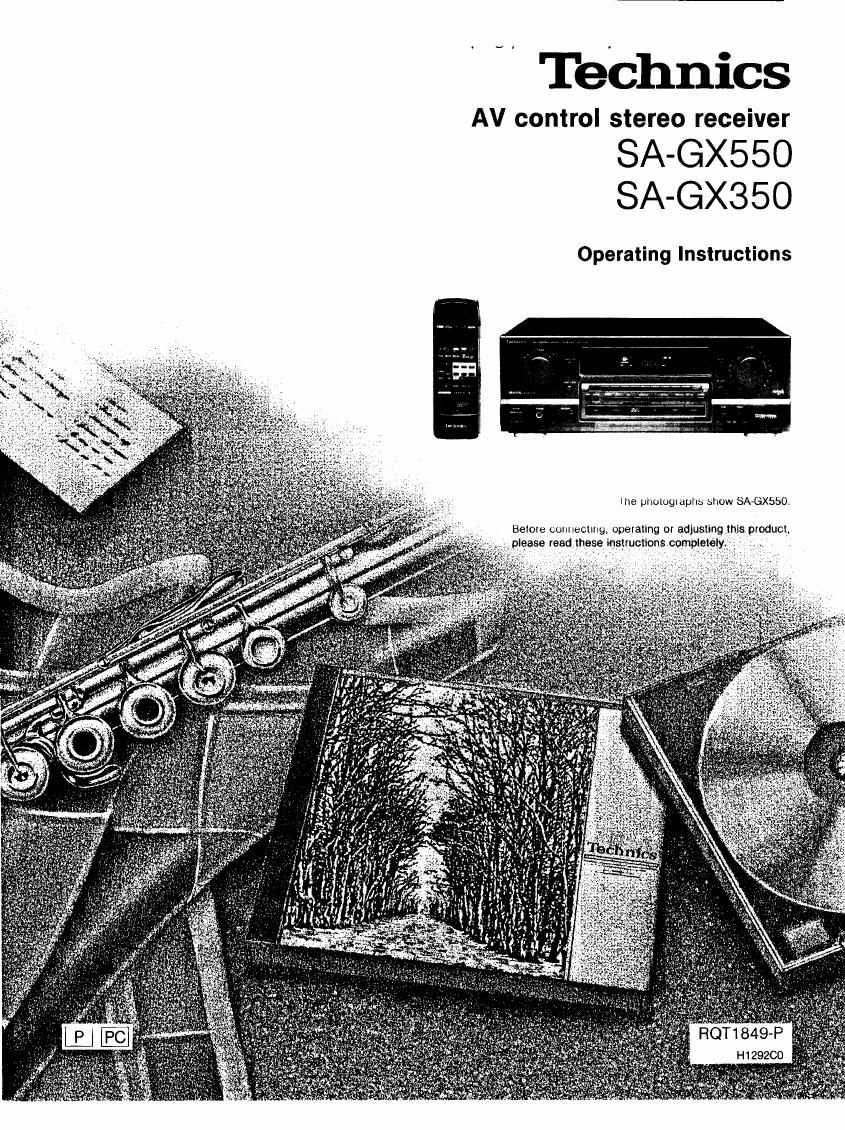
Technics SA GX550 Owners Manual

This is the 28 pages manual for Technics SA GX550 Owners Manual.
Read or download the pdf for free. If you want to contribute, please mail your pdfs to info@audioservicemanuals.com.

Page: 1 / 28
left right
Technics SA GX550 Owners Manual

Extracted text from Technics SA GX550 Owners Manual (Ocr-read)


Page 2

Dear Customer

Thank you for purchasing this Technics product.
For optimum performance and safety, please read
these instructions carefully.

These operating instructions are applicable to models SA~
GXSSO and SA»GX350,

These operating instructions, however, are intended primarily
for model SAGXSSO.


The model number and serial number at this product can be
tound on either the back or the bottom of the unit.

Please note them in the space provided below and retain
them tor future reference.

MODEL NUMBER
SERIAL NUMBER ..

WARNING:

TO REDUCE THE RISK OF FIRE 0R
ELECTRIC SHOCK, DO NOT EXPOSE THIS
APPLIANCE TO RAIN OR MOISTURE.

CAUTION:

TO PREVENT ELECTRIC SHOCK MATCH
WIDE BLADE OF PLUG TO WIDE SLOT,
FULLY INSERT.

a CAUTION

RISK OF ELECTRIC SH

DO NOT OPEN
CAUTION TO REDUCE THE RISK OF

ELECTRIC SHOCK, DO NOT
REMOVE SCREWS.
N0 USER-SERVICEABLE
PARTS INSIDE.
REFER SERVICING TO QUALIFIED
SERVICE PERSONNEL.

The lightning flash with arrowhead symbol.
within an equilateral triangle, is intended to
alert the user to the presence oI uninsulated
dangerous voltage" within the product's
enclosure that may be of sulticient magnitude
to constitute a risk 01 electric shock to persons.

The exclamation point within an equilateral
triangle is intended to alert the user to the
presence of important operating and main-
tenance (servicing) instructions in the literature
accompanying the appliance.

Page 3

Table of contents

Before use

Suggestions lor safety . . . ......... 4
Saiety ............... . . . , ..... 4
Installation. . . . 4
Maintenance, . 4
Service ............................... . 4
Listening caution ....................... 5

Accessories ..................... 5

Front panel controls ........... a
Control section ........... . . , 6
Display section ........................................ 7

Connections

Equipment connections ................. 8
Connecting audio equipment ........................... 8
Connecting video equipment . . . . ....................... 9

Antenna connections ............................. 10
FM indoor antenna ....... 10
FM outdoor antenna. . . . ............. 10
AM loop antenna ..... . . ............. 11
AM outdoor antenna ...... 11

Speaker connections .. ......... 12
Placement 01 speakers .............. 12
Connection of iront speakers. , 12
Connection of rear speakers . . . . . . ....... 13
Connection oi center speaker .......................... 13

. .

Listenrng

Basic operations .................................. 14
To listen to a desired audio source while watching
video picture .......................................... 15

To adiust the sound balance
To mute the sound level . . . .

To emphasize low-lrequency sound- . . 15

To adjust the tone quality .......................... 15
When listening through headphones ..................... 15
Listening to radio broadcasts ................... 16
Direct access tuning ................ 16
Sequential tuning . . 17
Sequential tuning . . 18

Preset tuning ................................... 18

Adjusting the sound field

Enioying sound with DOLBY PRO LOGIC. . .. 21

SURROUND .......................................... 21
3 STEREO ............................................ 21
Setting the center mode .................. . 21
Adjusting the delay time . 22
Adjusting the output level of each speaker. . , . . 22
Enjoying with SURROUND or 3 STEREO ................. 23
Recording
Making a recording ............................ 24
Tape recording on the tape deck or digital compact
cassette (DOC) ............... . . , 24
Recording lrorn VCR 2 to VCR 1 ............. . . , 25
VCR (VCR 1) recording from an audio source ............ 25
To record picture from VCR 2 and sound (ram
3 different audio source ............................... 26
When there seems to be a
problem
Product service .................................... 26
Product inlormation .................................. 26
Troubleshooting guide ........................... 27
Reference
Technical specifications ............. Back cover

Page 15

Basic operations

blLAKtHS

9; mm

mid-c

BALANCE

OMUTING
0 VOLUME

geese

Headphones (not included)

Plug type:

\__,J

LOUDNESS BASS YREBLE

1/4 inch phone plug stereo type 0

To listen to a desired audio source
While watching video picture

1. Follow steps 1 -2 at the left.

2. Select the desired video source and audio
source in step 3 at the left.
Be sure to select the video source iirst.

3. Start the video and audio source.

To adjust the sound balance

BALANCE Turn BALANCE to adjust the
l6! left/right sound balance.

To mute the sound level

MUTlNG Press MUTING.

. MID-U1
mom
Loot


animus
W m

illuminates

The volume level is attenuated by approx. 20 dB
(1/10).

Press once again to return to the previous
volume level. (The muting indicator will turn oil)

To emphasize low-frequency sound

SA-GXSSO only

LOUDNESS Press LOUDN ESS.

illuminates

Press once again to turn it oil.

To adjust the tone quality

BASS Turn BASS to adjust the low-tre-

l/Cji quency sound.

TREBl-E Turn TREBLE to adjust the high-fre-
r01 quency sound.

When listening through head-
phones

Use VOLUME to reduce the volume level, and
connect the headphones.
it sound lrom speakers is not wanted, press SPEAKERS (A)

andlor (B) to turn off the speaker select indicators.

Avoid listening for prolonged periods of time to prevent hearing
damage.

15