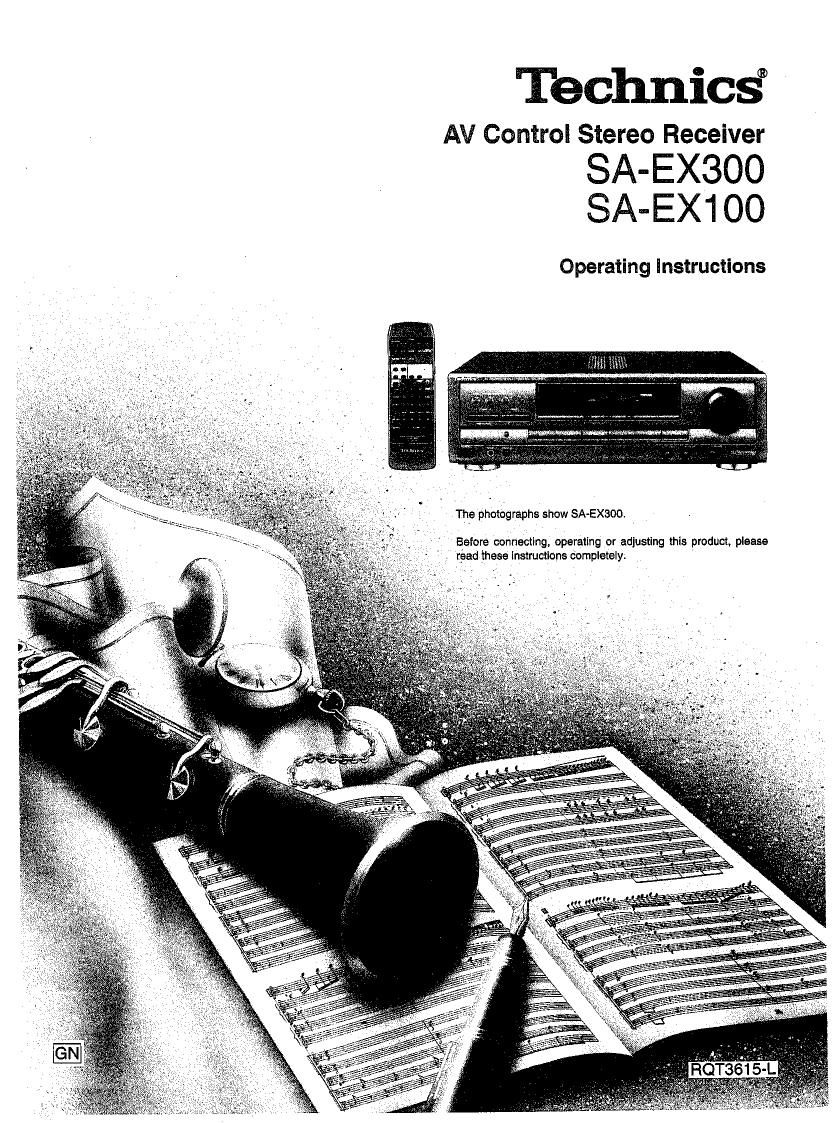
Technics SA EX300 Owners Manual

This is the 28 pages manual for Technics SA EX300 Owners Manual.
Read or download the pdf for free. If you want to contribute, please mail your pdfs to info@audioservicemanuals.com.

Page: 1 / 28
left right
Technics SA EX300 Owners Manual

Extracted text from Technics SA EX300 Owners Manual (Ocr-read)


Page 1

Technics°

AV Control Stereo Receiver
SA-EX3OO

SA-EX1 00

Operating Instructions

The photographs show SA«EX300.

Before connecting, operating or adlustlng this product, please
rpad khaae lnstructlona completely.

Page 2

Dear Customer

Thank you for purchasing this Technics product.
For optimum performance and safety, please read
these instructions carefully.

These operating instructions are applicable to models
SA-EX300 and SA-EXIOO.

These operating instructions, however, are intended primarily for
model SA-EXSOO.

THIS TUNER/RECEIVER IS CAPABLE OF RECEIVING THE
NEW AM STEREO BROADCASTS FROM THE AM BAND
RADIO STATIONS. HOWEVER LIKE MANY TUNERS AND
RECEIVERS CURRENTLY AVAILABLE ON THE MARKET IT
WILL REPRODUCE THIS AM STEREO SIGNAL ONLY IN AM
MONO, WHICH, IN EFFECT, IS OF NO LESSER QUALITY
THAN YOUR EXISTING AM MONO TUNER/RECEIVER.

Table of contents

Accessories ......................
Suggestions for safety
Front panel controls .....
Equipment connections.
Antenna connections
Speaker connections


N obininbio

Basic operations .....
To adjust the tone quality
To adjust the sound balance
To mute the sound level
To listen through headphone

Listening to radio broadcasts
Sequential tuning
Preset tuning ..
Direct access tuning

Enjoying sound WIth DOLBY PRO LOGIC
SURROUND
3 STEREO...
Setting the center mode
Adjusting speaker output leve .
Enjoying with SURROUND or 3 STEREO.

Making a recording...
Recording on the tape de
Recording on the VCR (VCR 1

Sleep timer function.

About the HELP function

meat-hummer

' A
gnoocomstslufl

Troubleshooting guide .
Technical specifications ..

Please check and identify the supplied acces-
series

El AC power supply cord .................................................. 1 pc.

|___| AM loop antenna set
0 AM loop antenna ........
0 AM loop antenna holder
0 Screw .....................................................

.1 pc.


D Antenna plug..

|:] Remote control transmitter.

For SA-EX300
(HAK-SA61 2WH)

For SA-EX1 00
(EUR6421 75)

I
I
I
I
I
I
I
I
I
I
I
I
I
I
I
I
I
l
I
I
I
I
I

D Batteries (UM-4, AAA, R03) .................................... 2 pcs.

For details on remote control transmitter operation, refer to How to
use the remote control transmitter' in the separate booklet.

Page 8

FM indoor antenna (included)

This antenna is normally sufficient for reception of FM broadcasts.

FM indoor antenna
(included)

it" Tape

1
\

FM ANT
75 n

Attach to a wall (using a tack or tape) facing in the direction of best
reception.

For best reception sound quality
An FM outdoor antenna is recommended.
Disconnect the antenna if an FM outdoor antenna is installed.

FM outdoor antenna (not included)

the outdoor antenna should be used when using the main unlt In
mountainous areas or In spaces enclosed by reinforced concrete
where the FM indoor antenna (included) does not provide satisfac-
tory reception.

An outdoor antenna should be installed by a qualified technician
only.

FM outdoor antenna
(not included)


75-0th
coaxial cable
(not included)

69 e BOO-ohms
Antenna plug /] Q[ feeder wire
(included) (not included)
(see figure at L

the right.) A-J

FM ANT
759 @

I How to use the antenna plug (included)

Two types of wire are most commonly used for connection from the
antenna: SOOchms parallel feeder wire or 75-ohms coaxial cable.
For best resistance to outside interference, the use of 75-onms

coaxial cable is suggested.

e To connect a 75-ohms coaxial cable

(D Remove a piece of the outer vinyl insulator.

10mm

(2 Remove the cover while pulling the tabs.
If the tabs are pulled too hard, the casing may be damaged.


. ) Plastic bar

Clamp the cable con-
ductor, and wind it on so
that it doesnt contact
anything else.

Press down
with pliers.

6) Attach the cover.

- To connect a 300-ohms feeder wire

SOD-ohms feeder
wire (not included)

Loosen the screw to connect the feeder
wire and tighten it to secure the connection.

Page 23

Before requesting service for this unit. check the chart below for a
possible cause of the problem you are experiencing. Some simple
checks or a minor adjustment on your part may eliminate the prob-
lem and restore proper operation.

If you are in doubt about some of the check points, or if the reme-
dies indicated in the chart do not solve the problem, refer to

the directory of Authorized Service Centers (enclosed with this unit)
to locate a convenient service center, or consult your Technics
dealer for instructions.

I Problem

Probable cause(s)

Suggested remedy

7

While listening to FM broadcasts

An unusual hissing noise is
heard when listening to the
broadcast In stereo, but not
heard when listening
monaurally.

A slight noise may be heard because the method
used for modulation of FM stereo broadcasts is dif-
terent than that used for monaural broadcasts.

Noise Is excessive In both
stereo and monaural broad-
casts.

Poor location and/or direction of the antenna.

Transmitting station is too far away.

a Try reducing the treble sound by using the treble con-
trol.

0 Try changing the location, height and/or direction of
the antenna.

a if an indoor antenna is being used, change to an out«
door antenna.

I Try using an antenna with more elements.

The FM stereo Indicator or
the quartz lock Indicator
flickers, without completely
Illumlnating.

Poor location and/or direction of the antenna.

Transmitting station is too far away.

Excessive distortion In the
sound of stereo broadcasts.

Nearby building or mountain.

0 Try changing the location, height and/or direction of
the antenna.

I If an Indoor antenna is being used. change to an out-
door antenna.

0 Try using an antenna with more elements.

While listening to AM broadcasts

An unuoual "beat" sound It
heard.

Unit is being used at the same time as the televi-
sion set.

0 Turn off the television set, or use this unit farther
away from it.

Interference from adjacent broadcast signals.

a Try reducing the treble sound by using the treble con-
trol.

A low-pitched "hum" sound
In heard when the broad-
cast I: tuned.

The AM loop antenna connection wires are too
close to the power cord.

0 Place the antenna connection wires and the power
cord farther apart.

The power supply frequency from the power cord
is modulated and heard from the speakers.

0 install a special outdoor antenna.

A strange hleslng noise Is
produced continuously or
Intermittently.

Caused by the discharge phenomenon and the
"oscillation phenomenon" of electric appliances
(such as fluorescent lights, TV, small series-type
motors, rectification equipment. etc).

0 Try placing this unit farther away from such equip-
ment.

Problems noted at all times

No sound I: heard.

Connections are incomplete or incorrect to the
speaker systems, etc.

0 Check to be sure that all connection wires are cor-
rectly connected.

The incorrect input selector has been pressed.

0 Check to be sure that the correct selector is pressed.

The tape monitor function is ON.

0 Press the tape monitor button.

The muting function is ON.

0 Press the muting button.

The speaker indicator is turned off.

0 Turn on the speaker indicator.

Sound stops during a per-
formance, or no sound Is
heard when the power ls
switched ON.

(The word OVERLOAD
appears on the dlsplay.)

The protection circuitry has functioned because the
positive and negative speaker connection wires are
shorted', speaker systems with an impedance
less than the indicated rated impedance of this unit
are used or under severe use, such as loud vol-
ume, excessive power and in an excessively hot
environment.

o Switch off the power, and after determining and cor-
recting the cause, switch on the power once again.
e Use a speaker system of the proper impedance rat-

ing.

23