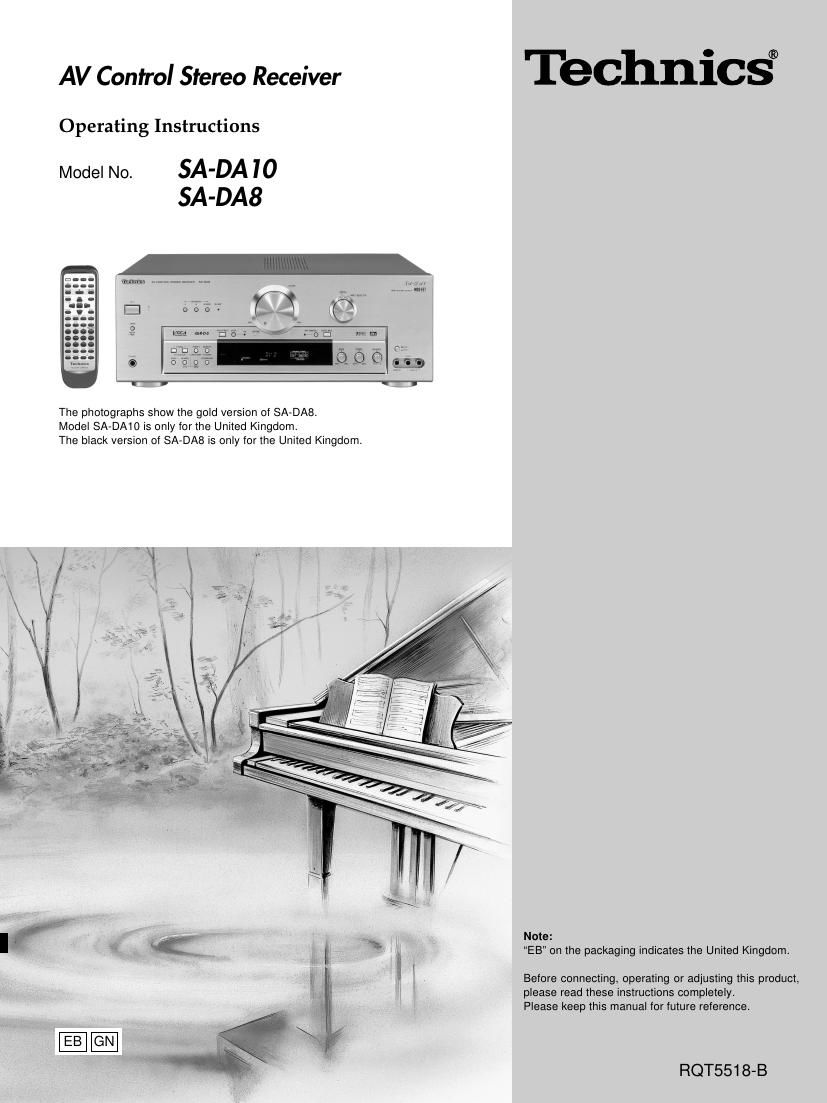
Technics SA DA8 Owners Manual

This is the 52 pages manual for Technics SA DA8 Owners Manual.
Read or download the pdf for free. If you want to contribute, please mail your pdfs to info@audioservicemanuals.com.

Page: 1 / 52
left right
Technics SA DA8 Owners Manual

Extracted text from Technics SA DA8 Owners Manual (Ocr-read)


Page 1

RQT5518 2 Table of contents Caution for AC Mains Lead ............................................. 3 Safety precautions ........................................................... 4 To enjoy surround sound ................................................ 5 Front panel controls ......................................................... 6 Concerning the remote control ....................................... 9 Connections .................................................................... 10Connecting a DVD player .......................................................... 10 Connecting video equipment ..................................................... 11 Connecting audio equipment ..................................................... 12 Antenna connections ................................................................. 12 Connecting the AC mains lead and other information .............. 13 Speaker connections ..................................................... 14 Placement of speakers .............................................................. 14 Connecting speakers ................................................................. 15 Preparatory steps ........................................................... 17 Speaker settings ........................................................................ 17 Adjusting speaker output level .................................................. 19 DSP sound modes .......................................................... 20 Enjoying the sounds ...................................................... 22 To enjoy bi-amp sound .............................................................. 24 To adjust the tone quality .......................................................... 25 To adjust the sound balance ..................................................... 25 When using the VCR 3 terminals .............................................. 25 Switching DVD analogue input ..................................... 26 VGCA mode ..................................................................... 27 The radio .......................................................................... 28Sequential tuning ....................................................................... 28 Direct tuning ............................................................................... 29 Preset tuning .............................................................................. 30 RDS broadcasts Only for the United Kingdom ............ 32 To display RDS information ....................................................... 32 PTY search and EON tuning ..................................................... 33 About the PTY display ............................................................... 35 Other functions ............................................................... 36To listen through headphones ................................................... 36 Dynamic range compression ..................................................... 36 To mute the sound level ............................................................ 37 When using the unit in a darkened room .................................. 37 The remote control ......................................................... 38 To operate the receiver .............................................................. 39 To operate a CD player or MD deck .......................................... 41 To operate a cassette deck ....................................................... 41 To watch TV broadcasts ............................................................ 43 To watch video tapes ................................................................. 43 To operate a DVD player ........................................................... 45 To change the remote control code ........................................... 46 Making a recording ......................................................... 48Recording on a tape deck or VCR ............................................. 48 Timer function ................................................................. 49Setting the timers ....................................................................... 49 Troubleshooting guide ................................................... 50 The RESET function ....................................................... 51 Maintenance .................................................................... 51 Specifications .................................................. Back cover Dear customerThank you for purchasing this product. For optimum performance and safety, please read these instructions carefully. MAC mains lead .................................................................... 1 pc. For the United Kingdom For Australia and New Zealand (VJA0733) (RJA0035-X) MAM loop antenna set ÁAM loop antenna ............................................................ 1 pc. ÁAM loop antenna holder ................................................. 1 pc. ÁScrew .............................................................................. 1 pc. (RSA0012) MFM indoor antenna ............................................................. 1 pc. (RSA0007) MAntenna plug ....................................................................... 1 pc. Only for Australia and New Zealand (RFE0014) MAntenna plug ....................................................................... 1 pc. Only for the United Kingdom (SJP9009) MBatteries ............................................................................ 2 pcs. MRemote control ................................................................... 1 pc. SA-DA10 Only for the United Kingdom (Gold model EUR51986) (Black model EUR51987) SA-DA8 For the United Kingdom For Australia and New Zealand (EUR647136) (EUR647137) Use numbers indicated in parentheses when asking for replacement parts. Supplied accessories Please check and identify the supplied accessories. These operating instructions are applicable to models for the United Kingdom, Australia and New Zealand, however, are intended primarily for the United Kingdom model.

Page 2

3 RQT5518 Before use Caution for AC Mains Lead CAUTION! IF THE FITTED MOULDED PLUG IS UNSUITABLE FOR THE SOCKET OUTLET IN YOUR HOME THEN THE FUSE SHOULD BE REMOVED AND THE PLUG CUT OFF AND DISPOSED OF SAFELY. THERE IS A DANGER OF SEVERE ELECTRICAL SHOCK IF THE CUT OFF PLUG IS INSERTED INTO ANY 13-AMPERE SOCKET. (For United Kingdom) (ÒEBÓ area code model only) For your safety, please read the following text carefully. This appliance is supplied with a moulded three pin mains plug for your safety and convenience. A 5-ampere fuse is fitted in this plug. Should the fuse need to be replaced please ensure that the replacement fuse has a rating of 5-ampere and that it is approved by ASTA or BSI to BS1362. Check for the ASTA mark or the BSI mark on the body of the fuse. If the plug contains a removable fuse cover you must ensure that it is refitted when the fuse is replaced. If you lose the fuse cover the plug must not be used until a replacement cover is obtained. A replacement fuse cover can be purchased from your local dealer. If a new plug is to be fitted please observe the wiring code as stated below. If in any doubt please consult a qualified electrician. IMPORTANT The wires in this mains lead are coloured in accordance with the following code: Blue: Neutral, Brown: Live. As these colours may not correspond with the coloured markings identifying the terminals in your plug, proceed as follows: The wire which is coloured Blue must be connected to the terminal which is marked with the letter N or coloured Black or Blue. The wire which is coloured Brown must be connected to the terminal which is marked with the letter L or coloured Brown or Red.WARNING: DO NOT CONNECT EITHER WIRE TO THE EARTH TERMINAL WHICH IS MARKED WITH THE LETTER E, BY THE EARTH SYMBOL OR COLOURED GREEN OR GREEN/YELLOW. THIS PLUG IS NOT WATERPROOFÐKEEP DRY. Before use Remove the connector cover. How to replace the fuse The location of the fuse differ according to the type of AC mains plug (figures A and B). Confirm the AC mains plug fitted and follow the instructions below. Illustrations may differ from actual AC mains plug. 1. Open the fuse cover with a screwdriver. 2. Replace the fuse and close or attach the fuse cover. Fuse cover Figure A Figure B Fuse (5 ampere) Fuse (5 ampere) Figure A Figure B

Page 24

25 RQT5518 A B C VCR 2 VCR 3 BASS TREBLE BALANCE MIN MAX MIN MAX TREBLE BASS LR BALANCE VCR 2 VCR 3 Enjoying the sounds C To adjust the tone quality Turn [BASS] to adjust the bass. Turn [TREBLE] to adjust the treble. To adjust the sound balance Turn [BALANCE] to adjust the left/right sound balance. When using the VCR 3 terminals This button only works when ÒVCR 2Ó is selected as the input source. When you have connected a VCR to the VCR 2 terminals on the rear of the unit, select Ò VCR 2Ó. When you have connected equipment to the VCR 3 terminals on the front of the unit, select Ò VCR 3Ó. Select Ò VCR 2Ó or Ò VCR 3.Ó FRT-VCR 3=FRONT VCR 3 A B Operations

Page 39

RQT5518 40 SA-DA10SA-DA8 + - 1 4 7 0 -/-- 89 5623 TV VCR TAPE CD TUNER/BAND DVD CH DIRECT TUN NG/ DISC ENTER VOLUME MUTING ³ 10/ENTER DISC/DECK 1/2 MD SOUND MODE SFC SLOW/SEARCH DELAY TOP MENU ENTER MENU DISPLAY RETURN SUB TITLE AUDIO ANGLE + - LEVEL TEST GROUP -+ DIMMER DVD 6CH PAGE TV VOL TV/AV DVD -+ CD MD DISC/DECK 1/2 1 45 23 1 4 7 0 89 5623 DISC/DECK 1/2 DIRECT TUNING/ DISC ENTER 1 4 7 0 -/-- 89 5623 ³ 10/ENTER TAPE DISC/DECK 1/2 TV VCR TAPE MD CD TUNER/ BAND TOP MENU DISPLAY DVD ENTER MENU STEREO DELAY SURROUND SFC TEST MUTING DIMMER VOL TV VOL TV/AV 123 DIRECT TUNING/ DISC ENTER 456 ³10/-/- - 7 890 +- +- LEVEL DISC/DECK 1/2 DVD 6CH CD MD TOP MENU DISC/DECK 1/2 123 45 123456 78 90 TOP MENU DISC/DECK 1/2 DIRECT TUNING/ D SC ENTER 123 456 ³10/-/- - 78 90 TAPE TOP MENU DISC/DECK 1/2 The remote control