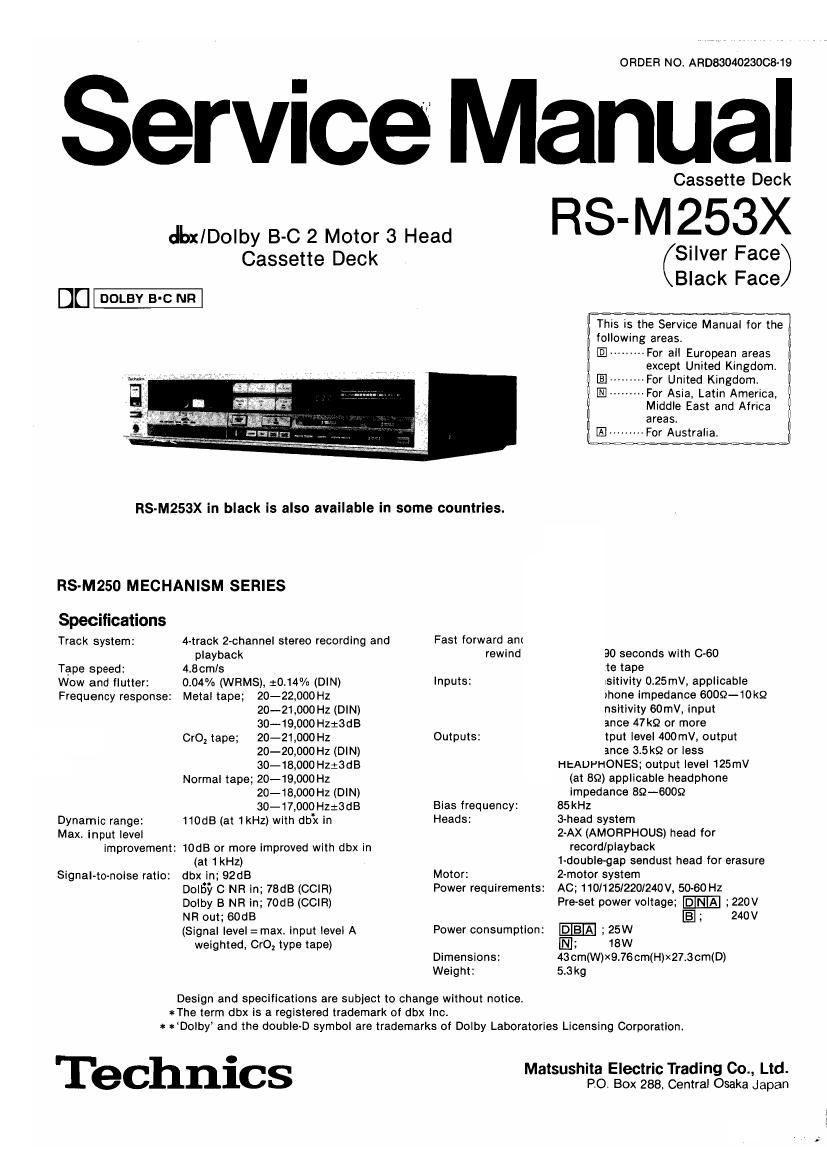
Technics RSM 253 X Service Manual

This is the 30 pages manual for Technics RSM 253 X Service Manual.
Read or download the pdf for free. If you want to contribute, please mail your pdfs to info@audioservicemanuals.com.

Page: 1 / 30
left right
Technics RSM 253 X Service Manual

Extracted text from Technics RSM 253 X Service Manual (Ocr-read)


Page 1

ORDER NO. ARD8304023008~19

Service Manual

dint/Dolby B-C 2 Motor 3 Head

Cassette Deck

Du-

RS-M253X in black is also available in some countries.

RS-M250 MECHANISM SERIES

Specifications
Track system:

Tape speed:
Wow and flutter:

4-track 2-channel stereo recording and
playback

4.8cm/s

0.04% (WRMS), 20.14% (DIN)

Frequency response: Metal tape; 20-22,000Hz

Dynamic range:
Max. input level

20-21,000 Hz (DIN)
(SO-19,000 Hzx3dB
CrO2 tape; 20-21,000 Hz
20-20,000 Hz (DIN)
30-18,000 H213dB
Normal tape; 20-19,000 Hz
20-18000 Hz (DIN)
30-11000 Hz:3dB
110dB (at 1 kHz) with dbx in

improvement: 10dB or more improved with dbx in

Signal-to-noise ratio:

(at 1kHz)
dbx in; 92dB
noisy 0 NR in; 78dB (CCIRJ
Dolby B NR in; 70dB (CCIR)
NR out; 60GB
(Signal level: max. input level A
weighted, CrO2 type tape)

Fast forward ant
rewind

Inputs:

Outputs:

Bias frequency:
Heads:

Motor:

Power requirements:

Power consumption:

Dimensions:
Weight:

Design and specifications are subject to change without notice.
*The term dbx is a registered trademark of dbx lnc.
a tDolby and the double-D symbol are trademarks of Dolby Laboratories Licensing Corporation.

Technics

Cassette Deck

RS-M253X

Silver Face)
Black Face

This is the Service Manual for the

following areas.

El --------- For all European areas
except United Kingdom.

--For United Kingdom.

»- For Asia, Latin America,
Middle East and Africa
areas.

[E --------- For Australia,

90 seconds wlth 0-60
.te tape
isitivity 0.25mV, applicable
rhone impedance 6009-10?
nsltlvity 60mV, input
ance 47 k9 or more
tput level 400mV, output
ance 3.5m or less
HEADPHONES; output level 125mv
(at so) applicable headphone
impedance 852-6009
85 kHz
3-head system
2~AX (AMORPHOUS) head for
record/playback
1-double-gap sendust head for erasure
2-motor system
AC; 110/125/220I240V, 5060 Hz
Pre-set power voltage; EE- ;220V

[E ; 240v
DEE ; 25W
IE; 18W
43cm(W)x9.76cm(H)x27.3cm(D)
5.3kg

Matsushita Electric Trading Co., Ltd.

PO. Box 286, Central Osaka Japan

Page 2

RS-M253X

CONTENTS

ITEM
- Location of Controls and Components

0 Disassembly Instructions 3
0 Disassembly Notes ....... 4
0 Operating Precautions .............................. 4
0 Measurement and Adjustment Methods ......... 5
0 MicrocomputerTerminal Functions

and Waveforms ................................. 11
0 Block Diagram .......................................... 12
0 Schematic Diagram (for Main/Power Supply]

Muting Control Circuit Section) ............ 15

' Schematic Diagram (for NH Circuit Section) 18

ITEM

- Electrical Parts List ................................. 23
0 Schematic Diagram (for Mechanism Controll

FL Meter Circuit Section) ..................... 25
- Circuit Boards (for FL Meter]

Muting Control/Mechanism Controll

Key Board Circuit Boards) .. 29
0 Wiring Connection Diagram ........................ 32
' Mechanical Parts Location

(included Parts List) ........................... 35
0 Cabinet Parts Location (included Cabinet,

Accessories and Packing Parts List) ...... 37

0 Circuit Boards(for Main/
Power Supply Circuit Boards) ............... 21

LOCATION OF CONTROLS AND COMPONENTS

® Pause Button and Indicator [pause (II)! fl

\
® Record Button and «.173: To me gale J-© Record Muting Button
Indicator [no (0)] [rec mute (0)]
mm play «I t-
@ Rewind/Review Button -~ [my I; lipsi~i© Fast Forward/cue
(WW/"V ("-5) (44 )1 Button [ft/cue (M.S)
0H]
@ $233: :52] Bum" -_. 5°53? slzu t-7® Stop Button [stop (I)]

Play Button and indicator [play (>)]

Power Switch 13) Cassette Holder ® Digital Multi ® Input Level Control [input level]
:3? (push :31? W ? FL (fluorescent level) Meters
counter] (-@ Monitor Switch
1 and Indicator
* 4* iiiii 7L [monitor (tape
:L_L_[_li [ sourcej]
® Timer : j-IE |
3:33;" a! :|:I E) u ti .. ,
[gamer @ L J 1. I Wi'gqtt;1=_>m:3 :1
(rearott- 1 r
Plivil
® Headphones 4 \-® Balance Control
Jack Iphones] [balance (left
® Eject Button center-right
[eiect (5)] ® Output Level Control

[output level]

F® Noise Reduction Select Switch
[Noise Reduction ( Dolb NFI C-
@ Bias Fine Adjustment Control [bias adlust]-/ 50"" M tapodiscn

I

I
Tape Indicator
@Tape Counter Button [counter] -/ ¥® Music Repeat Button [music repeat]
@ Tape Remaining Time Display Button [time] -) @ Music Select Button [music select]

[Auto Tape Select (NormalCrOg-Metam

5 ® Voltage
Q © Selector
Hi i
@ Microphone Jacks 4/ \ ® Remote Control Connector
[Fl IE] Ll [REMOTE CONTROL]
@ Line Input Jacks -/ P@ Line Output Jacks [LINE OUT (RL)]
[LINE IN (H-L)]

_2_

Page 6

Condition:

- Playback mode

- Normal tape mode

- Output level control...MAX

© Recordlplayback head
adjustment

Equipment:

' VTVM

0 Oscilloscope

' Test tape (azimuth)...OZZCFM

LvCHlR-CH output balance adjustment
1. Make connections as shown in fig. 4.

2. Playback the 8kHz signal from the test tape (QZZCFM).

Adjust screw (D) in fig. 5 for maximum output L-CH and Ft-CH levels.
When the output levels of L-CH and R-CH are not at maximum at the same

point adjust as follows.

3. Turn screw (D) shown in fig. 5 to find angles A and C (points where peak output
levels for left and right channels are obtained). Then, locate angle B between
angles A and C, Le, point where L-CH and R-CH outputs are balanced. (Refer

to figs. 5 and 6.)

L-CHIR-CH phase adjustment

4. Make connections as shown in fig. 7.
5. Playback the 8kHz signal from the test tape (QZZCFM).

Adjust screw (D) shown in fig. 5 so that pointers of the two VTVMs swing to
maximum and a lissajous waveform as illustrated in fig. 8 is obtained on the


LINE OUT [0! W201 (L'CHj, W202 (R'CHH

Recold/ l
Dlayhack neau / E @

-. ¥o
3: / © 1 0
Playback mm VTVM DSCllloscope
Fig. 4
Realm/playback head
(I
E
® A
Screw (D)

Fig. 5

but peak level

n-cll peak level
. /

ANGLE

oscilloscope. A
VW Fig. 6
mm, Oscilloscope
playback head
chh Q (/
RIC" A
l
Playback
mm U oui Vern/cal Holllnnial
Fig. 7 Fig. 8
0 Tape speed Condition: Equipment:
0 Playback mode - Digital frequency counter
- Output level control...MAX 0 Test tape...QZZCWAT
Tape speed accuracy Record/play:::: LINE OUT 1
1. Test equipment connection is shown in fig. 9. _. \> o 00
. Playback test tape (QZZCWAT 3,000Hz), and supply playback signal to the 7/ /

2
digital frequency counter.

3. Measure this frequency. '

4

. On the basis of 3,000Hz, determine value by following formula:

r-3,ooo
waom)

5. Take measurement at middle section of tape.

Standard value: 11.5%

Tape speed accuracy:

Playback mode
Tes tape Dlgltal rrequency counter

Fig. 9

where, f: measured value

6. If measured value is not within the standard value, adjust it by using the tape speed adjustment VFl shown in Fig. 1.
Note: Please use non metal type screwdriver when you adjust tape speed accuracy on this unit.

Tape speed fluctuation

Make measurements in same manner as above (beginning, middle and end of tape), and determine the difference between

maximum and minimum values and calculate as follows:

fl-fz
3,000 X100(%)

Standard value: Less than 1%

Tape speed fluctuation =

f, = maximum value, f2 = minimum value

Page 29

MESSUNGEN UND EINSTELL METHODEN

253X DEUTSC

Verwenden Sie bitte diese Broschlire Zusammen
mit der Service-Anieitung fflr das Modell Nr.
RS-M253X.

Anm.: Wenn nicht anders vorgeschrieben, Drehschalter und Steuereinrichtungen auf die foigenden Posltionen steilen.
- Ffir saubere defe sorgen.
- Fur saubere Tonweiie und Andruckroile sorgen.
I Auf normale Raumiempsraiur achten: 20:50 (68:9F)
- Monitorschalter: Band-Position
- Eingangsregler: MAX
- Ausgangsregler: MAX
0 Dolby-Schalter: AUS
oVormagnetisierungsfeineinsteliung: Mitie
0 Balanceregier: Mitte

0 Einsteilung der Bedingung: Meflgerét:
Laschkoplhéhe 0 Wiedergabe - Testband (Bandiaufweg-
Betrachtungsvorrichtung mit
Spiegel)...QZZCRD

Vovsicht:

1. Die Schrauben (A) und (8) Idsen und den Léschkopf ersetzen,
(Die Mutter (C) dien! zur Einstellung der Léschkopfhéhe und darf nicht gelést welden.)

2. Nachdem der Léschkopf ausgewechselt wurde, das Testband QZZCRD abspieien.

3. Soilten irgendwelche Probieme beim Bandtransport auflreten, is: auf unten beschriebene Weise die Einstellung
vorzunehmen.

Einstellung:
1. Die Mutter (C) (siehe Fig. 2) so jusxieren, dab das Band sich nicht verwickelt oder von der Bandffihrung des Lfischkopfes
verzogen wird.

Kopfhdhenelnstellung mil der Kopleinslellungsvorichlung (0220207)

Die Kopfeinstellungsvorichtung (0220207) ermégiicht schneiles und genaues Einsteilen der Kopfhéhe, wie im
Folgenden beschrieben:

a. Die Grundplatte auf den Mechanismus aufsetzen.
b. Auf Wiedergabe (Play) schalten.
c. Prflfstab auf die Grundplaite setzen.
d. Den Priifungsstab durch die Bandfuhrungen ffihren.
e. Den Nut so justieren, dass dsr Prfifstab die Bandfflhrungen nichi berflhrt.
f. Mit dem Testband (QZZCRD) fiberpnlfen, ob das Band die Bandffihrungen nicht berflhrt.
(2.8.: Das Band darf nicht verdreht werden).
3 Justierung des Bedingung: MeBgerét:
Aulnahmel 0 Wiedergabe ' Réhrenvoitmeter
Wiedergabekoples o Betriebsart: Normalband 0 Osziilograph

- Ausgangsregier: MAX . Testband (azimuth)...QZZCFM

Ausgangsbalance-Jusllerung flir Iinken und rochian Kanal

1. Den Mefiaufbau zeigi Fig. 4.

2, 8kHz-Signal des Testbandes (QZZCFM) wiedergeben.
Schraube (D) in Fig. 5 auf maximaien Ausgangspegel des Iinken und rechten Kanals abgieichen.
Slnd die Ausgangspegel des Iinken und lechten Kanals nicht gleichzeitig maximal, wie folgt iustieren:

3. Durch Drehen der in Fig. 5 gezeigten Schraube (D) die Winkel A and C (Punkte, wo Spilzenausgangspegel fur den Iin ken
und rechten Kanal eneicht werden) ermitteln. AnschiieBend den Winkel B zwischen dem Winkel A und C ermittein, d.h. den
Punkt, wo die Ausgangspegel des linken und rechten Kanais ausbalancieri (ausgegllchen) sind. (Siehe Fig. 5 und 6.)

Phasenius'ierung fiir linken und rechten Kanal

4. Den MeBaufbau zeigt Fig. 7.

5. BkHz-Signal des Tesibandes (QZZCFM) wiedergeben.
Schraube (D), wie in Fig. 5 gezeigt, so einsteilen, daB Zelger von zwei Fiéhreniloltmeter auf Maximum ausschlagen und am
Oszillographen eine Wellenform wie in Fig. 8 erreicht wird,