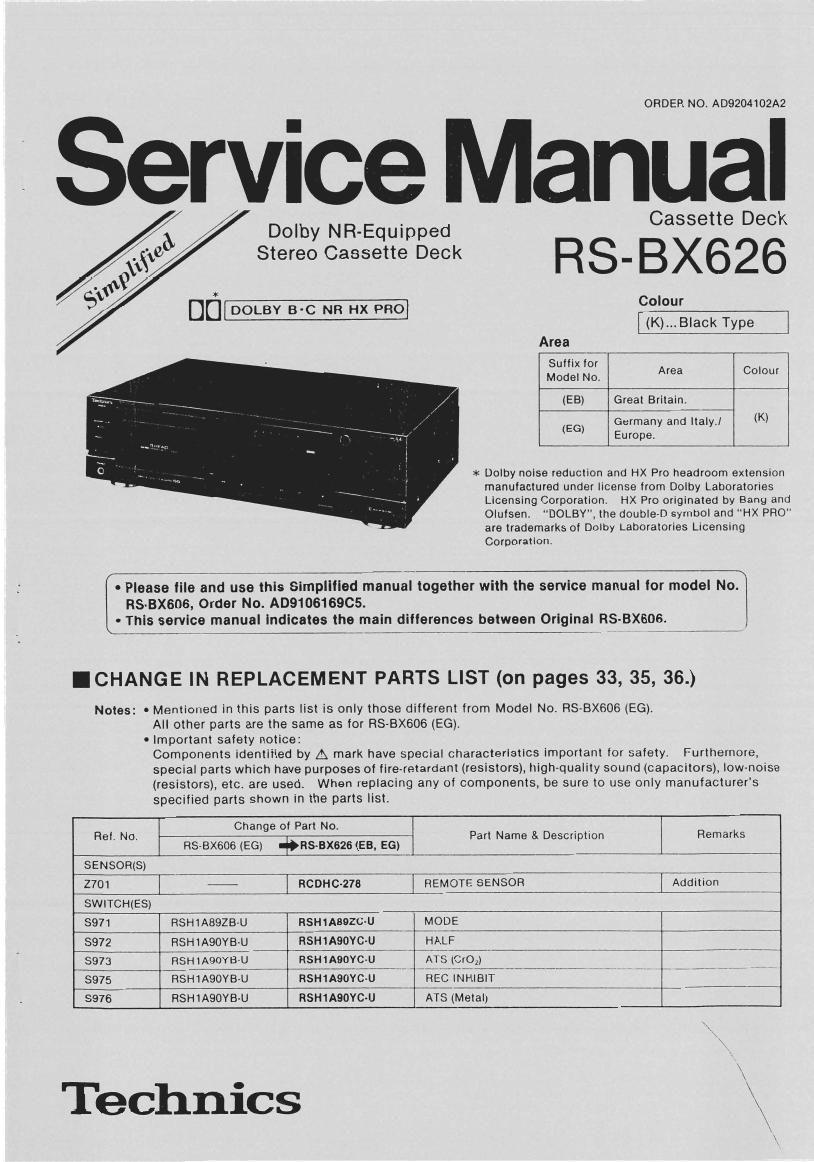
Technics RSBX 626 Service Manual

This is the 41 pages manual for Technics RSBX 626 Service Manual.
Read or download the pdf for free. If you want to contribute, please mail your pdfs to info@audioservicemanuals.com.

Page: 1 / 41
left right
Technics RSBX 626 Service Manual

Extracted text from Technics RSBX 626 Service Manual (Ocr-read)


Page 1

ORDER NO. AD9204102A2

_ Service Manual

Dolby NR-Equipped Cassette Deck

Stereo Cassette Deck RS- BX626

it
D_ cow
(K ...B|ack Type .

Area Colour


Area

Suffix ior
Model No.

(EB) Great Britain.

Germany and italy.l (K)

(E6) Europe.

* Dolby noise reduction and HX Pro headroom extension
manufactured under license from Dolby Laboratories
Licensing Corporation. HX Pro originated by Bang and
Oluisen. DOLBY. the doubieD symbol and "HX PRO"
are trademarks oi Dolby Laboratories Licensing
Corporation.

- Please tile and use this Simplilled manual together with the service manual for model No.
RS-BX606, Order No. A0910616905.
0 This service manual Indicates the main diiierences between Original RS-BXGOG.

ICHANGE IN REPLACEMENT PARTS LIST (on pages 33, 35, 36.)

Notes: - Mentioned in this parts list is only those diflerent from Model No. RS-BX606 (EG).
All other parts are the same as for RS-BX606 (EG).
- Important safety notice:
Components identified by A mark have special characteristics important ior satiety. Furthernore,
special parts which have purposes of lire~retardant (resistors). high-quality sound (capacitors), low-noise
(resistors), etc. are used When replacing any of components, be sure to use only manufacturers
specified parts shown in the parts list.

Change of Part No.
Flei. No. Part Name 8. Description Remarks
Rs-Bxsoe (EG) liens-ems (EB, EG)
SENSORiS) M
-z701 - [ RCDHC-278 REMOTE SENSOR ' "WK; Additionii '77
SWITCHES) W a
8971 FiSHiABSZBaU RSHtABQZCvU MODE M
5972 RSHIAQOYB-U RsutAaoYc-u TXLF
5973 RSH tA90YB-U RSH1A90VC-U 7 ATS (Clot) 77' if
6975 RSH1A90YB-U V nsmMc-u .,, ihisrciiifiian A7777 7 7' WV 7'7 7
$976 RSHiAQOYB-U RSHtAeovc-u ATS (Metal)

Technics \

Page 17

mes-m

Rel. No.

1 Removal 0! the mechenlsm unlt

Procedure
1-4)»?

e Cassette lid

Eject button

1. Push the eject button and open the cassette lid.

Mechanism unit

2. Remove the 2 flat cables (CN40, J971).
3. Remove the 4 screws (o~0). '

R l. . . .
o BN0 Removal ol the damper gear ass'y 9"" Removal ot the cassette holder
Procedure Procedure
143-»7_.3 13:;_.3

%Dom gear assy

\o

Remove the 1 screw (0).

92'0" Removal of the power swltch P.c.B.
Procedure Power switch button
93-10 Front panel oss'y

Power switch RC3,


Phones level
knob

Ornament

. Remove the power switch button by pushlng it from
behind the front panel assy.

Pull out the phones level knob.

. Remove the 2 screws (0, 0).

Remove the ornament.

euro

Cassette holder
spring

1. Remove the rlb In the direction ol arrow.
2. Remove the cassette holder spring.

Cassette holder

3. Pull out the cassette holder in the direction of
arrow.