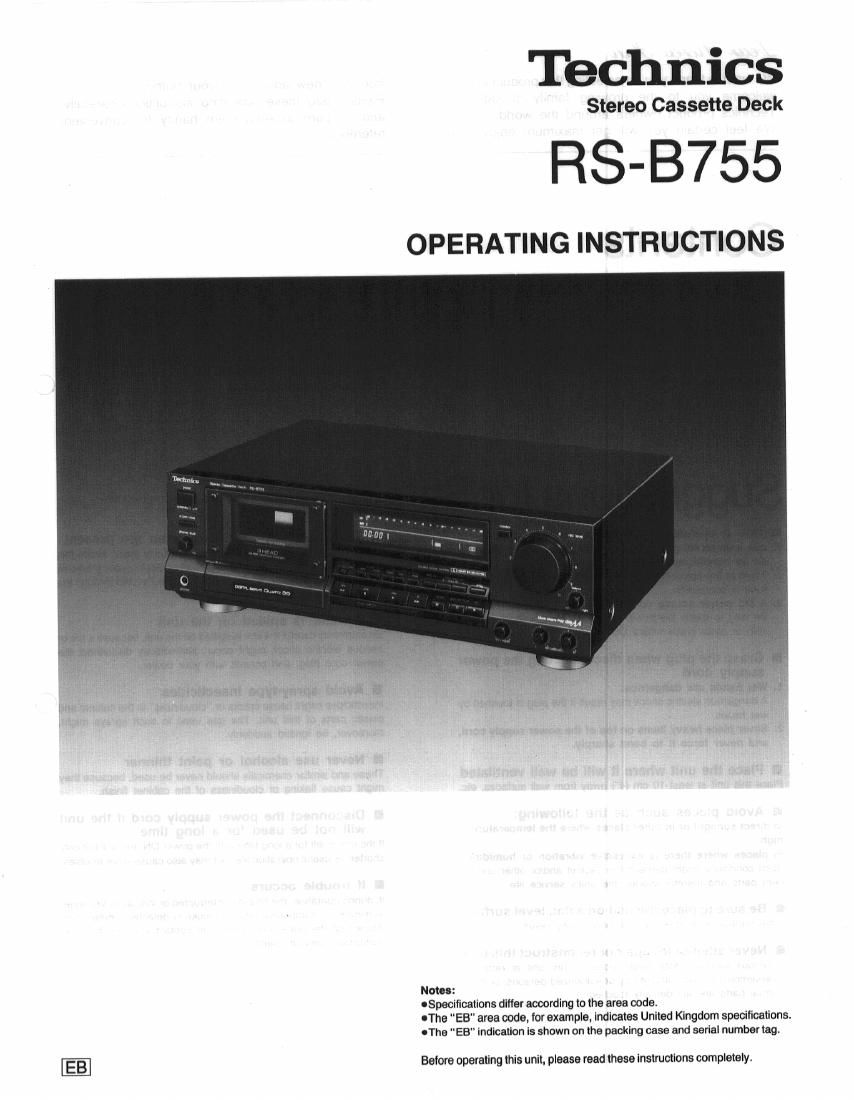
Technics RSB 755 Owners Manual

This is the 20 pages manual for Technics RSB 755 Owners Manual.
Read or download the pdf for free. If you want to contribute, please mail your pdfs to info@audioservicemanuals.com.

Page: 1 / 20
left right
Technics RSB 755 Owners Manual

Extracted text from Technics RSB 755 Owners Manual (Ocr-read)


Page 1

Technics

Stereo Cassette Deck

RS-B755

OPERATING INSTRUCTIONS

redmk,

Notes:

OSpecitications differ according to the area code.

CThe EB" area code, for example, indicates United Kingdom specifications.
oThe EB" indication is shown on the packing case and serial number tag.

Before operating this unit, please read these instructions completely.

Page 2

We want to thank you for selecting this product and to
welcome you to the growing family of satisfied
Technics product owners around the world.

We feel certain you will get maximum enjoyment

from this new addition to your home.

Please read these operating instructions carefully,
and be sure to keep them handy for convenient
reference

Contents

OSuggestions for Safety 2
0For United Kingdom ................... 3
0Accessories .. . . .. .. . .......... 3
Deonnections ..... ........ 3
OFront Panel Controls and Functions . . . . . . 4
OPlayback ................. . .............. 6
oRecording .............................. 10

Recording with High Tone Quality .. . . . . .. 12

OTimer Recording/Playback . . . 15
uAIter Recording ........... 16
IAbout Cassette Tapes ..... . . . ..... 16
0Maintenance ................ 17
OTechnicaI Specifications . . . ..... . ...... . . . 17
OTroubleshootIng Guide ...... . ....... . . . . . 18

Suggestions for Safety

I Use a standard AC wall outlet

1. Use Irom an AC power source of high voltage. such as tor
an air conditioner, Is very dangerous.
There is the possibility that a tire might be caused by making
such a connection.

2. A DC power source cannot be used.
Be sure to check the power source carelully. especially on a
ship or other place where DC is used,

I Grasp the plug when disconnecting the power
supply cord

1. Wet hands are dangerous.
A dangerous electric shock may result if the plug is touched by
wet hands,

2. Never piece heavy Items on top of the power supply cord.
and never force It to bend sharply.

I Place the unit where it will be well ventilated
Place this unit at least 10 cm (4) away Irom wall surfaces, etc.

I Avoid places such as the following:

In direct sunlight or In other places where the temperature Is
high.

In places where there Is excessive vibration or humidity.
Such conditions might damage the cabinet and/or other compo-
nent parts and thereby shorten the unit's service life.

I Be sure to place the unit on a flat, level surface
If the surface is inclined, a mellunction may result.

I Never attempt to repair or reconstruct this unit
A serious electric shock might occur if this unit is repaired,
disassembled or reconstructed by unauthorized persons. or if the
internal parts are accidentally touched.

I Take particular care it children are present
Never permit children to put anything, especially metal, inside this
unit. A serious electric shock or malfunction could occur if articles
such as corns, needles, screwdrivers, etc. are inserted through the
ventilation holes. etc. of this unit.

I If water is spilled on the unit

Be extremely careful if water is spilled on the unit, because a fire or
serious electric shock might occur. Immediately disconnect the
power cord plug, and consult with your dealer.

I Avoid spray-type insecticides

Insecticides might cause cracks or cloudiness" in the cabinet and
plastic parts of this unit, The gas used in such sprays might,
moreover, be ignited suddenly.

I Never use alcohol or paint thinner
These and similar chemicals should never be used, because they
might cause flaking or cloudiness ol the cabinet finish.

I Disconnect the power supply cord it the unit
will not be used for a long time

If the unit is left for a long time with the power ON, this will not only

shorten its uselul operation life, but may also cause other troubles.

I If trouble occurs
If, during operation, the sound is interrupted or indicators no longer
illuminate, or if abnormal odor or smoke is detected, immediately
disconnect the power cord plug, and contact your dealer or an
Authorized Service Center.

Page 13

Recording-level adjustment 'nts

When recordings are made at the same recording level and by
using different brands of tape, even though the type of tape
(regular or normal" tape. for example) is used, when these
recordings are played back the listener may notice that the
high-frequency sounds are not as distinct on one tape or the other,
etc.

The reason that such differences may be noticed is because there
are differences of the sensitivity (the magnitude of the recording
level) and of the frequency response (particularly in the treble
range) between cassette tapes of the various manufacturers of
tape.

Although, for recordings and playback in which a noise-reduction
system is used, it is the principle for such recordings that the
recording and playback processes be at the same recording level,
it, as a result of the reason described above, there is a difference of
the recording level or of the frequency response, there will result a
difference in the processes for recording and for playback, and
correct recordings and playback cannot be accomplished

In order to overcome this problem, this unit includes recording-
calibration controls (for compensation of differences of the record-
ing level) and a bias-adjustment control (for compensation of the
frequency response) so that the recording level can be set to the
most appropriate level during recording

Law. By compensating for the tape sensrtivity, l
("9) and adjusting the bias current the high-frequency
range is compensated.

20 zoo 1 k 20 k
Frequency (Hz)

During recording

1 Make a recording as explained in steps 1 through 11 of
Recording. (Refer to page 10.)

2 White pressing the monitor switch to select source (the
original sound source) and tape" (the just-recorded
sound), use the recording-calibration controls to adjust
so that the magnitude of the sound Is the some at both
the source" setting and the tape setting.

The recording-calibration adjustment should be made by
both the left (L) and right (Ft) recording-calibration controls.

(3) 0

I
-I c

\tlu,
III
It,

i
¢

\
m-t'llylfl

\ 4 .
rec calibration

t-

The level meters can be used as a convenient reference when
making this adjustment. Also note that the adjustment can be
made more precisely by listening through headphones while
making the adjustment. Connect the headphones to the
headphones jack of this unit.

-13..

3 While then pressing the monitor switch to select

source" (the original sound source) and tape" (the
just-recorded sound). use the blue-adjustment control to
adjust so that tone quality In the treble range Is the some
at both the source" setting and the tape setting.
when making this adjustment it may be helpful to use as a
reference the changes made (by the bias-adjustment control)
of the between-station noise heard on the FM band,

Bias becomes Bias becomes deeper;
shallower; the treble : the treble characteristic
characteristic ; 3 decreases.

increases. 6

\
_ l \\
bias adjust'

4 Adjust the magnitude of the sound again by using the
recording-calibration controls.

5 Rewind the tape and then begin the recording once again.

Notes:

OThe adjustments for the bias does not need to be made again so
long as you continue to use the same type and brand of tape that
was used when these adjustments are first made.

OWhen making the recording-calibration adjustment (the adjust-
ment of the difference in level for recording and playback), an
even more precise adjustment can be made if your tuner has a
built-in oscillator for adjustment of the recording calibration.

This unit is of 3-head type, and the record head is independent of
the playback head. Also, the sound before recording can be
compared with the recorded sound by use of the monitor switch,
therefore the state of recording can be easily checked.


\ Tape /
REC PLAYBACK
HEAD HEAD

REC AMP PLAVBACK
AM P
MONITO H SWITCH
source" tape
POSITION POSITION

LINE INPUT LINE OUTPUT
JACK (FIEC) JACK (Playback)
©