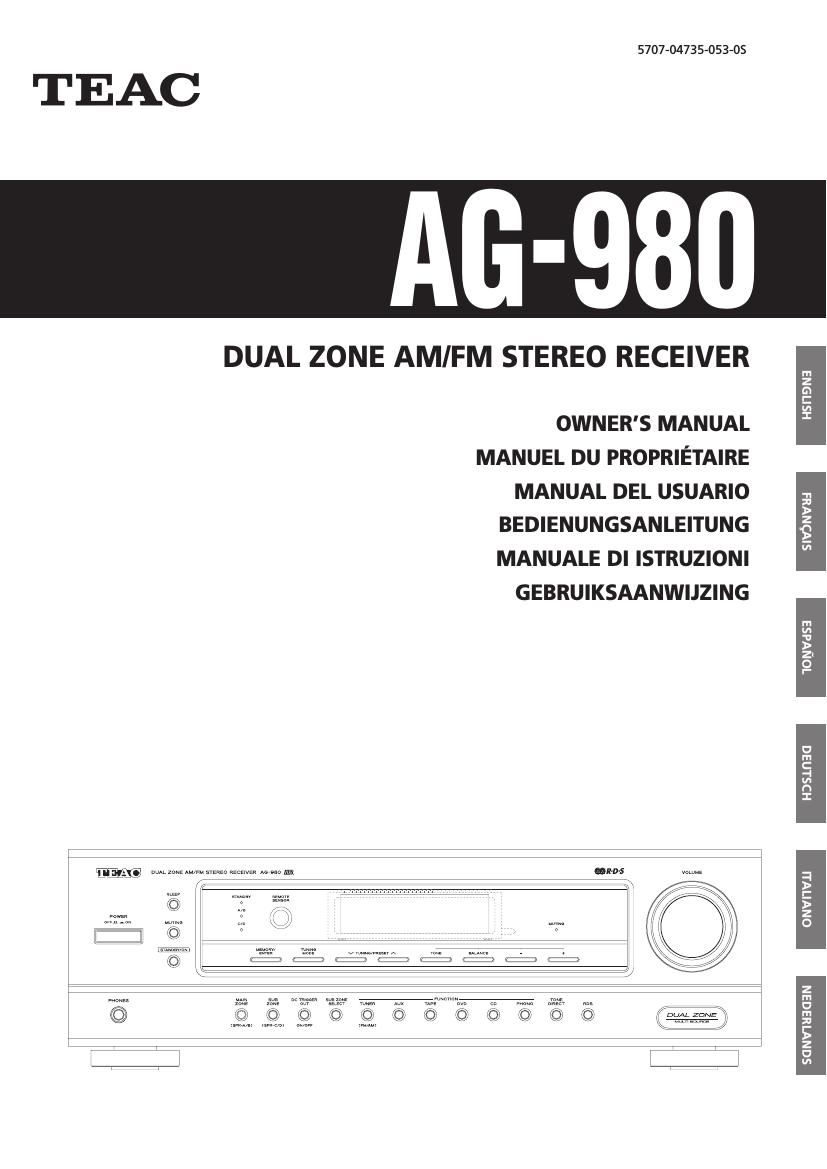
Teac AG 980 Owners Manual

This is the 136 pages manual for Teac AG 980 Owners Manual.
Read or download the pdf for free. If you want to contribute, please mail your pdfs to info@audioservicemanuals.com.

Page: 1 / 136
left right
Teac AG 980 Owners Manual

Extracted text from Teac AG 980 Owners Manual (Ocr-read)


Page 1

Disposal of your old appliance 1. When this crossed-out wheeled bin symbol is attached to a product it means the prod- uct is covered by the European Directive 2002/96/EC. 2. All electrical and electronic products should be disposed of separately from the munici- pal waste stream via designated collection facilities appointed by the government or the local authorities. 3. The correct disposal of your old appliance will help pre- vent potential negative consequences for the environment and human health. 4. For more detailed information about disposal of your old appliance, please contact your city office, waste disposal service or the shop where you purchased the product. 2 The lightning flash with arrowhead symbol, within an equilateral triangle, is intended to alert the user to the presence of uninsulated dangerous voltage within the products enclosure that may be of suffi- cient magnitude to constitute a risk of electric shock to persons. The exclamation point within an equilateral triangle is intended to alert the user to the presence of important operating and maintenance (servicing) instructions in the literature accompanying the appliance. IMPORTANT SAFETY INSTRUCTIONS 1) Read these instructions. 2) Keep these instructions. 3) Heed all warnings. 4) Follow all instructions. 5) Do not use this apparatus near water. 6) Clean only with dry cloth. 7) Do not block any ventilation openings. Install in accordance with the manufacturers instructions. 8) Do not install near any heat sources such as radiators, heat registers, stoves, or other apparatus (including amplifiers) that produce heat. 9)Do not defeat the safety purpose of the polarized or grounding-type plug. A polarized plug has two blades with one wider than the other. A grounding type plug has two blades and a third grounding prong. The wide blade or the third prong are provided for your safety. If the provided plug does not fit into your outlet, consult an electrician for replacement of the obsolete outlet. 10) Protect the power cord from being walked on or pinched particularly at plugs, convenience receptacles, and the point where they exit from the apparatus. 11) Only use attachments/accessories specified by the manufac- turer. 12)Use only with the cart, stand, tripod, bracket, or table specified by the manu- facturer, or sold with the apparatus. When a cart is used, use caution when moving the cart/apparatus combination to avoid injury from tip-over. 13)Unplug this apparatus during lightning storms or when unused for long periods of time. CAUTION: TO REDUCE THE RISK OF ELECTRIC SHOCK, DO NOT REMOVE COVER (OR BACK). NO USER-SERVICEABLE PARTS INSIDE. REFER SERVICING TO QUALIFIED SERVICE PERSONNEL. WARNING: TO PREVENT FIRE OR SHOCK HAZARD, DO NOT EXPOSE THIS APPLIANCE TO RAIN OR MOISTURE. 14) Refer all servicing to qualified service personnel. Servicing is required when the apparatus has been damaged in any way, such as power-supply cord or plug is damaged, liquid has been spilled or objects have fallen into the apparatus, the apparatus has been exposed to rain or moisture, does not operate normally, or has been dropped.

Page 2

3 ENGLISH CONTENTS CONTENTS................................................................................................................................................................. 3 System Connections .................................................................................................................................................. 4 Front Panel & Remote Controls ................................................................................................................................. 7 -REMOTE CONTROL OPERATION RANGE ............................................................................................................................ 9 -LOADING BATTERIES ............................................................................................................................................................. 9 Operations ................................................................................................................................................................ 10 -LISTENING TO A PROGRAM SOURCE ............................................................................................................................... 10 -LISTENING TO RADIO BROADCASTS ................................................................................................................................. 14 -LISTENING TO RDS BROADCASTS (FM ONLY) ................................................................................................................. 17 (RDS Tuner (Regional Option for some countries in Europe, etc)) -RECORDING .......................................................................................................................................................................... 20 -OTHER FUNCTIONS ............................................................................................................................................................. 20 -SUB ZONE PLAYBACK ......................................................................................................................................................... 21 Troubleshooting Guide ............................................................................................................................................. 23 Specifications ........................................................................................................................................................... 24

Page 15

16 - Then "PRESET" lights up. Tuning to preset stations or 1 . After selecting the tuner as an input source, select the preset mode. 2 . Select the desired preset number. 4. Repeat the above steps 1 to 3 to memorize other stations. -ˆ‘MEMORY BACKUP FUNCTION The following items, set before the receiver is turned off, are memorized. -FUNCTION settings -Preset stations, etc. -The SUB ZONE settings. -If the power supply is interrupted for 3 days or longer, all the settings kept in memory (such as preset stations and timer set- tings) will be erased. -You can also use the numeric buttons to select a preset channel.

Page 40

41 FRANÇAIS -Chaque fois que vous appuyez sur la touche, le mode daf- fichage change comme suit: -Si les signaux sont trop faibles ou si le service RDS nest pas disponible, NO NAME, NO PTY, NO TIME ou NO TEXT est affiché. FréquenceNom de la station (PS)Type de programme (PTY)Heure (CT)Radio- texte (RT) DISPLAY (AFFICHAGE) En mode FM

Page 63

64 GRABACIÓN Grabación con TAPE -Las configuraciones del volumen, tono (graves, agudos) y balance no tienen efecto sobre las señales de grabación. -Se puede grabar en el reproductor de casetes (TAPE) seleccionando TUNER, CD, DVD, AUX o PHONO como la fuente de grabación. -No se puede grabar la fuente de entrada SUB ZONE en el reproductor de casetes (TAPE). o 1. Seleccione la entrada deseada como la fuente de grabación, excepto TAPE. 2. Inicie la grabación en el componente TAPE. 3. Inicie la reproducción en la fuente de entrada deseada. Operación del temporizador de apagado -El temporizador de apagado permite al sistema continuar funcionando durante un período de tiempo específico antes de apagarse automáticamente. -Cada vez que se pulsa este botón, el tiempo de apagado cambia de la siguiente manera: -Durante el temporizador de apagado está en uso, se enciende . -Cuando se selecciona el tiempo de apaga- do, pantalla fluorescente se enciende débilmente. -Cuando la función SUB ZONE está en uso, no se desacti- vará por el temporizador de apagado. 10 20 30-¦ 90 OFF Unidad: minutos OTRAS FUNCIONES SLEEP -Cada vez que se pulsa este botón, el brillo de la pantalla flu- orescente cambia de la siguiente manera: -En el modo de visualización OFF (Desactivado), pulsar cualquier botón restaurará el modo de visualización ON (Activado). ON dimmer OFF Ajuste del brillo de la pantalla fluorescente