Teac A 450 Owners Manual

This is the 16 pages manual for Teac A 450 Owners Manual.
Read or download the pdf for free. If you want to contribute, please mail your pdfs to info@audioservicemanuals.com.

Page: 1 / 16
left right
Teac A 450 Owners Manual

Extracted text from Teac A 450 Owners Manual (Ocr-read)


Page 1

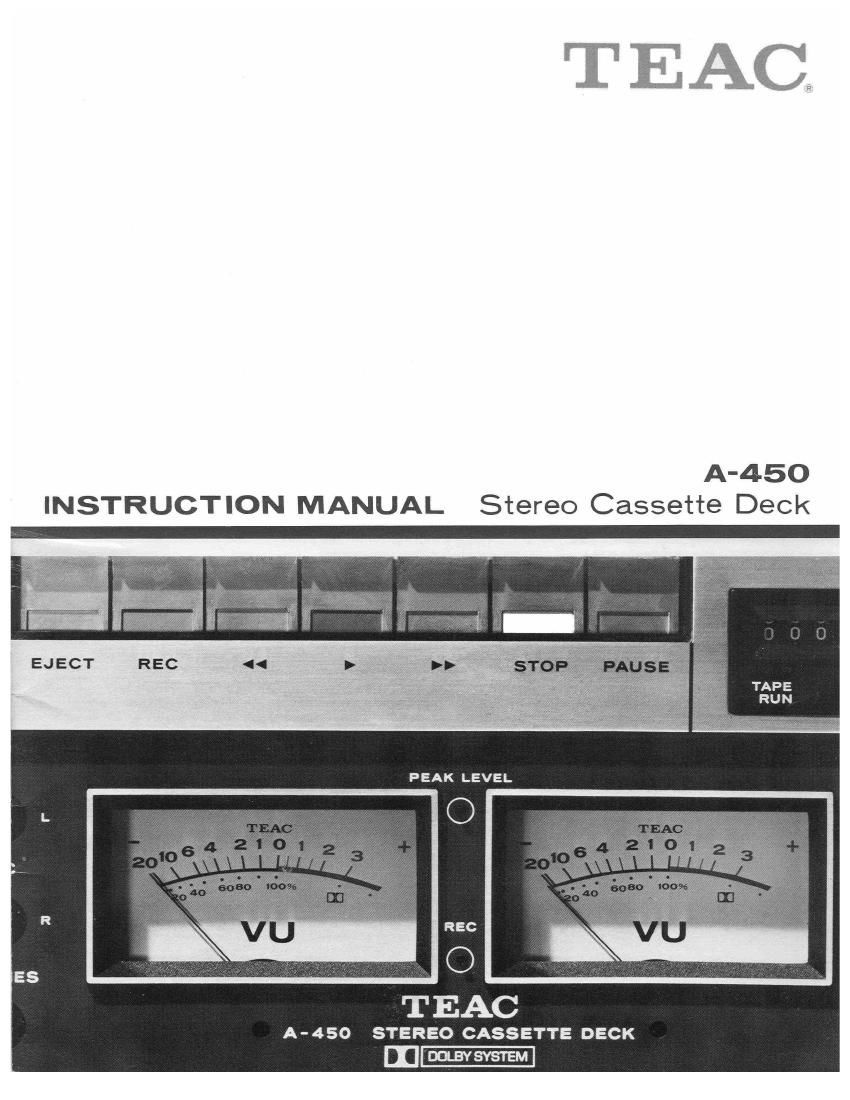
A-450
INSTRUCTION MANUAL Stereo Cassette Deck

REC

PEAK LEVEL

TEAC

A-450 STEREO CASSETTE DECK

[I]

Page 2

Congratulations on your purchase of the TEAC A-450 Cassette deck! You now own
one of the most versatile home-use stereo cassettes ever designed for the discriminat-
ing audiophile.

The TEAC A-450 with the widely acclaimed Dolby Noise Reduction System re-
presents a quantum increase in cassette sound quality, bringing you recording quality,
features and performance to equal or surpass that of high quality open reel recordersr

Until this time the quality of cassette recordings was limited by the inherent noise of
the tape itself. The revolutionary Dolby System, although commercially available to
and in use by almost all major recording studios, was not available to the home tape
recordist.

The introduction of the Dolby System now brings to the home tape hobbyist all the
benefits of the Dolby System at sharply reduced cost and with a simplicity of
operation not possible with the commercial systems. The New TEAC A-450 enables
you to make recordings from any source with a dramatic gain in signal to noise ratio,
as much as l0 dB! The resultant reduction of noise and tape hiss produces a recording
of breathtaking clarity. The expanded dynamic range gives greater sound impact
without coloration or attenuative filtering,

The Dolby System as incorporated into the TEAC A-450 operates both during
recording and playback. During the recording phase, low amplitude high frequency
signals are expanded by a precise amount, during playback they are compressed by
exactly the same amount by a mirror image circuit. By this process all noise from
both the cassette electronics and from the tape is eliminated or reduced to an
inaudible level. This entire process is accomplished without in any way affecting the
original sound quality, since no attenuative filtering is used, The original signal is
reproduced with true fidelity but without annoying tape hiss or amplifier noise.

We know you will want to begin using your A~450 immediately, however we urge
you to take~a few moments to read this instruction manual. The short time required
to familiarize yourself With the many unique features and proper operating
techniques of this superb cassette deck will result in more professional recording and
many years of uninterrupted enjoyment.

* DOLBY Dolbyized,and the Double D symbol DU are trademarks of Dolby
Laboratories, Inc.
* This product is manufactured under licence from Dolby Laboratories, Inc,

Page 9

General operating suggestions

Inserting the cassette

Depress the Eject Button © fully and both the Cassette
Holder Lid 6) and the Cassette Holder ® will open. Place
a cassette tape on the Cassette Holder so that the Open end
(where tape is partly exposed) of the cassette will face toward
you. Press the cassette downward with your fingers until it
locks in place. This completes loading the tape deck with a
cassette tape. making the tape deck ready to start in either
playback or recording,

Whether or not the Cassette Holder Lid is closed does not
matter as far as the recording or playback operation is
concerned. To close the Cassette Holder Lid. simply press it
from above with your finger. Keep it closed for the purpose
ofkeeping dust out of the compartment.

Press the Power On-Off Switch ® to prepare your A-450.
This tape deck can not be turned on unless the Timer Selector
Switch ® is set to OUT except when the deck is prepared
for Timervcontrolled recording or playback,

A cassette has two sides. Side l (or A) and Side 2 (or B).
The side you wish to record or play back should be up
when that cassette is installed in the tape deck.

. When one Side of a cassette has completely been recorded
or played back and you want to record or play back the
other side, take out the cassette from the tape deck, turn
it over and re-insert it in the tape deck.

3. When the tape winding is very loose, the hub that has no

tape slack should be turned to restore proper tension.

lo

To Start Playback

Depress > (Play Button) @ and the tape will be wound up
onto the right hub at the regular speed, thus starting play-
back.

Equipped with the built-in end stop mechanism, the A-450
automatically releases the control button from the depressed
position to Change_ the functional mode to STOP when the
tape end is reached.

The power sopply circuit is automatically turned off with the
Timer Selector Switch ® set to IN. Since the AC Outlet
@ is part of this power supply circuit, power taken from
this AC Outlet for an external audio component (such as a
tuner connected to it) is also cutoff at the same time.

Fast Forward and Rewind

The Fast Forward and Rewind functions are conveniently
used when you want to skip over unnecessary portions of the
tape or play back the same program several times.

Lightly press > > Button @ (or 4 4 Button @) halfway
and the tape will be wound onto the right hub (or left huh)
at faster speed. Press p > (or 4 4 ) Button fully andit will
lock in depressed position. Lock the Button in the depressed
position when you want the tape completely wound onto
the right (or left) hub,

Mode of operation can be changed directly from Fast
Forward to Rewind or vice versa. To change mode of

operation from Fast Forward or Rewind to Play. however.
the Stop Button should be pressed before pressing > (Play
Button.)

PAUSE

Depress the PAUSE Button @ during recording or playback
and it will lock in the depressed position to temporarily halt
the travel of the tape.

Depress it again to unlock it and the recording or playback
will be resumed immediately. The PAUSE function is useful
in that one quick touch on the PAUSE Button immediately
stops or resumes recording or playback. You do not need to
release or reset the Record and/or Play buttons each time
the recording or playback is stopped or started.

Headphone Listening

Connect an 8-ohm type stereo headphone (such as aTEAC
HP-lOl) to the PHONES Jack 62 and you can enjoy
private listening through the headphone.

Dolby Terminology

* Dolby-encode: The term refers to processing to obtain
the Dolby-level recording characteristic.
It is generally synonymous with output
of. or processing by, a Dolby processor
when recording

The term refers to processing to convert
or decode" the Dolby-encoded signal
to its original form.

* Dolby-decode: