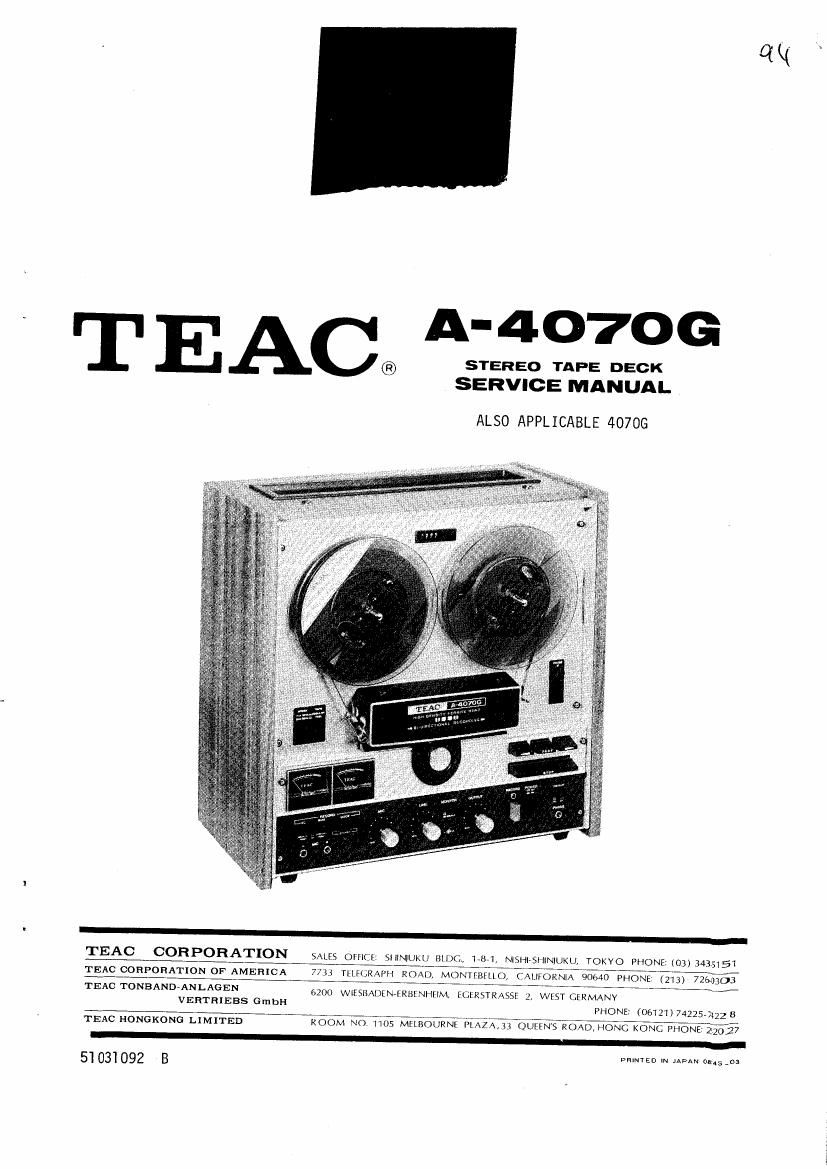
Teac A 4070 G Service Manual

This is the 62 pages manual for Teac A 4070 G Service Manual.
Read or download the pdf for free. If you want to contribute, please mail your pdfs to info@audioservicemanuals.com.

Page: 1 / 62
left right
Teac A 4070 G Service Manual

Extracted text from Teac A 4070 G Service Manual (Ocr-read)


Page 2

1 GENERAL DESCRIPTION

The TEAC A-4070G is a 2 channel, 4 track tape deck capable of both
bi-directional recording and playback, The A-407OG employs a three
motor mechanism, solenoid operated, with auto reverse in either
direction, automatic repeat and continuous play capability.

The basic design of the A-407O is highly similar to that of the
A-407OG, therefore information in this service manual may be ap-
plied to the A-4070.

This service manual provides adjustment and alignment procedures,
schematic diagrams and parts replacement information and the prop-
er procedures for obtaining necessary repair parts.

If adjustments or repair procedures are not clear or seem difficult
to accomplish or should you desire more detailed technical informa-
tion, please contact your nearest TEAC dealer, TEAC Corporation or
affiliated corporations, address's of which are printed in this
manual.

INDEX

GENERAL DESCRIPTION

SERVICE DATA

EQUIPMENT REQUIRED

PARTIAL DISASSEMBLY

HEAD ALIGNMENT -MECHANICAL-

. MEASUREMENT AND ADJUSTMENT -MECHANICAL-
MEASUREMENT AND ADJUSTMENT -ELECTRICAL-
PREVENTIVE MAINTENANCE

TROUBLE SHOOTING

PACKING FOR SHIPMENT

SCHEMATIC DIAGRAMS

PRINTED CIRCUIT BOARD AND PARTS LIST
EXPLODED VIEW AND PARTS LIST

MANUAL CHANGES

OkDmNOUwaH

H

Page 8

DISASSEMBLY OF CAPSTAN/HEAD MOUNT AREA

1. Remove the VU meter holder.
2. Remove four button head Philips screws securing the head base plate.

Base plate may now be lifted forward to accomplish belt replacement.
In order to replace the capstan assembly, the slide base assembly must
first be removed.

1. Remove the L & R lower head protectors. Remove pinch roller.

2. Remove lower screw and nylon inserts from slide base assembly.
(located below the pinch roller shaft housing).

3. Disconnect slide base assembly coil spring.

4. Remove the screw in one of the head PC board brackets, lift PC board
from bracket thus freeing the lifter spring bracket.

5. Remove screw and nylon inserts from lifter spring bracket.

6. Slide base assembly may now be removed exposing the capstan assembly
mounting screws.

Fig. 4-4 Capstan Assy and Head Mount Removal

Page 10

5 HEAD ALIGNMENT

NOTE

- MECHANICAL-

Head alignment is adjusted at the factory to very critical tol-

erances .

minor alingments or adjustments.

only be necessary after an individual head is replaced.
The adjustments are made as follows:

FORWARD S IDE

.ERASE/RECORD COMBINATION HEAD:

Normally HEAD ASSEMBLY replacement will require only
Complete readjustment should

The record head pole should be above

the edge of a threaded tape by the width of thin pencil line.

NOTE: Erase head should be heavy pencil line.

.PLAYBACK HEAD :

a threaded tape.

The playback head pole should be even with the top of

a : HEIGHT

REVERSE S IDE

ADJ . SCREW
O
Q . AZIMUTH
ADJ.SCREW
ERASE/RECORD PLAYBACK ERASE/RECORD
PLAYBA K
COMBINATION C COMBINATION
-' Fig. 5-1 Head Alignment and Adjustment Screws --.-~_._.....J
u-ozav

OERASE/RECORD COMBINATION HEAD: The record head pole should be bottom
the edge of a threaded tape by the width of thin pencil line.

NOTE: Erase head should be heavy pencil line.

.PLAYBACK HEAD :

bottom of a threaded tape.

NOT E

The pole of the playback head should be even with the

Azimuth adjustments are given in the section on MEASUREMENT AND
ADJUSTMENT -ELECTRICAL-

Page 18

7 MEASUREMENT AND ADJUSTMENT
--EE|.EEC:1'FIIC:I\L--

GENERAL NOTICE

Before performing maintenance on this
unit, thoroughly clean and demagnetize
the entire tape path.

It is important that the unit be set
to the proper voltage and frequency
for your locality.

TEAC specified standard test tapes and
test equipment must be used when per-
forming maintenance to insure reliable
results.

Procedures for checks and adjustments,
unless otherwise indicated, are for
the left channel at a tape speed of
7-1/21ps. The same procedures are to
be applied to the right channel and
again for both channels at 3-3/4ips,
and both directions_

All controls mentioned in this book will
be printed in bold letters and will be
exactly as they appear on the unit.

Double designated symbol numbers refer
to left channel/right channel.

T H D : Third Harmonic Distortion.

Fig. 7-1 Adjustment Locations

PLAYBACK PERFORMANCE ADJUSTMENTS

CH PE LEVEL PB METER LEVEL
4 REVERSE FORWARD b
VRlaz VRlDl VR106
VRZOZ VRZOl VRZOE

BIAS ADJUSTMENTS

CH BIAS ADJUSTMENTS REC BIAS TRAP
HIGH BIAS NORMAL BIAS
< REVERSE FORWARD > < REVERSE FORWARD»
L VC103 VClOl VClOA VCIOZ 1.102
R VCZUS VCZOl VC204 V5202 L202

RECORD PERFORMANCE ADJUSTMENTS

CH REC LEVEL REC EQ REC METER LEVEL
HIGH POSITION NORMAL POSITION
< REVERSE FORWARD > < REVERSE FORWARD D
L VRlOk VR103 »*--- VRlOB L103 VR107
VRZOl» VRZOJ ---- VRZDB L203 VR207