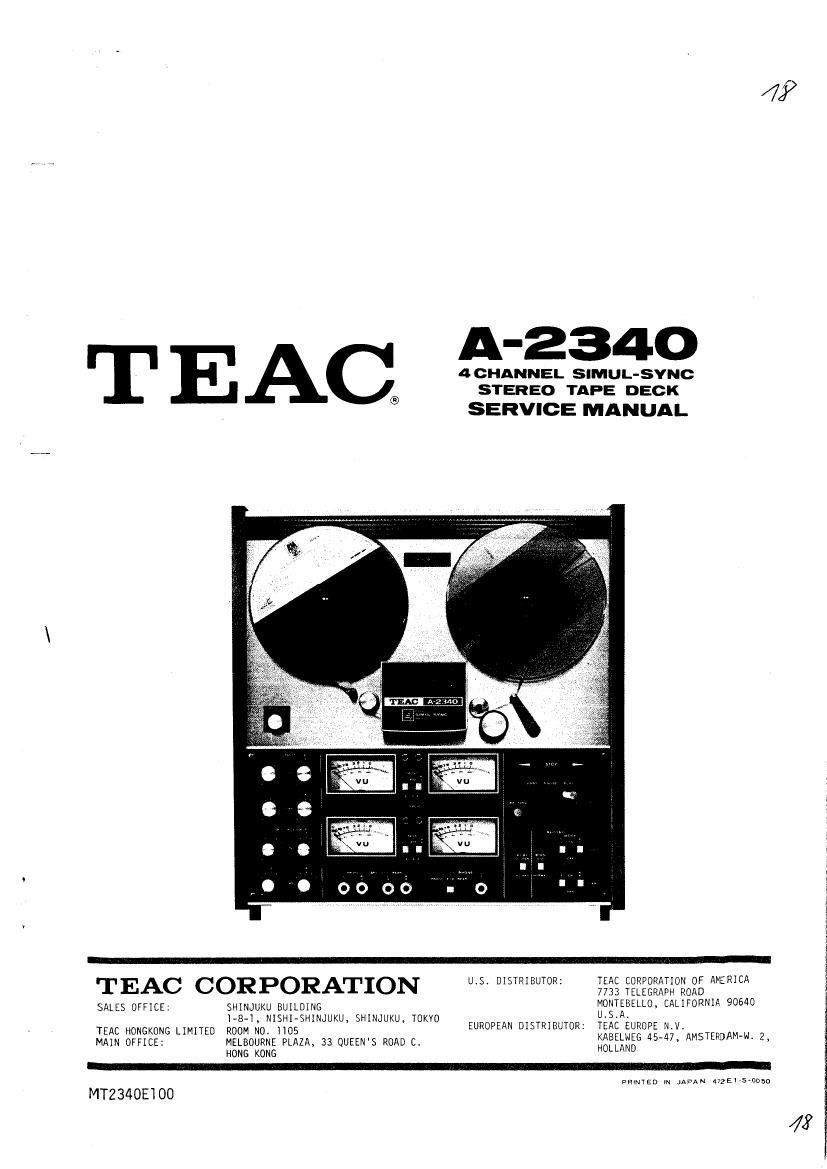
Teac A 2340 Service Manual

This is the 68 pages manual for Teac A 2340 Service Manual.
Read or download the pdf for free. If you want to contribute, please mail your pdfs to info@audioservicemanuals.com.

Page: 1 / 68
left right
Teac A 2340 Service Manual

Extracted text from Teac A 2340 Service Manual (Ocr-read)


Page 1

437

A-2340
T E AC :fizzzzzi'rgzzzr

SERVICE MANUAL

TEAC CORPORATION u.s. DISTRIBUTOR: gag nggggggrrgogg ANERICA

SALES OFFICE: SHINJUKU BUILDING UOZTEBELLm CALIFORNIA 90640

- . r H - K , H , . . .
1 8 1' S 1 MW U 5 mm mm EUROPEAN DISTRIBUTOR: TEAC EUROPE N.V.

TEAC HONGKONG LIMITED ROOM N0. nos KABEWEG as 47 AMSIEnaAM-N 2

MAIN OFFICE: MELBOURNE PLAZA, 33 QUEEN'S ROAD c. HOLLAND - . - -

HONG KONG

PRINTED w .muAN 472211541050

MT2340E100

42

Page 2

1. GENERAL DESCRIPTION

The TEAC A-2340 is a semi-professional tape deck capable of
simul-sync recording, four channel, stereophonic and mono-

phonic recording and playback. It offers operating speeds

of 7-1/21ps and 3-3/éips.

This service manual provides adjustment and alignment pro-
cedures, schematic diagrams and parts replacement informa-
tion and the proper procedures for obtaining necessary
repair parts.

If adjustments or repair procedures are not clear or seem
difficult to accomplish or should you desire more detailed
technical information, please contact your nearest TEAC
dealer, TEAC Corporation or affiliated corporations, ad-
dress's of which are printed in this manual.

INDEX

1. GENERAL DESCRIPTION
2. SERVICE DATA
3. EQUIPMENT REQUIRED
4. PARTIAL DISASSEMBLY
5. HEAD ALIGNMENT -MECHANICAL-
6. MEASUREMENT AND ADJUSTMENT -MECHANICAL-
7. MEASUREMENT AND ADJUSTMENT -ELECTRICAL-
8. PREVENTIVE MAINTENANCE
9. TROUBLE SHOOTING
10. PACKING FOR SHIPMENT
SCHEMATIC DIAGRAMS
PRINTED CIRCUIT BOARD AND PARTS LIST
EXPLODED VIEW AND PARTS LIST
MANUAL CHANGES

Page 25

BIAS ADJUSTMENT

NOTE

Adjust BIAS trap (L-302/304) before adjusting BIAS levels.
These adjustments are only made at 7-1/2 ips tape speed,
the bias oscillator frequency is 100 15 kHz.

NORMAL Position

1.

£11wa

Thread a record test tape(Scotch 150) on the unit. Place BIAS
switch in NORMAL position.

Place MONITOR switches in TAPE position, PAUSE lever at PLAY.
Apply a 400 Hz signal at -8 dB at the LINE IN jacks.

Adjust VC-SOl/503 for a peak on the level meter.

Turn the capacitors clockwise until a decrease of 0.5 dB is
obtained.

HIGH Position

1.

2.

RECORD LEVEL SET

Thread 3 record test tape(Scotch 203) on the unit. Place BIAS
switch to HIGH position.
Adjust VC-502/504 as in NORMAL position.

Using Scotch 203 tape, BIAS switch at HIGH position.
Apply a 400 Hz signal at -8 dB at the LINE IN jacks.
OUTPUT controls must be at specified output level setting
(-8 dB at OUTPUT jacks).

Place unit in record mode, MONITOR switches in the TAPE
position.

Adjust VR-302/305 for a reading of 0 VU on the VU meters.
(-8 dB at the OUTPUT jacks.)

Page 29

MALFUNCTION

POSSIBLE SOURCE OF TROUBLE

CORRECTIVE PROCEDURE

Noise or hum
during record

Wow & flutter

Incorrect tape speed

Brakes do not
release

Fast forward or
rewind mode
inoperative

No record and/or
no erase

No playback

Magnetized head, faulty
connections, mic level set
to maximum, faulty record
amplifier, record relay
(K-401).

Defective tape, dirty or
defective pinch roller,
oily or defective belt,
reel motor tension.

Drive belt in wrong posi-
tion.

Incorrect pinch roller
pressure.

Defective brake solenoid

Rewind relay(K-3)

Record head dirty, erase
head dirty, operate relay
(K-l), record switch(SW-6),
record relay(K-401), record
amplifier, bias oscillator,
record head, erase head.

Playback head dirty, ampli-
fier to deck connections,
monitor switch(SW-501),
playback amplifier.

Demagnetize and clean head,
repair or replace defective
components.

Clean or replace defective
components. Adjust motor
tension.

Reposition drive belt.

Adjust pinch roller pressure.

The D.C. resistance of the
brake solenoid should be
1.3k ohms.

Replace solenoid.

Refer to schematic diagram
and repair or replace the
defective components.

Refer to schematic diagram
and repair or replace the

defective components.

For record amplifier trou-
bleshooting refer to volt-
age chart.

Refer to playback amplifier
voltage chart.