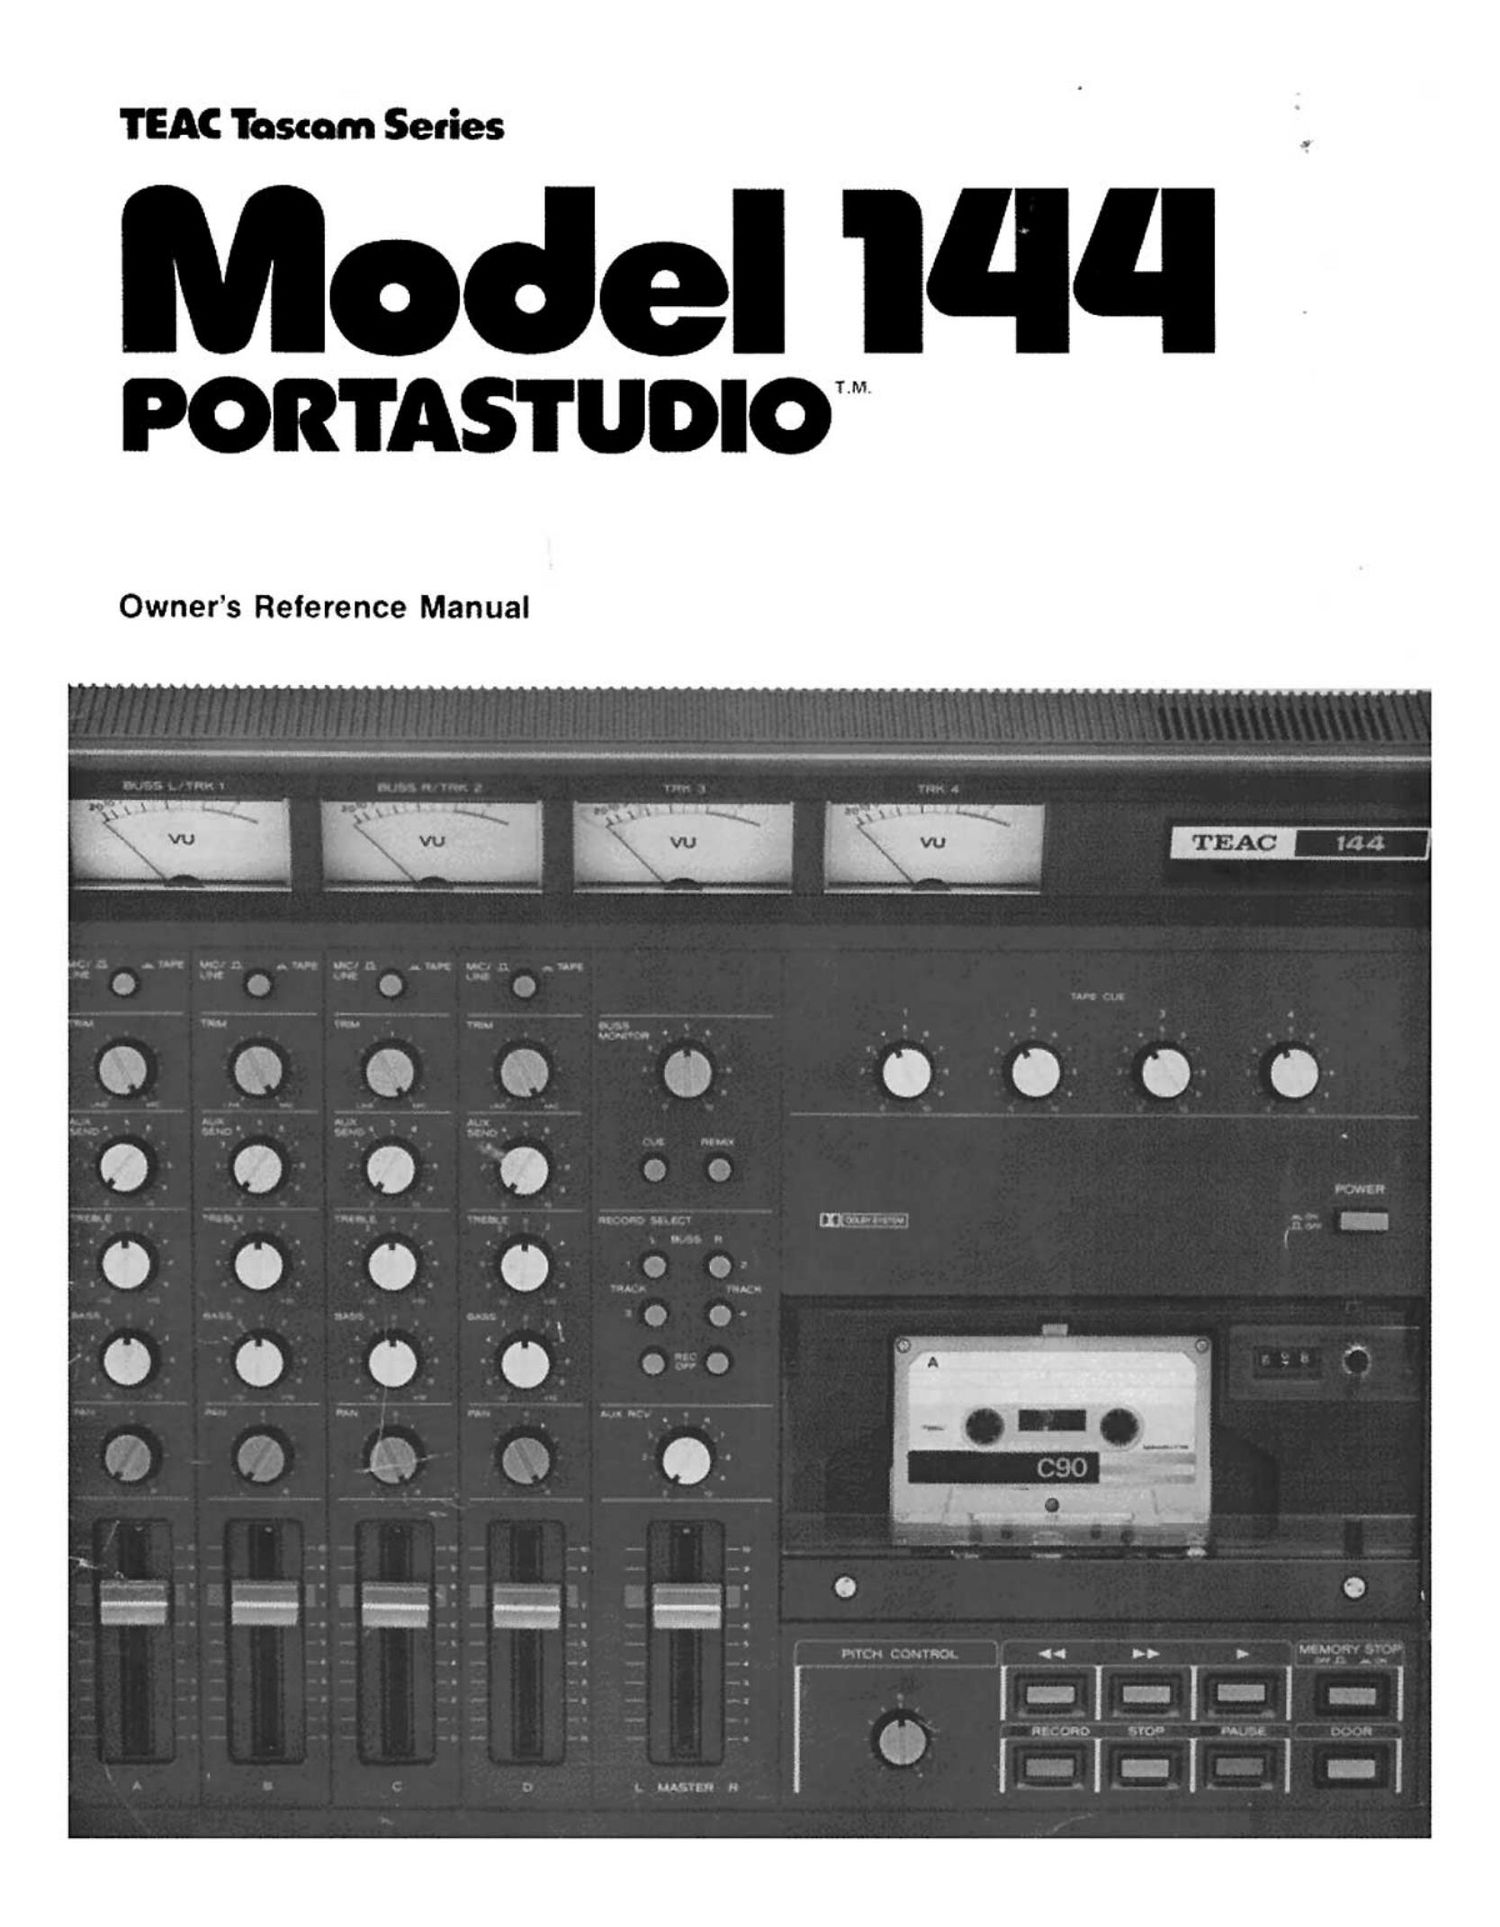
Teac 144 Owners Manual

This is the 32 pages manual for Teac 144 Owners Manual.
Read or download the pdf for free. If you want to contribute, please mail your pdfs to info@audioservicemanuals.com.

Page: 1 / 32
left right
Teac 144 Owners Manual

Extracted text from Teac 144 Owners Manual (Ocr-read)


Page 1

TEAC Tuscan Seties

Model Illll '

PORTAS'I'UDIO"

Owners Reference Manual

Page 2

TABLE OF CONTENTS

um--

11
13
14
15

8888833863

FRONTG: REAR PANEL FEATURES

SECTION 1 INTRODUCTION

SECTION 2 RECORDING THE FIRST TRACK

SECTION 3 OVERDUBBING

SECTION 4 REMIXING

SECTION 5 PING PONG (COMBINING TWO OR THREE TRACKS TO ONEI
SECTION 6 STEREO/Z-TRACK TRANSFERS

SECTION 7 STEREO/2-TRACK RECORDING

SECTION 8 AUXILIARY SIGNAL PROCESSING

SECTION 9 PUNCH-IN RECORDING DURING AN OVERDUB

SECTION 10 AN ALTERNATIVE CUE SYSTEM - USE ONE SUSS (L OR RI
SECTION 11 MIC PLACEMENT - SELECTION VS EQUALIZATION
SECTION 12 ABOUT IMPEDANCE AND LEVEL

SECTION 13 MAINTENANCE AND SERVICE
TROUBLESHOOTING CHART
BLOCK DIAGRAM

SECTION 14 SPECIFICATIONS

Nola reduction circuit made undor license from Dolby Laboratories. The word "Dolby" and
the Double-0 symbol on trademarks of DoIby Laboratories.

WARNING: TI) PREVENT FIRE (III SHOCK HAZARD. I10 NOT
EXPOSE THIS APPLIANCE T0 RAIN [III MOISTURE.

This unit has a Serial Number Iocatnd
on the rear panel. Please record the
Model Number and Serail Number and

retain them tor your records.
Serial Number-.

Page 19

To Evaluate the Stereo/z-Track Recording

There is more than one way you can monitor
the playback. You will notice that mono playback
tor quick reference is a very simple procedure,
whereas stereo playback can become rather
involved. Since you already checked the stereo
balance when you were setting up the recording.
you may just want to play back in mono for a
check of the signal.

NOTE: Be aware that apparent hiss will be
excessive in this mono playback mode, even
though the tape is not noisy. This mode is useful
primarily for a check of the timing", and quiet
playback will not be feasible until the Portastudio
is switched to the mixer playback method (i.e., the
input channels' Mic/Line-Tape switches in Tape
mode).

MONO PLAYBACK

You can quickly monitor the tape in mono by
rewinding it, setting the LoMaster-R fader at #0.
Since you are already in cue mode from Step 14A.
just set the Tape Cue level controls to hear a
headphone mix of the tape. it you want to re-do
the take. rewind the tape and start all over again.

STEREO PLAYBACK

It you want to check the stereo balance of your
basic track or overdub. follow this procedure. You
can either use headphones or an external stereo
amplifier and a pair of speakers.

9 - volume adjust (it using speakers)

Amplifier or Receiver
3 (optional)


Sees tiers

o liaise; boss
5 4 Sit using phones t
M"? A
-. -md mums 4
- £2. -94 l- O O O O
.0. .0... .9. .9223- _
s l o o: 30 33 2
, O" O 00
l "' .-.
7 ._... .92. ~23. -.
3 . . .
. 0 a
t. ed...
2 9
Figure 16 - Typical Setup tor Stereo Playback to Evaluate
Cassette
1. Press the Remix button to obtain stereo
monitoring.

2. Set all the channel laders and the L-Master-R

fader at #0.

3. If using Speakers. connect either the
Portastudio's Line Out or Aux Out jacks to the
Aux inputs of your stereo amplitier or receiver.

4. Press in the Mic/Line-Tape buttons on any
input channels you wish to monitor.

5. Set the Treble and Bass controls at #0
(center) on the channels to be played.

6. 0n the two channels corresponding to the
stereo-recorded tracks. rotate one Pan pot fully
counterclockwise and the other fully clockwise
(i.e.. all the way Left and Right). This ensures you
will hear the full separation and stereo
perspective on these channels. it you want to
reverse the stereo. just reverse the Pan pot
positions.

7. if your stereo recording was an overdub and
you also wish to hear the other track(s). pan them
to any point along the stereo perspective.

8. Slide the playback channels' laders and the
L-Master-R fader to nominal (shaded zone).

9. Rewind the tape and press Play. Use the
Volume control on your stereo amplifier to set the
speaker level. Alternately, tor headphones adjust
the Buss/Monitor control. If you need to balance
overdubbed tracks with basic tracks, adjust the
channel laders.

to. if you want to redo a basic stereo track. you
have three choices: you can use a trash cassette
(a safe way to ensure you won't run out of time).
use remaining time on the same cassette (so you
can compare first and second takes). or simply
rewind and re-record over the first take (when
tape is scarce). It you want to redo a stereo
overdub. you have only one choice - rewind and
re-record over the first attempt.

NO TE: it you are redoing a recording, return all

controls to their pro-playback positions (i.e.,
belore Step 1 of this playback procedure). These
settings may nonetheless produce unexpected
results because the performance itself may differ
lrom the original. in that case. the best technique
- albeit time consuming - is to start all over with
Step 1 of the recording procedure. including
setting all the levels and E O.
CAUTION: lF YOU ARE GOING TO AGAIN
RECORD, TURN DOWN THE VOLUME ON
YOUR AMPLIFIER (or, eater still, turn all the
amplltler). A live" amplifier/speaker system in
the presence at an open mic is likely to cause
severe teedback (howling) that could easily
damage your speakers.

17