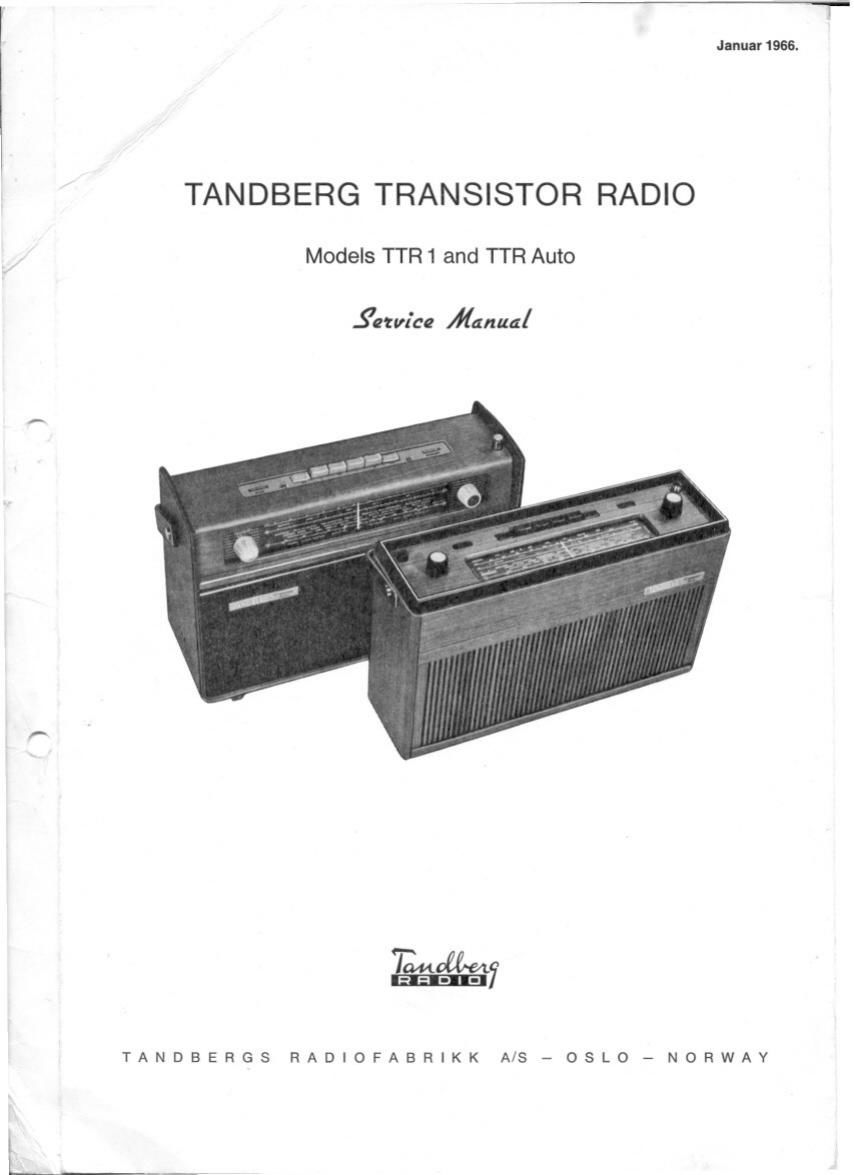
Tandberg TTR Auto Service Manual

This is the 13 pages manual for Tandberg TTR Auto Service Manual.
Read or download the pdf for free. If you want to contribute, please mail your pdfs to info@audioservicemanuals.com.

Page: 1 / 13
left right
Tandberg TTR Auto Service Manual

Extracted text from Tandberg TTR Auto Service Manual (Ocr-read)


Page 1

Januar 1966.

TANDBERG TRANSISTOR RADIO

Models TTR1 and TTR Auto

.Sezw'ce flanual

TANDBERGS RADIOFABRIKK AIS - OSLO - NORWAY

Page 2

Service

MODEL T"! 1

Disassembling the set: Remove the knobs. the guide frame
for the printed circuit. the batteries and the two Parker
screws on top of the turner. Pull the chassis down towards
the loudspeaker magnet and tip it out. The chassis will
stand up vertically with easy access to nearly all parts. If the
chassis. however. has to be moved out of the cabinet. the
wires tor the antennas (point 1-9, ref. figs. 6 and 7) have
to be unsoldered. It will not be necessary to remove other
wires. and the tuner is still operative. without the AM input
circuits.

Assembling the not: Make sure that the upper part of the
printed circuit board fits into the guide slots of the wooden
cabinet. Insert the guide frame, the Parker screws and the

the chassis and the two screws at the back of the cabinet.
The wires to the loudspeaker are fitted with nFast on- con-
nectors, and can easily be disconnected at the loudspeaker
side. The chassis together with the top training can now be
pushed up and out.

Connect the loudspeaker with a pair of Ienghtening wires
to the set and replace the batteries. The radio is then com-
plate with easy accas to all parts for measuring.

To remove the top framing. take off the knobs and unscrew
the nuts placed beneath.

MODELS mi AND TTR-AU'IO
Push Button Assembly. Note: The Push-Button»$witch is

knobs.

MODEL 11%qu

Disassembling the set: Unscrew the bottom plate and take
out the batteries. Remove the two nuts on the lower edge of

made of polystyrene elements and care must the be taken
when soldering. See fig. 11 for disassembling and cleaning
instructions. The knobs are easily replaced and it is pos»
sible to replace a single section of the switch it necessary.
(When ordering name the wave band.)

Trouble shooting: it might be difficult to find the cause ot some of the troubles which might occurs-often the cause is of an
intermittent nature. We will mention a few symptoms. provided that the batteries are fresh i.e. the battery voltage Is 65 volts

0' better.

Symptom
Unstabillty. particularly at strong sig-
na's on LW.

Low amplification in the low-frequency
stage with poor bass regulation.

Microphonic on FM.

Microphonic on FM. especially with the
tuning capacitor turned all the way in.

Dead AM. but o.k. FM.

Noise when the volume control is
turned down.

Valid for TTR 1 only:
Distortion. mainly second harmonics.

Unstaoiiity on FM. especially on the left
side of the dial at high volume.

8 tin-F8

Cause:

Defective 081. 320m: or intermittent connection in same. '

Defective 066. ton _uF. The amplification In T] is reduced with a following re-
duction of the feed back. The bass regulation in the teed back circuit should
give a variaton of approx. 7 dB at 120/ c/s. measured across the loudspeaker.

The following three possibilities:

1) loose turns on coil L13:

2) intermittent failure in the trimming capacitor 630;

a) vibrations of the rotor blades In the tuning capacitor of the oscillator section.
Use a pin of wood or plastic to check for the stage which is oscillating. L13 can
be repaired by gluing the loose turns on the coil.

The adjustment screw oi 630 can be sealed by a sealing lacquer. but if the
play in the screw is too great. the trimming capacitor should be replaced.

The rotor blades can be dampened by gluing an insulating plate oi for instance
.5 mm thick bakeiile sheet of a halt-circle shape with a diameter 26 mm on to
the outside of the rotor blades of the FM-oscillator.

Open circuit in L25 or L31.
Check the soldering connection of L24 and L30. L25 and L31 are chokes
mounted on the plate between the coils In the filter box.

Defective TG-Acisi .

Detective 088. 500 pF. or inlennittent connection in same.

Note: When this capacitor is replaced make sure hat the new capacitor is of
exactty the same shape and that it is being placed in exactly the same position
as the old one. The location of the capacitor is critical for the stability on LW.

The FM oscillator is weak. The oscillator voltage measured with a high fre-
quency voltmeter bemoan the emitter and the ground shall be 150 milllvoits
through out the entire FM band. if the voltage decreases when the tuner is
turned towards lower frequencies a ceramic capacitor of approx. 10 pF con-
nected between the emitter and the ground might be helpful. Minor re-adjust-
ment of the trimming capacitor 630 is necessary to correct the dial adjustments.

nuuvz

2.1. r.

lulu I

"a- .

/.l\

m

I./'('-'V"T.-i

,_.._-l\.. -. retract-aw Past-n.-